

Customer Garden Room Build – 4.8m x 3m Garden Room
One of the questions we are asked most often is:
“Can I build a garden room myself?”
This customer project proves that you can.
The customer purchased our 4.8m x 3m Garden Room Plans and completed the entire project themselves despite having very little previous building experience.
The project was built using ground screws, a timber frame structure, insulation, breathable membrane and timber cladding to create a fully insulated garden room suitable for year-round use.
Below you can see the project from start to finish.
What The Customer Said
“I was a complete novice at building anything but the plans had detailed drawings, instructions and a parts list.
Lots of lessons were learnt along the way and a bit of frustration. But on the whole I loved this project.”
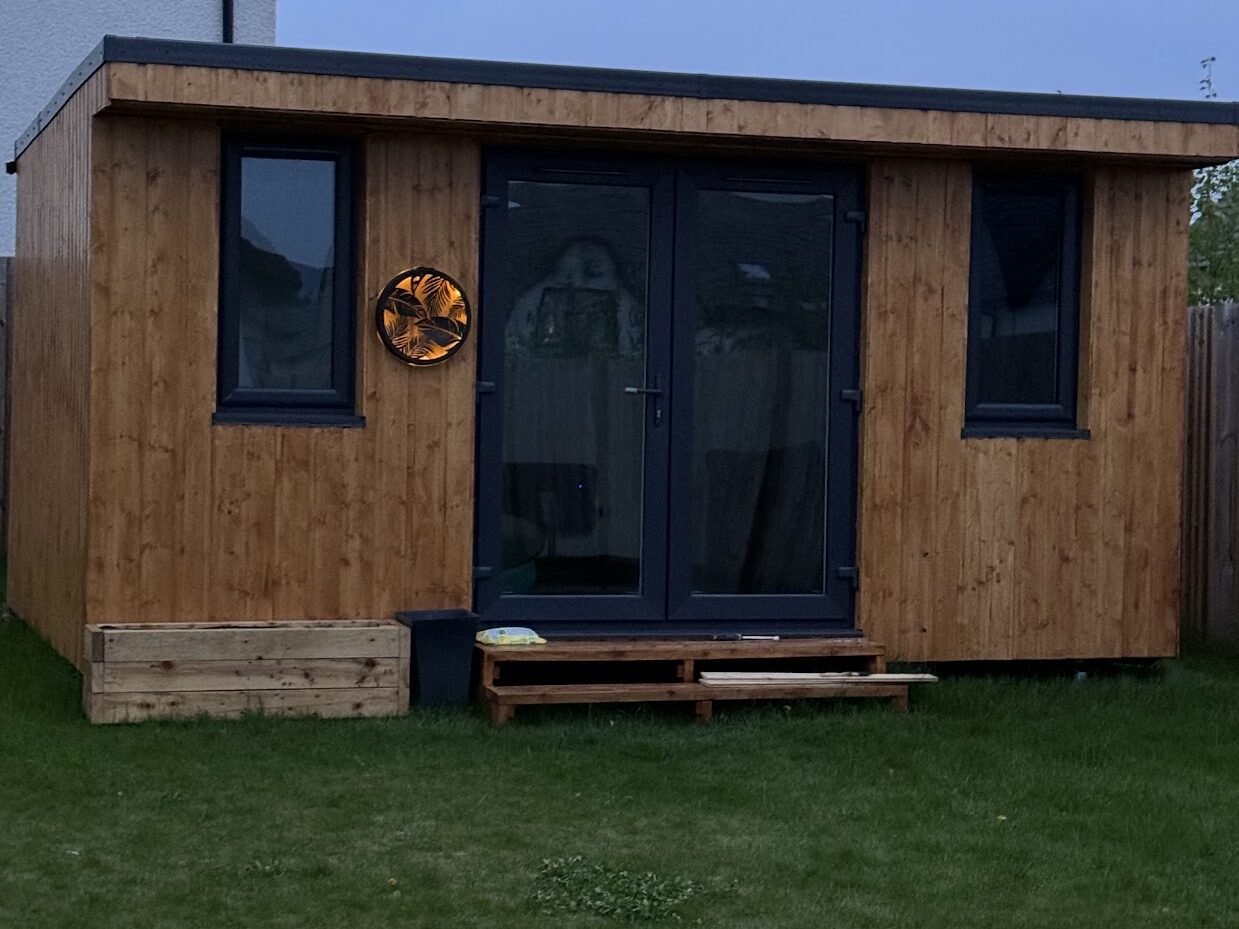
Before & After
Project Details
- Size: 4.8m x 3m
- Plan Used: Garden Room Plans With French Doors
- Construction: Timber Frame
- Foundation: Ground Screws
- Roof Type: Flat Roof
- Insulation: Fully Insulated
- External Finish: Timber Cladding
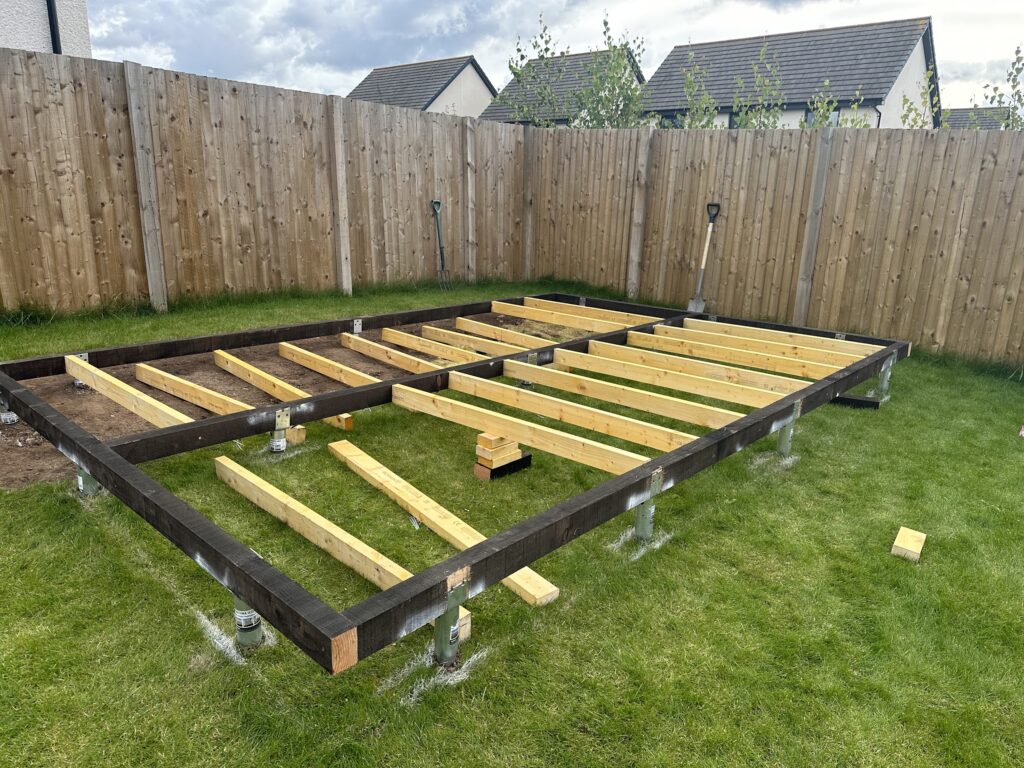
Stage 1 – Ground Screw Foundations
The project started with a ground screw foundation system.
Ground screws can be a great alternative to a traditional concrete base and allow construction to begin immediately once installed.
The timber floor structure was then assembled directly onto the foundation system.
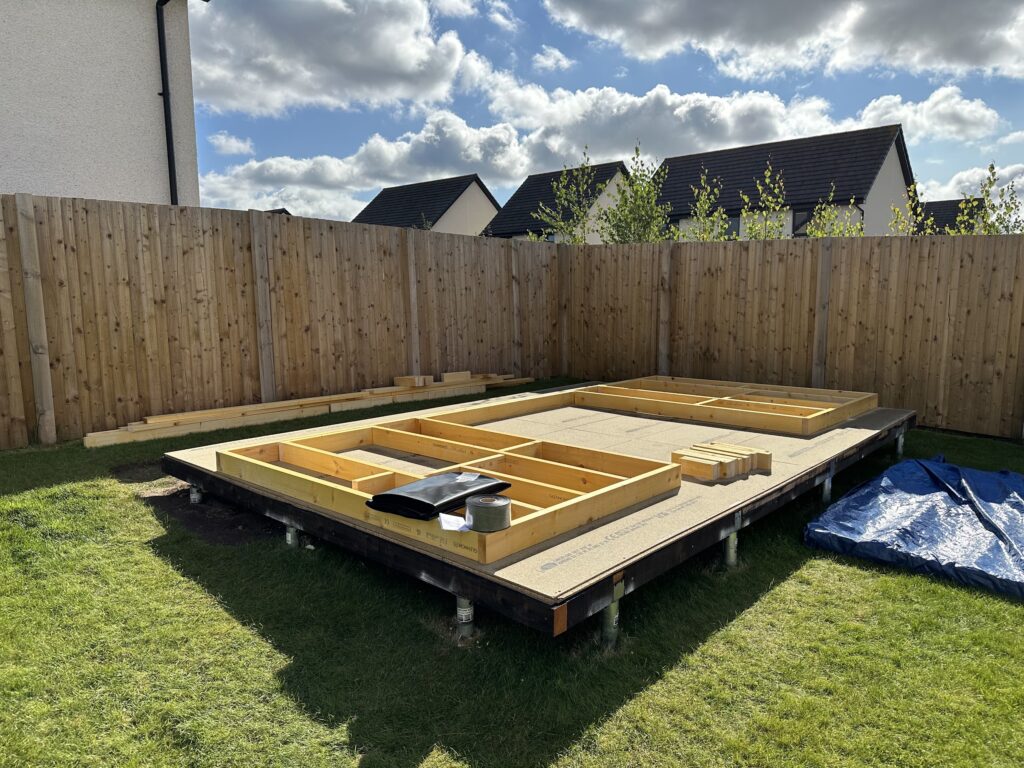
Stage 2 – Constructing The Floor
The floor structure was assembled using treated timber and fixed to the foundation system.
Getting the floor level and square is one of the most important stages of the entire project, as every other component relies on this foundation being accurate.
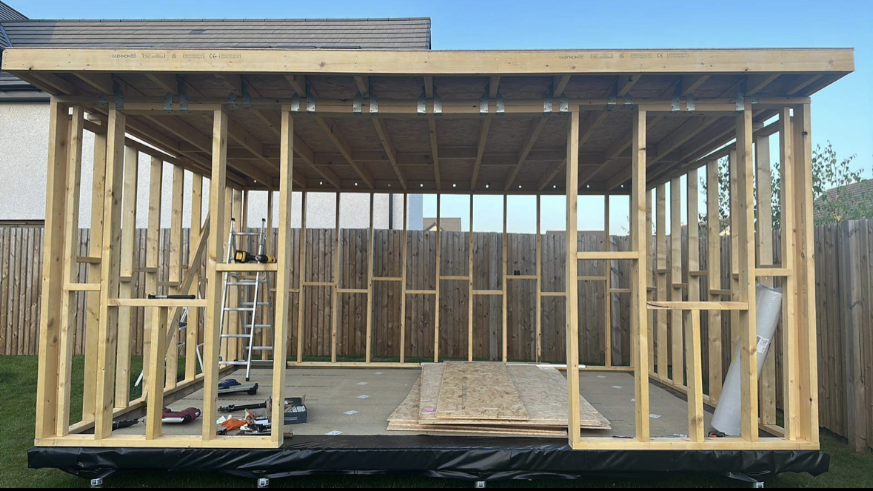
Stage 3 – Building The Timber Frame Walls
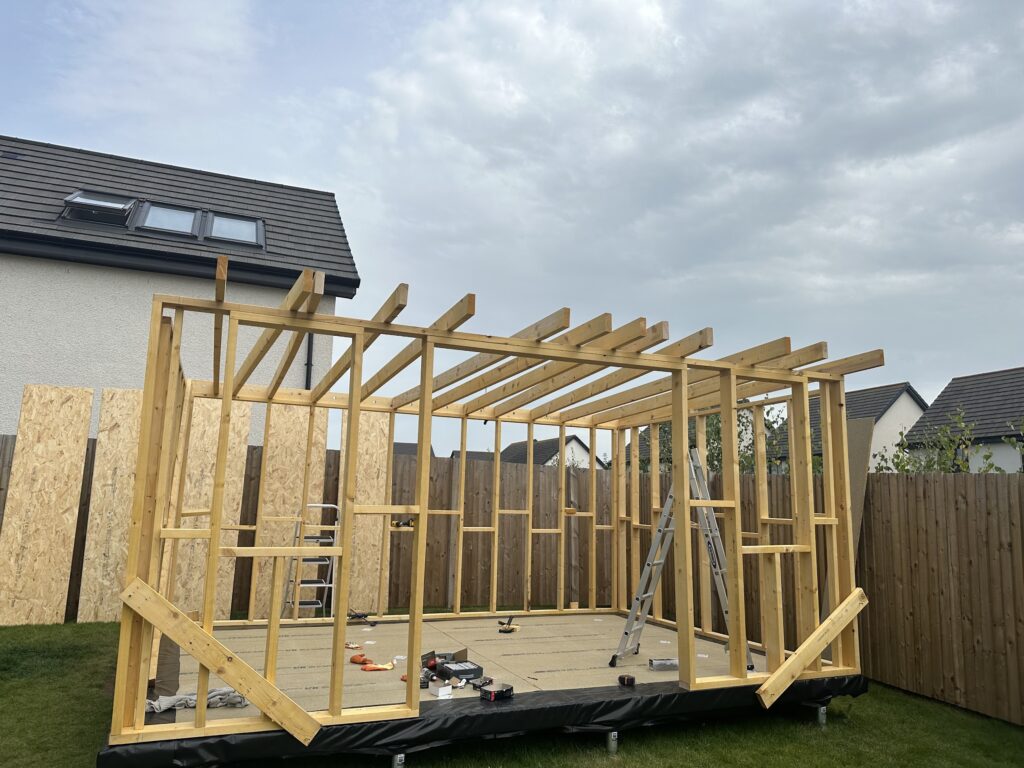
The wall panels were assembled and raised into position before being fixed together.
Our plans provide the dimensions and layouts required for each wall, helping to simplify the construction process.
This stage is often where the project starts to feel real as the overall shape of the building begins to take form.
Stage 4 – Roof Construction
Once the walls were complete, the roof structure was installed.
The design uses a warm roof construction, which helps provide excellent thermal performance throughout the year.
The roof structure was then decked before the waterproof covering was installed.
Stage 5 – Breather Membrane And Weatherproofing
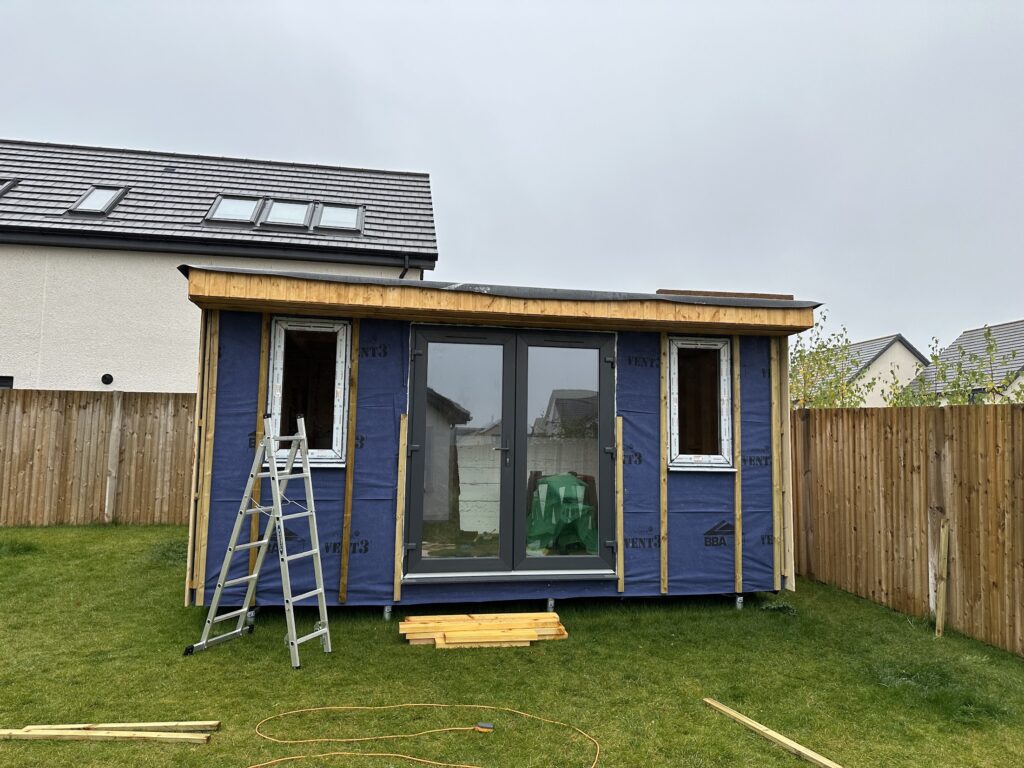
A breathable membrane was installed around the structure to protect from wind and rain while allowing moisture vapour to escape from inside the building.
This stage helps create a weather-tight shell before insulation and internal finishes are added.
Stage 6 – Windows And Doors
With the building weatherproofed, the windows and French doors were installed.
The addition of doors and windows dramatically transforms the appearance of the building and allows natural light to flood the interior.
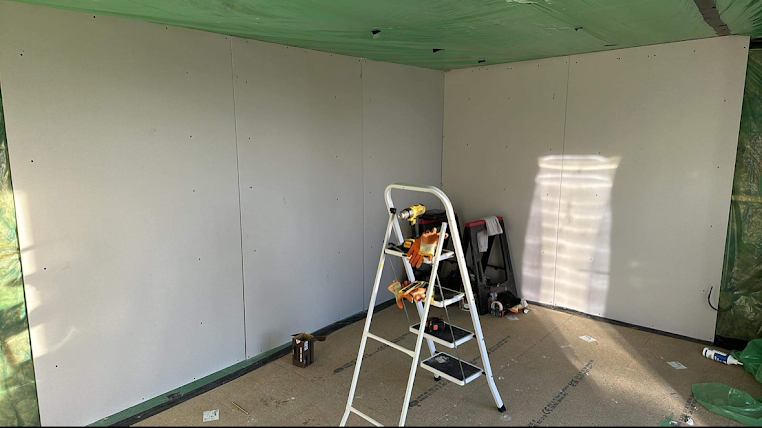
Stage 7 – Insulation And Internal Construction
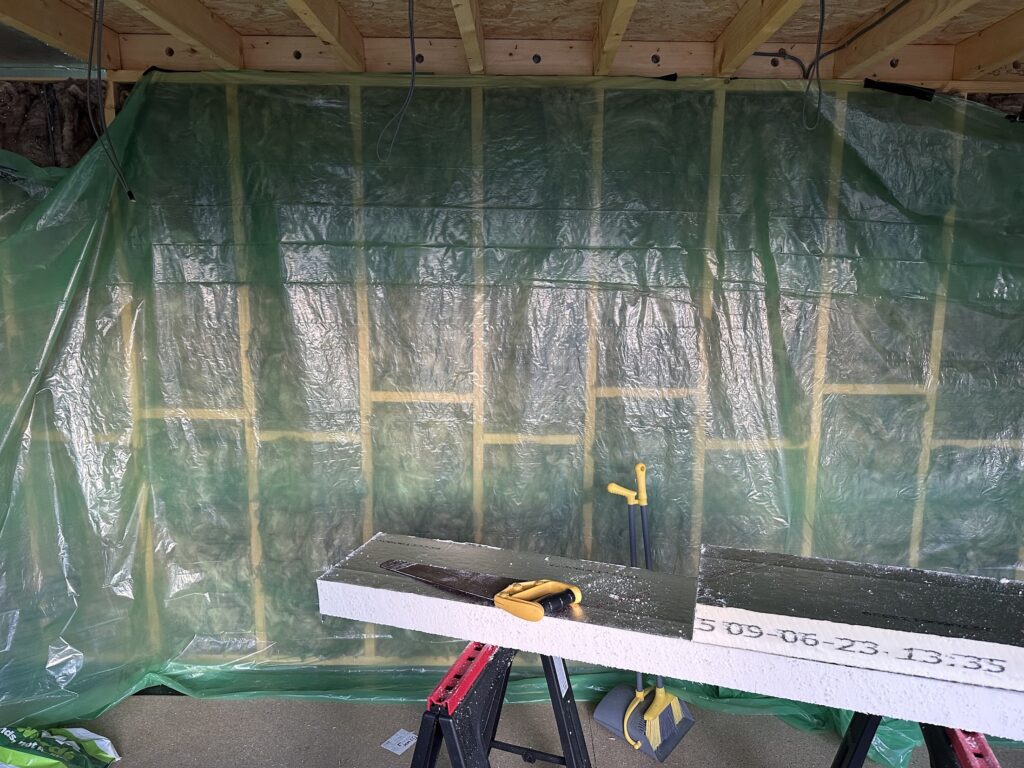
The walls and roof were insulated before a vapour control layer was installed internally.
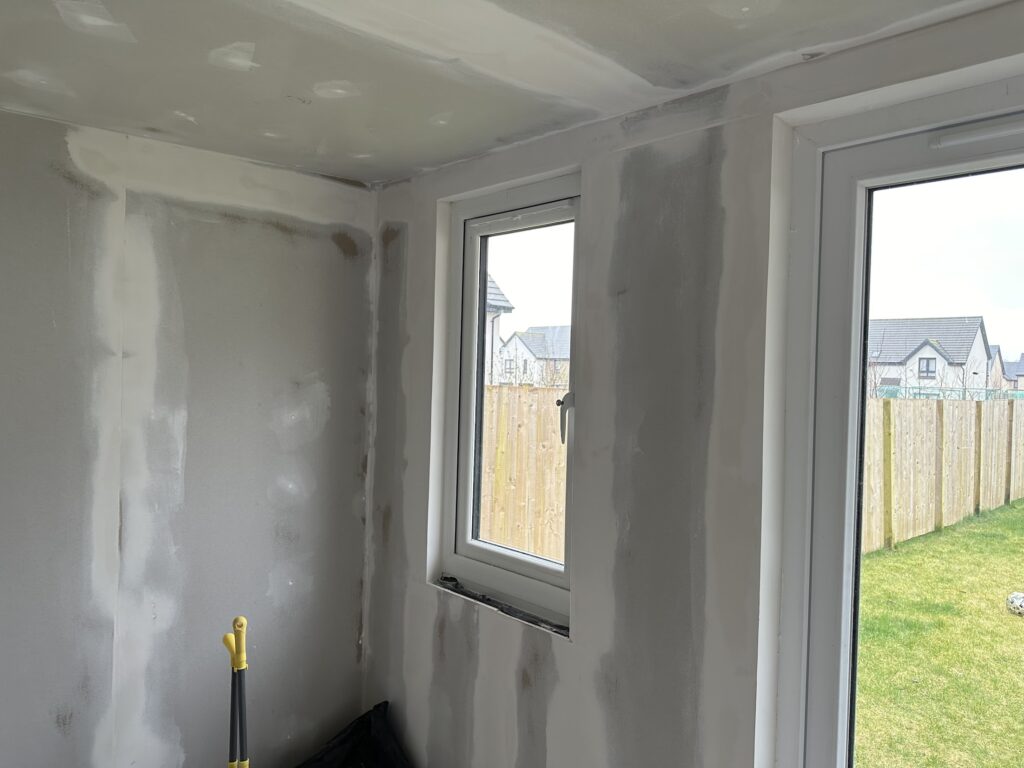
Plasterboard was then fitted, ready for finishing and decoration.
This stage is critical for creating a comfortable garden room that can be used throughout the year.
Stage 7 – Installing The Timber Cladding
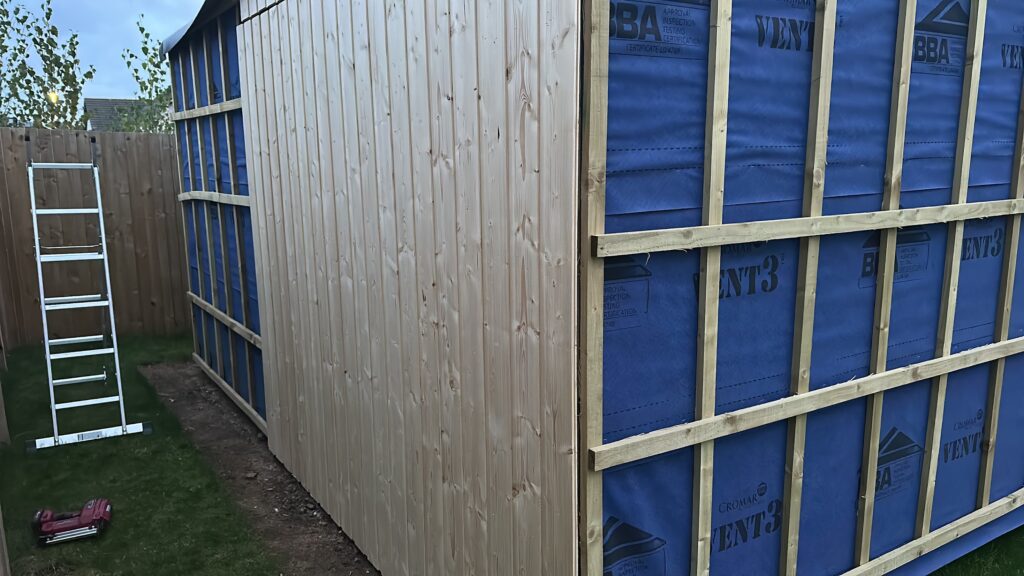
With the structure weatherproofed and the doors and windows installed, attention turned to the external cladding.
The customer selected timber cladding to give the garden room a modern and natural appearance that complements the surrounding garden.
Timber battens were first fixed over the breathable membrane to create a ventilated cavity behind the cladding. This helps improve airflow and allows any moisture to escape, contributing to the long-term performance of the building.
The cladding boards were then installed across the walls, completely transforming the appearance of the structure.
Many self-builders find this to be one of the most satisfying stages of the project, as the garden room finally begins to look like the finished building they originally envisioned.
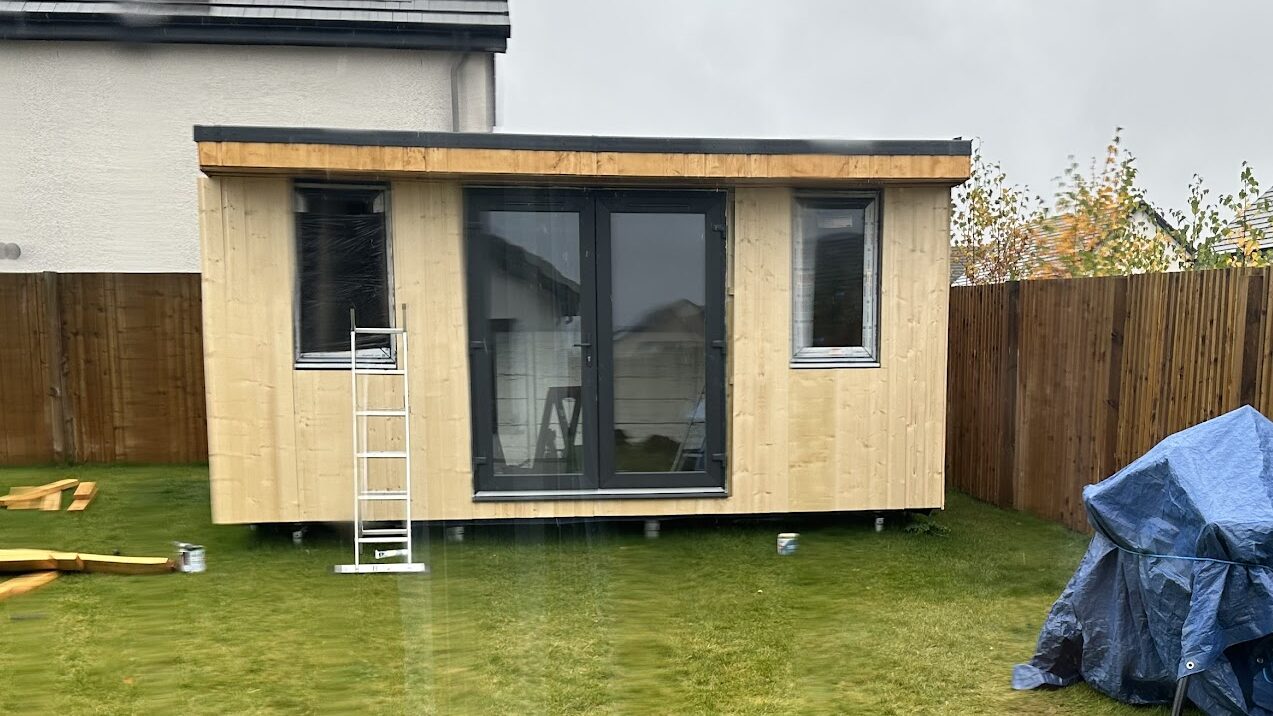
The Finished Garden Room
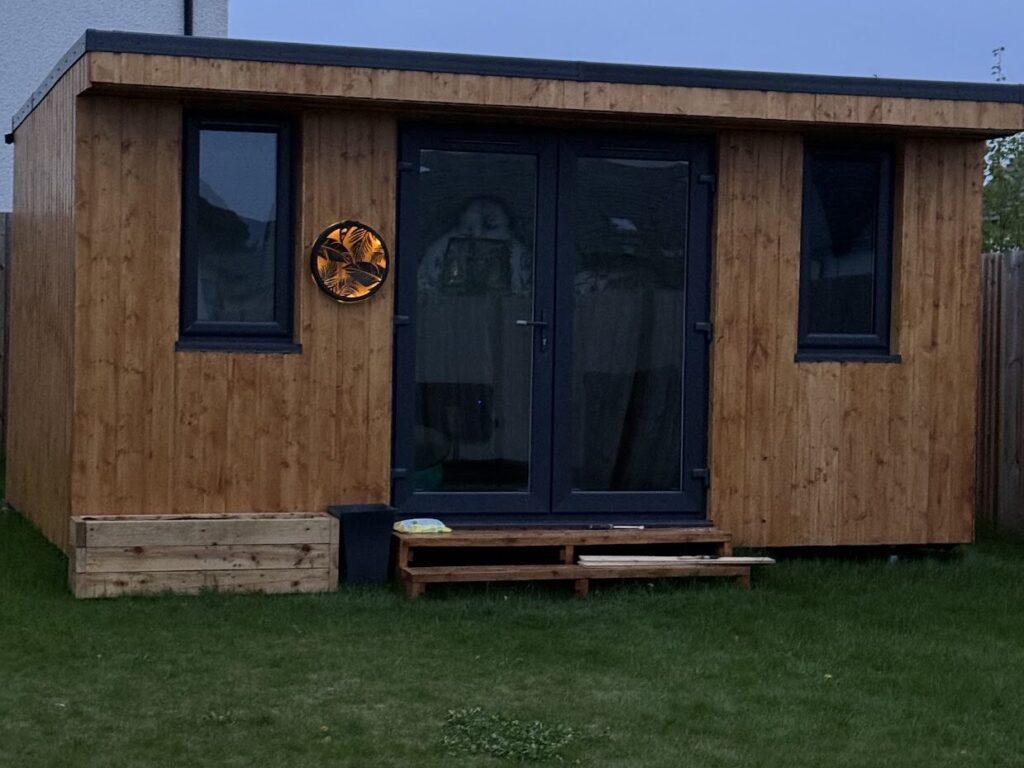
After cladding, decorating and finishing touches, the project was transformed into a fully insulated garden room.
The finished building provides a comfortable and attractive space that can be used as a home office, hobby room, studio or relaxation space.
Most importantly, it demonstrates that with proper plans and a willingness to learn, even a complete novice can successfully build their own garden room.
Build Your Own Garden Room
If you’re thinking about building your own garden room, our plans include:
- Detailed drawings
- Material quantity guides
- Material price guides
- Product recommendations
- Construction details
Can a beginner build a garden room?
Yes. This project was completed by a customer with very little previous building experience using our detailed garden room plans, drawings and materials list.
How long does it take to build a garden room?
Build times vary depending on experience, available time and weather conditions. Many self-build projects are completed over several weekends.
Are garden room plans suitable for DIY builders?
Our plans are designed to help DIY builders by providing detailed drawings, material lists and construction information.
What foundations can be used for a garden room?
Garden rooms can be built on several foundation types, including concrete bases, ground screws and other suitable systems depending on the site conditions.
Do I need previous building experience?
Many customers have limited building experience before starting their project. Careful planning, patience and detailed plans help make the process much easier.


