Insulation, plaster, and paint
The Garden Room Interior is fully insulated and sealed with a vapor barrier to stop moisture getting into the structure and causing damp
The interior is then boarded and plastered
Insulation
Good insulation is required to maintain a stable interior temperature.

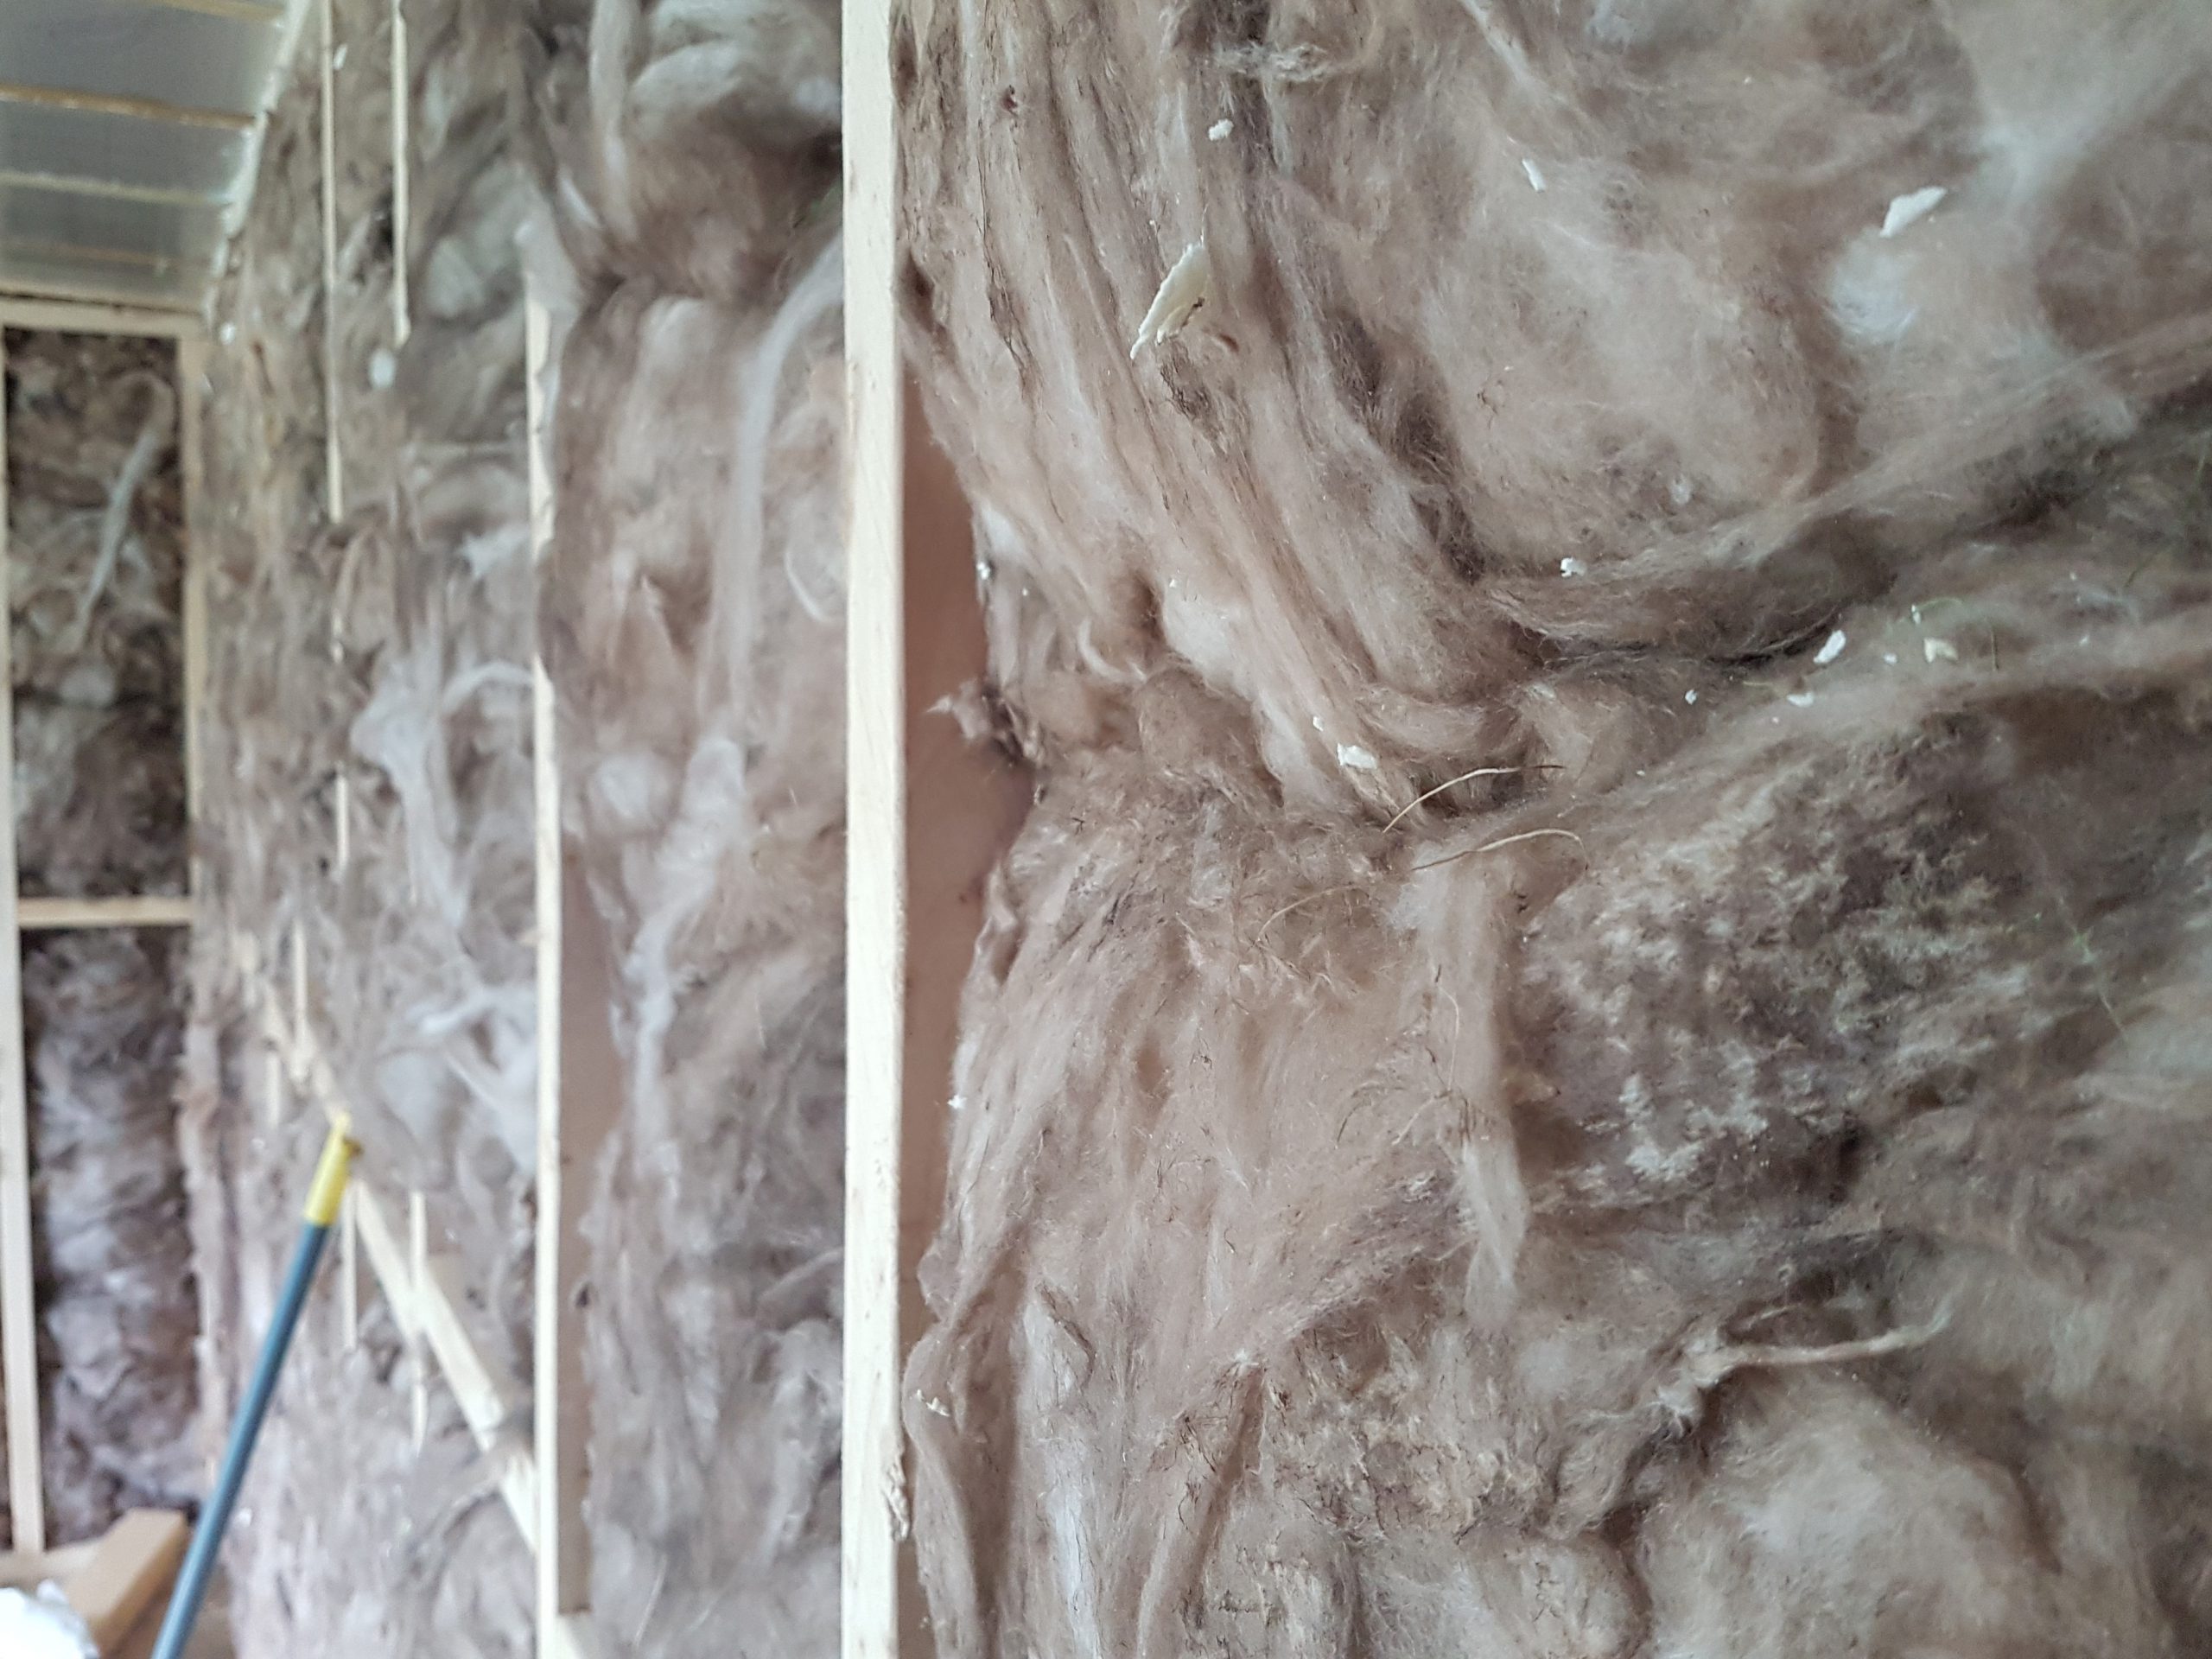
For all-year-round use of The Garden Room every part of the frame needs to insulated:
Fill all of the gaps you can and use expanding foam to ensure no gaps are left.
Use our insulation calculator to work out how much insulation you need.
Vapour Barrier
A vapour barrier is applied to the walls and ceiling.
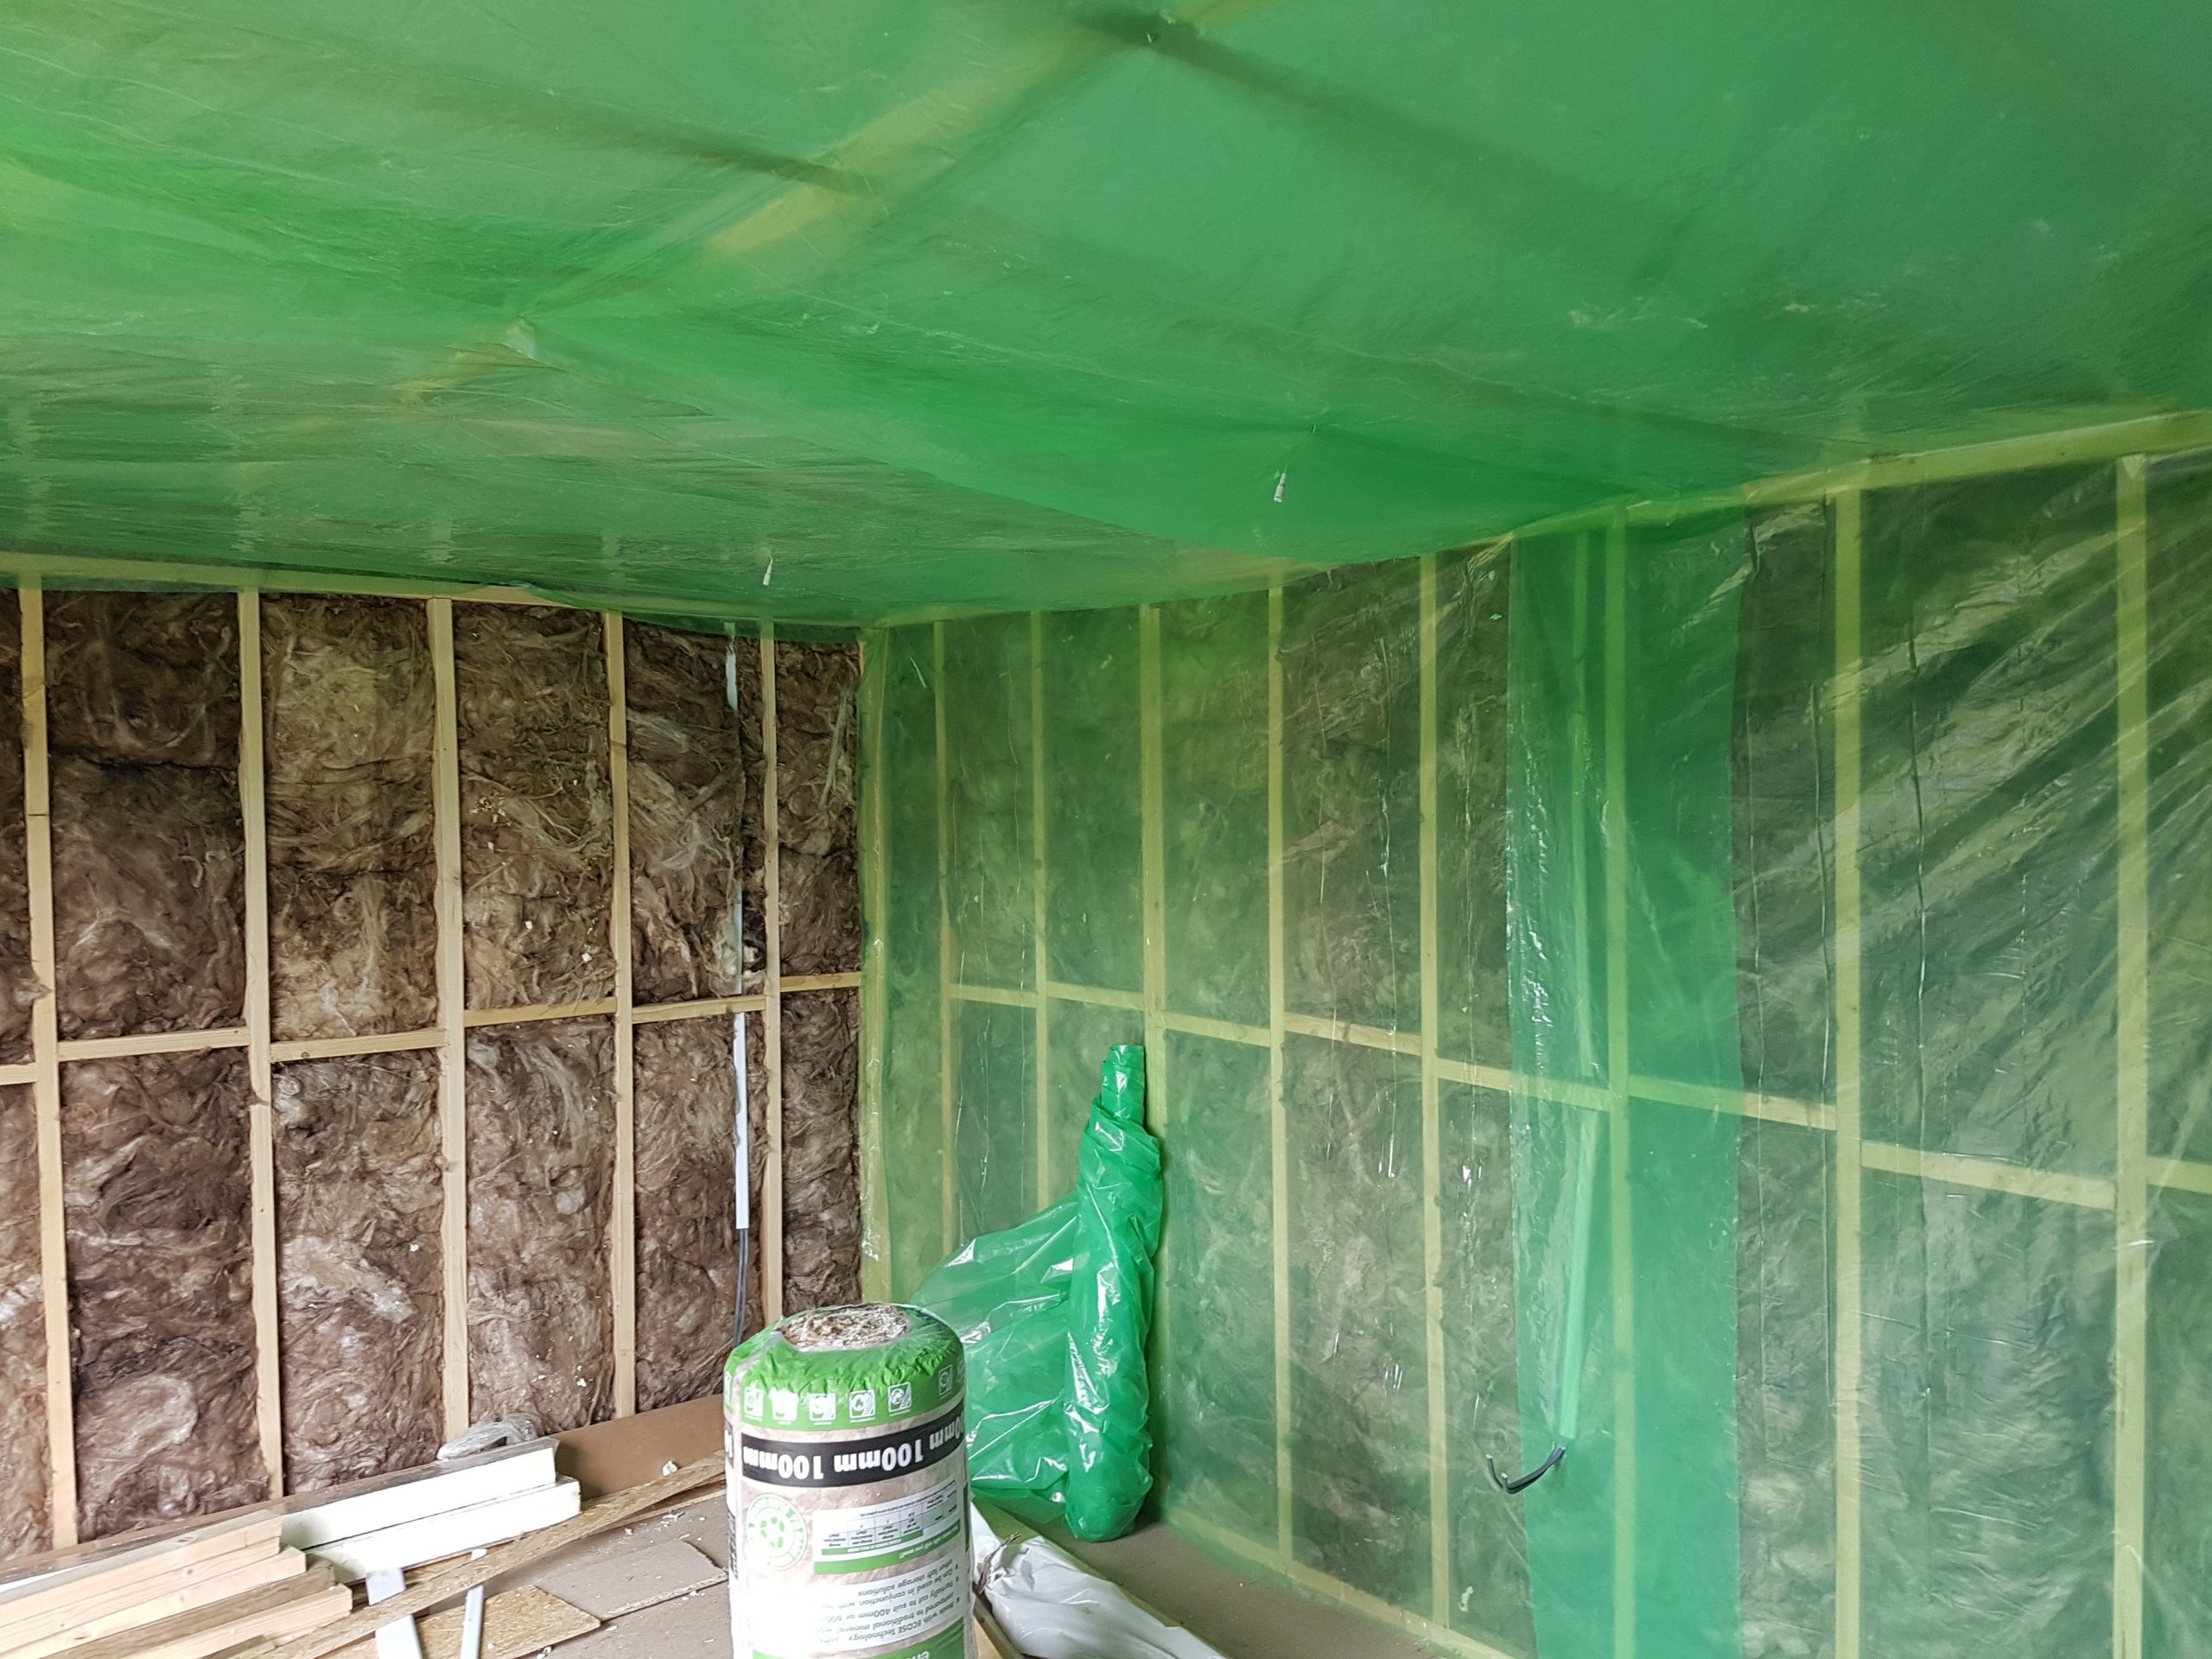

Fasten the vapor barrier to all of the internal walls and the ceiling, taping all gaps to ensure an air-tight seal where possible. this will stop any natural moisture in the room from escaping into the structure causing mold and eventually rotting the timber.

Vapour Barrier in a Garden Room
A Vapour Barrier is essential for your garden room to control moisture damaging the structure
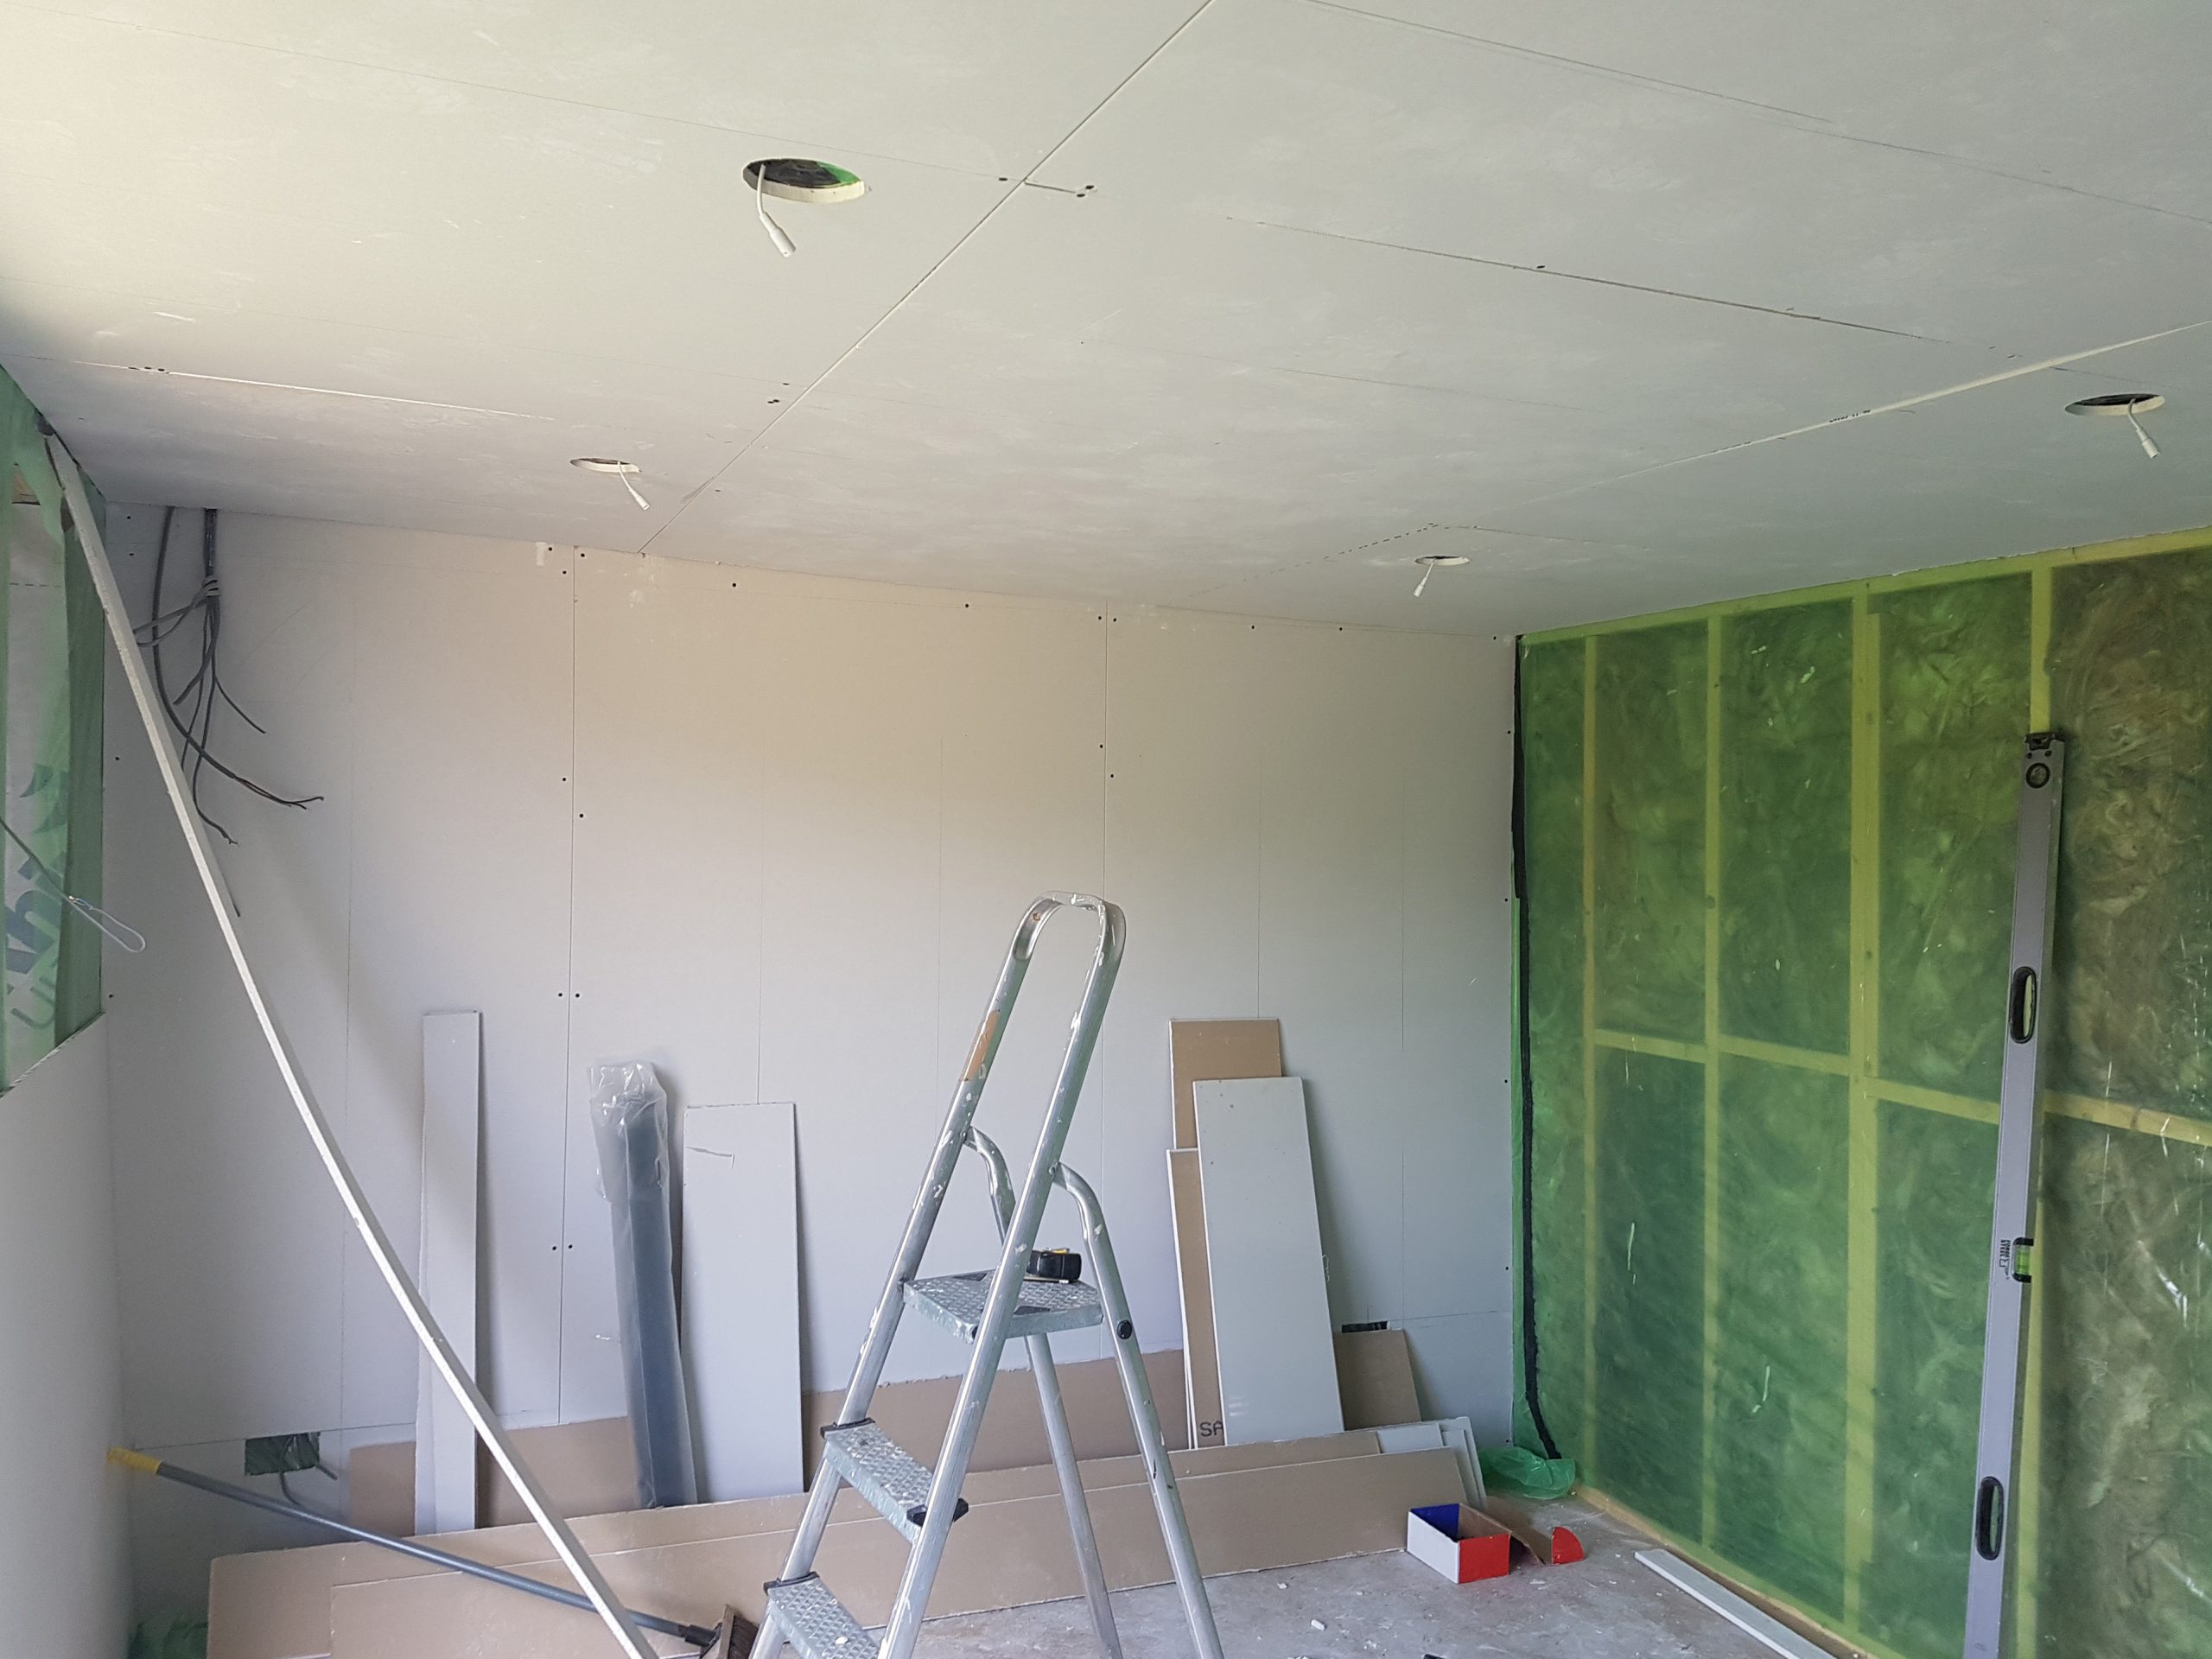
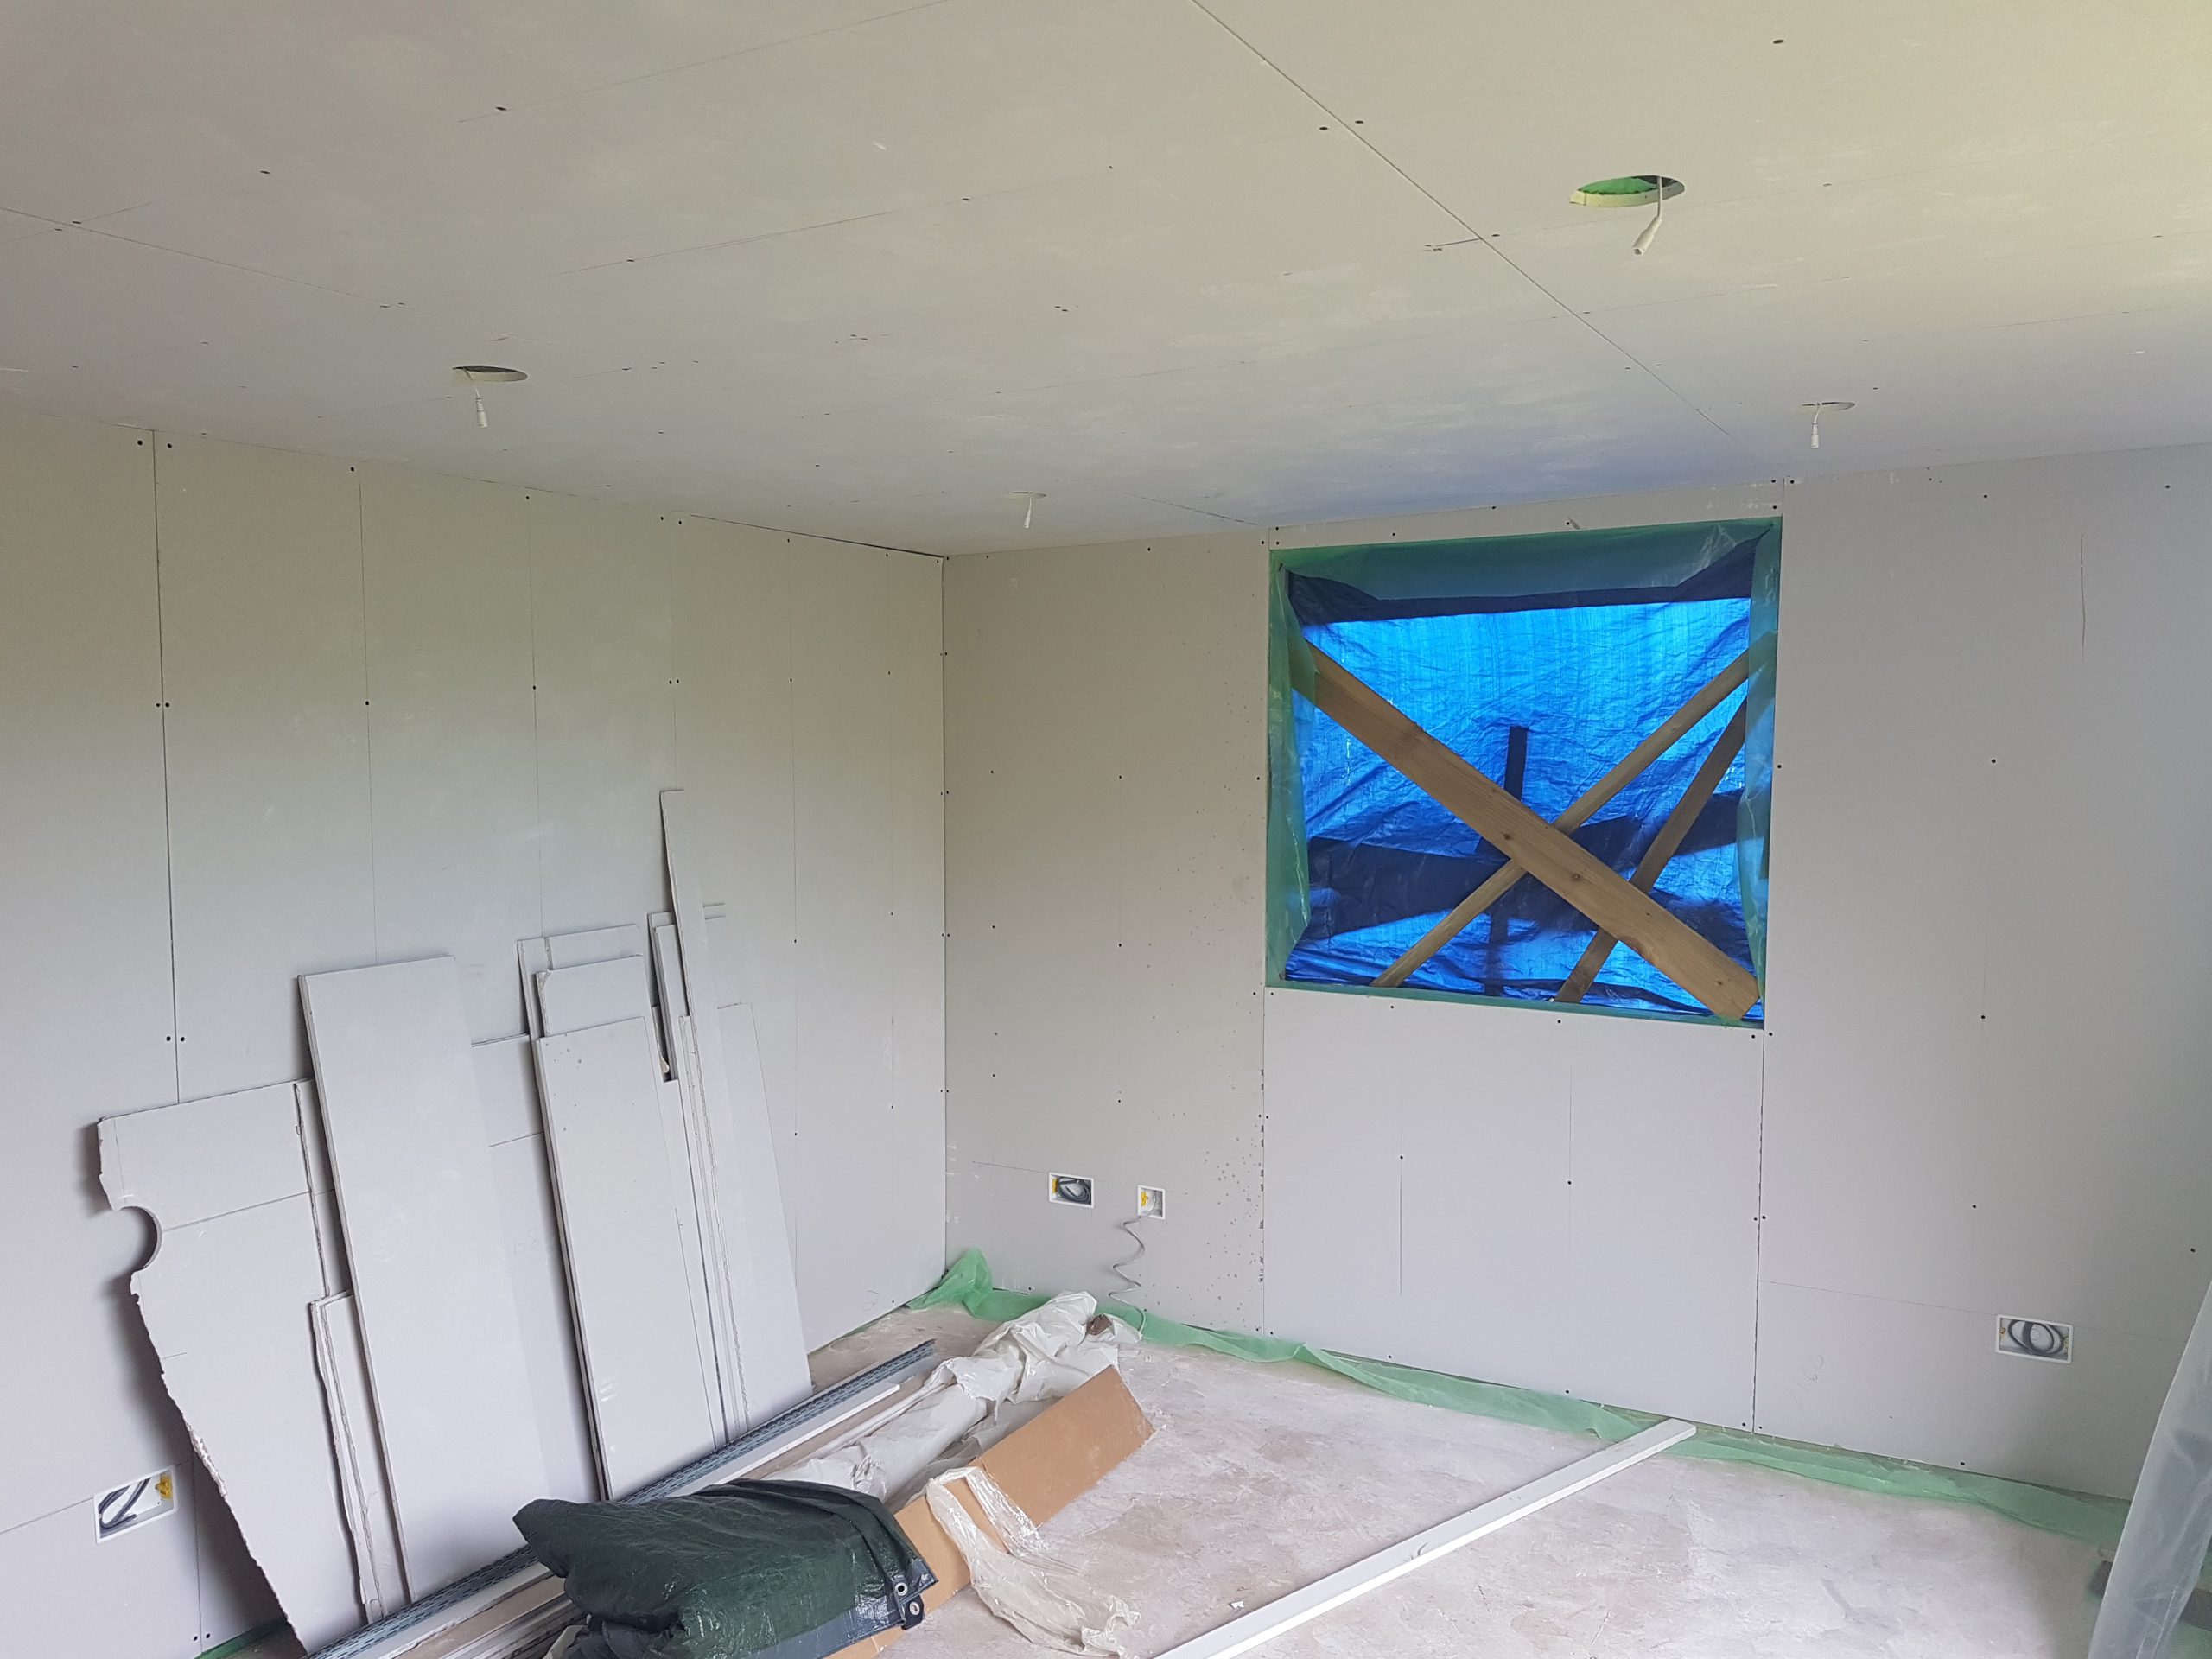
Plasterboard
The Interior walls and ceiling are boarded using 12.5mm plasterboard, skimmed to a smooth finish.
Use our plasterboard calculator to work out how much plasterboard you need.
Interior Paint
Standard Emulsion
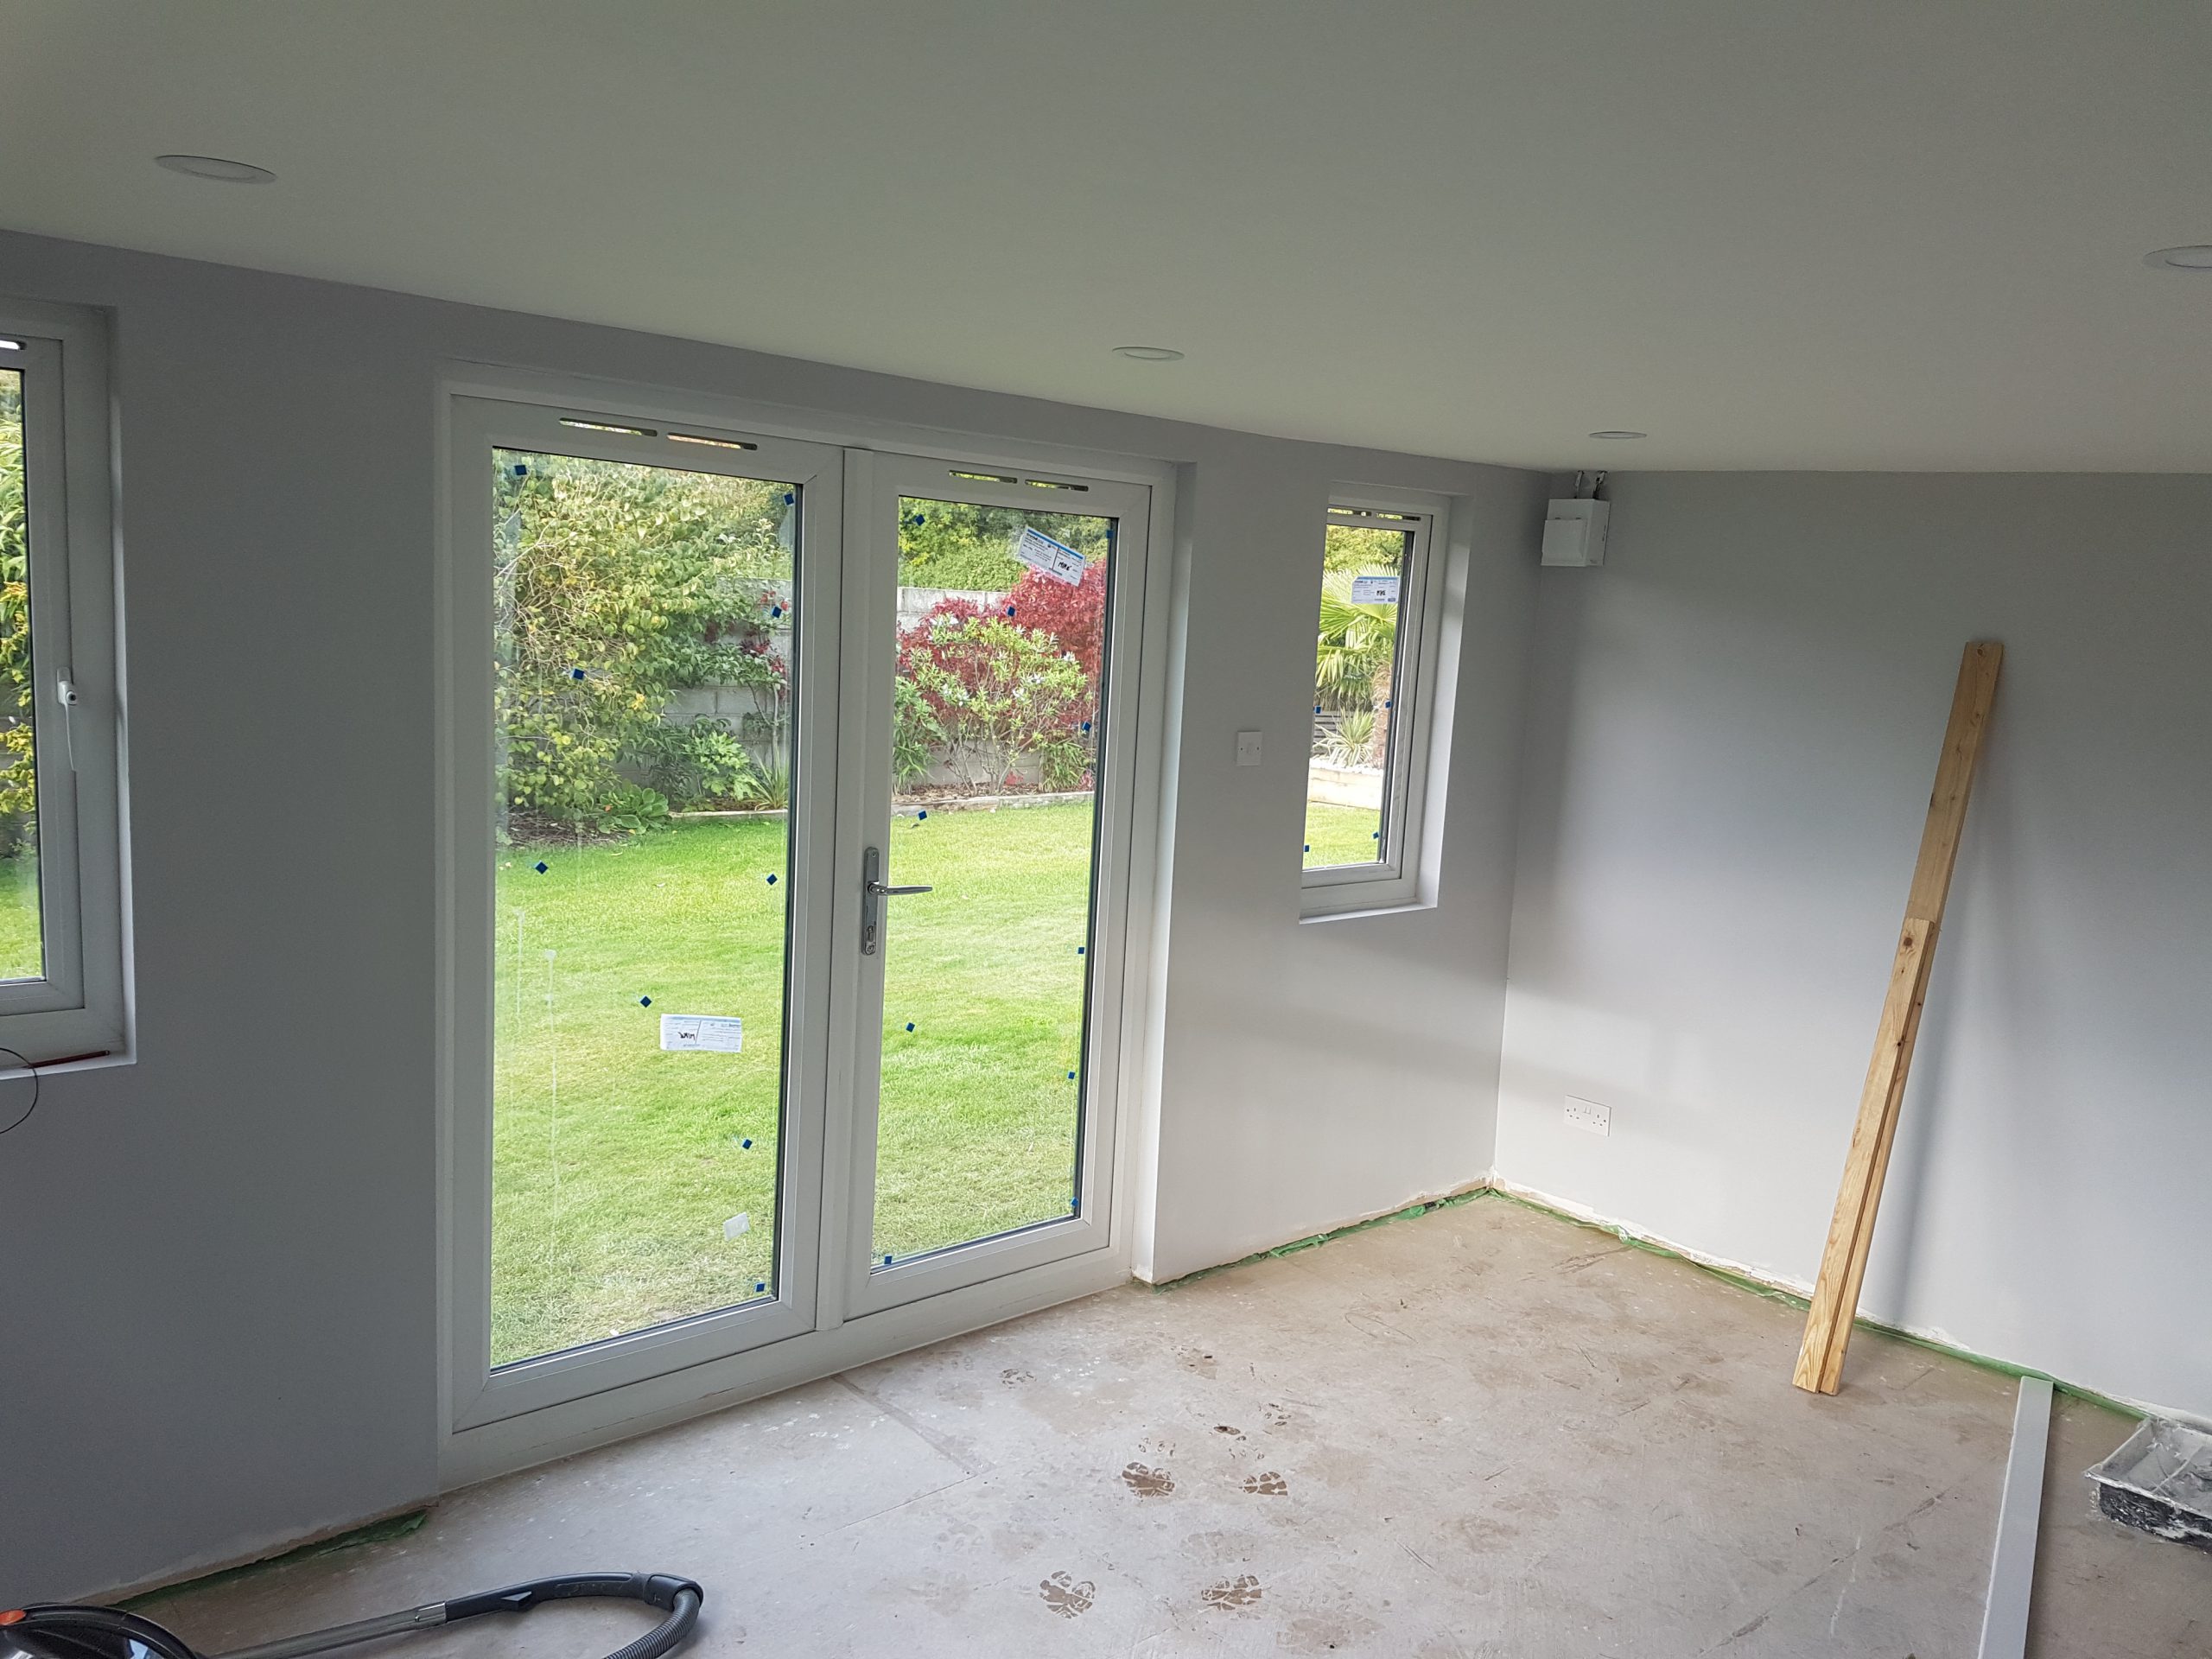
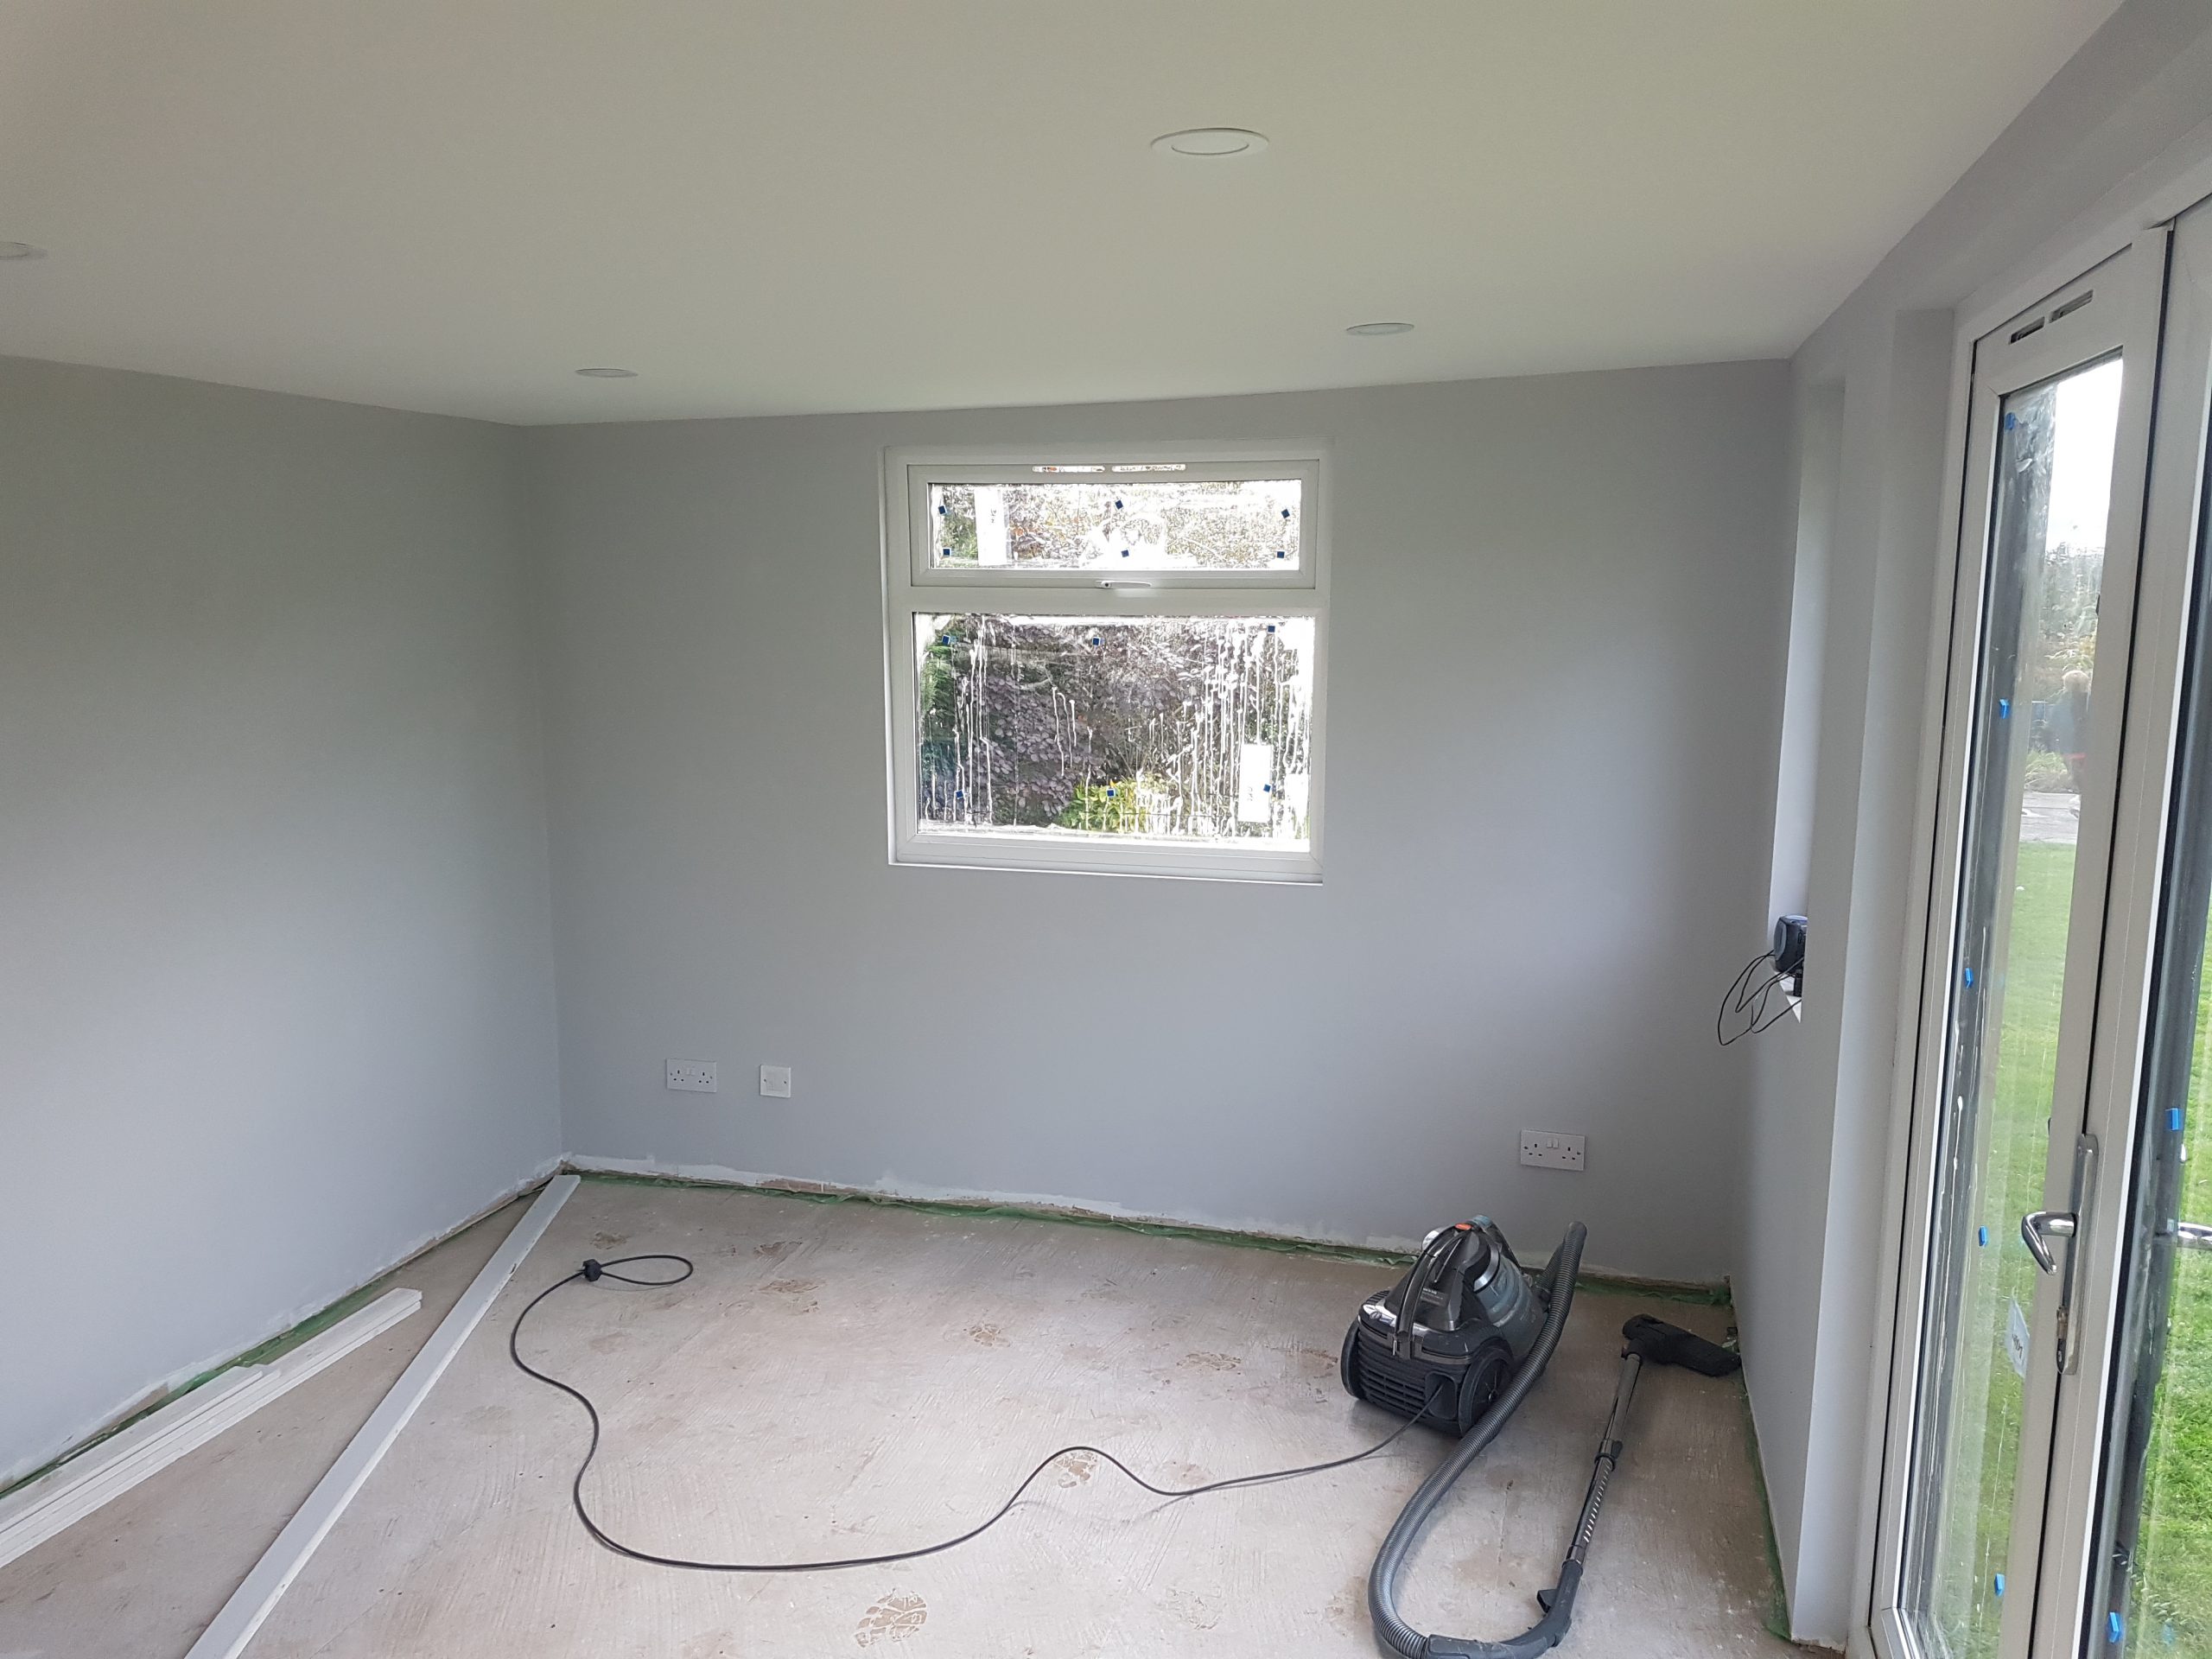
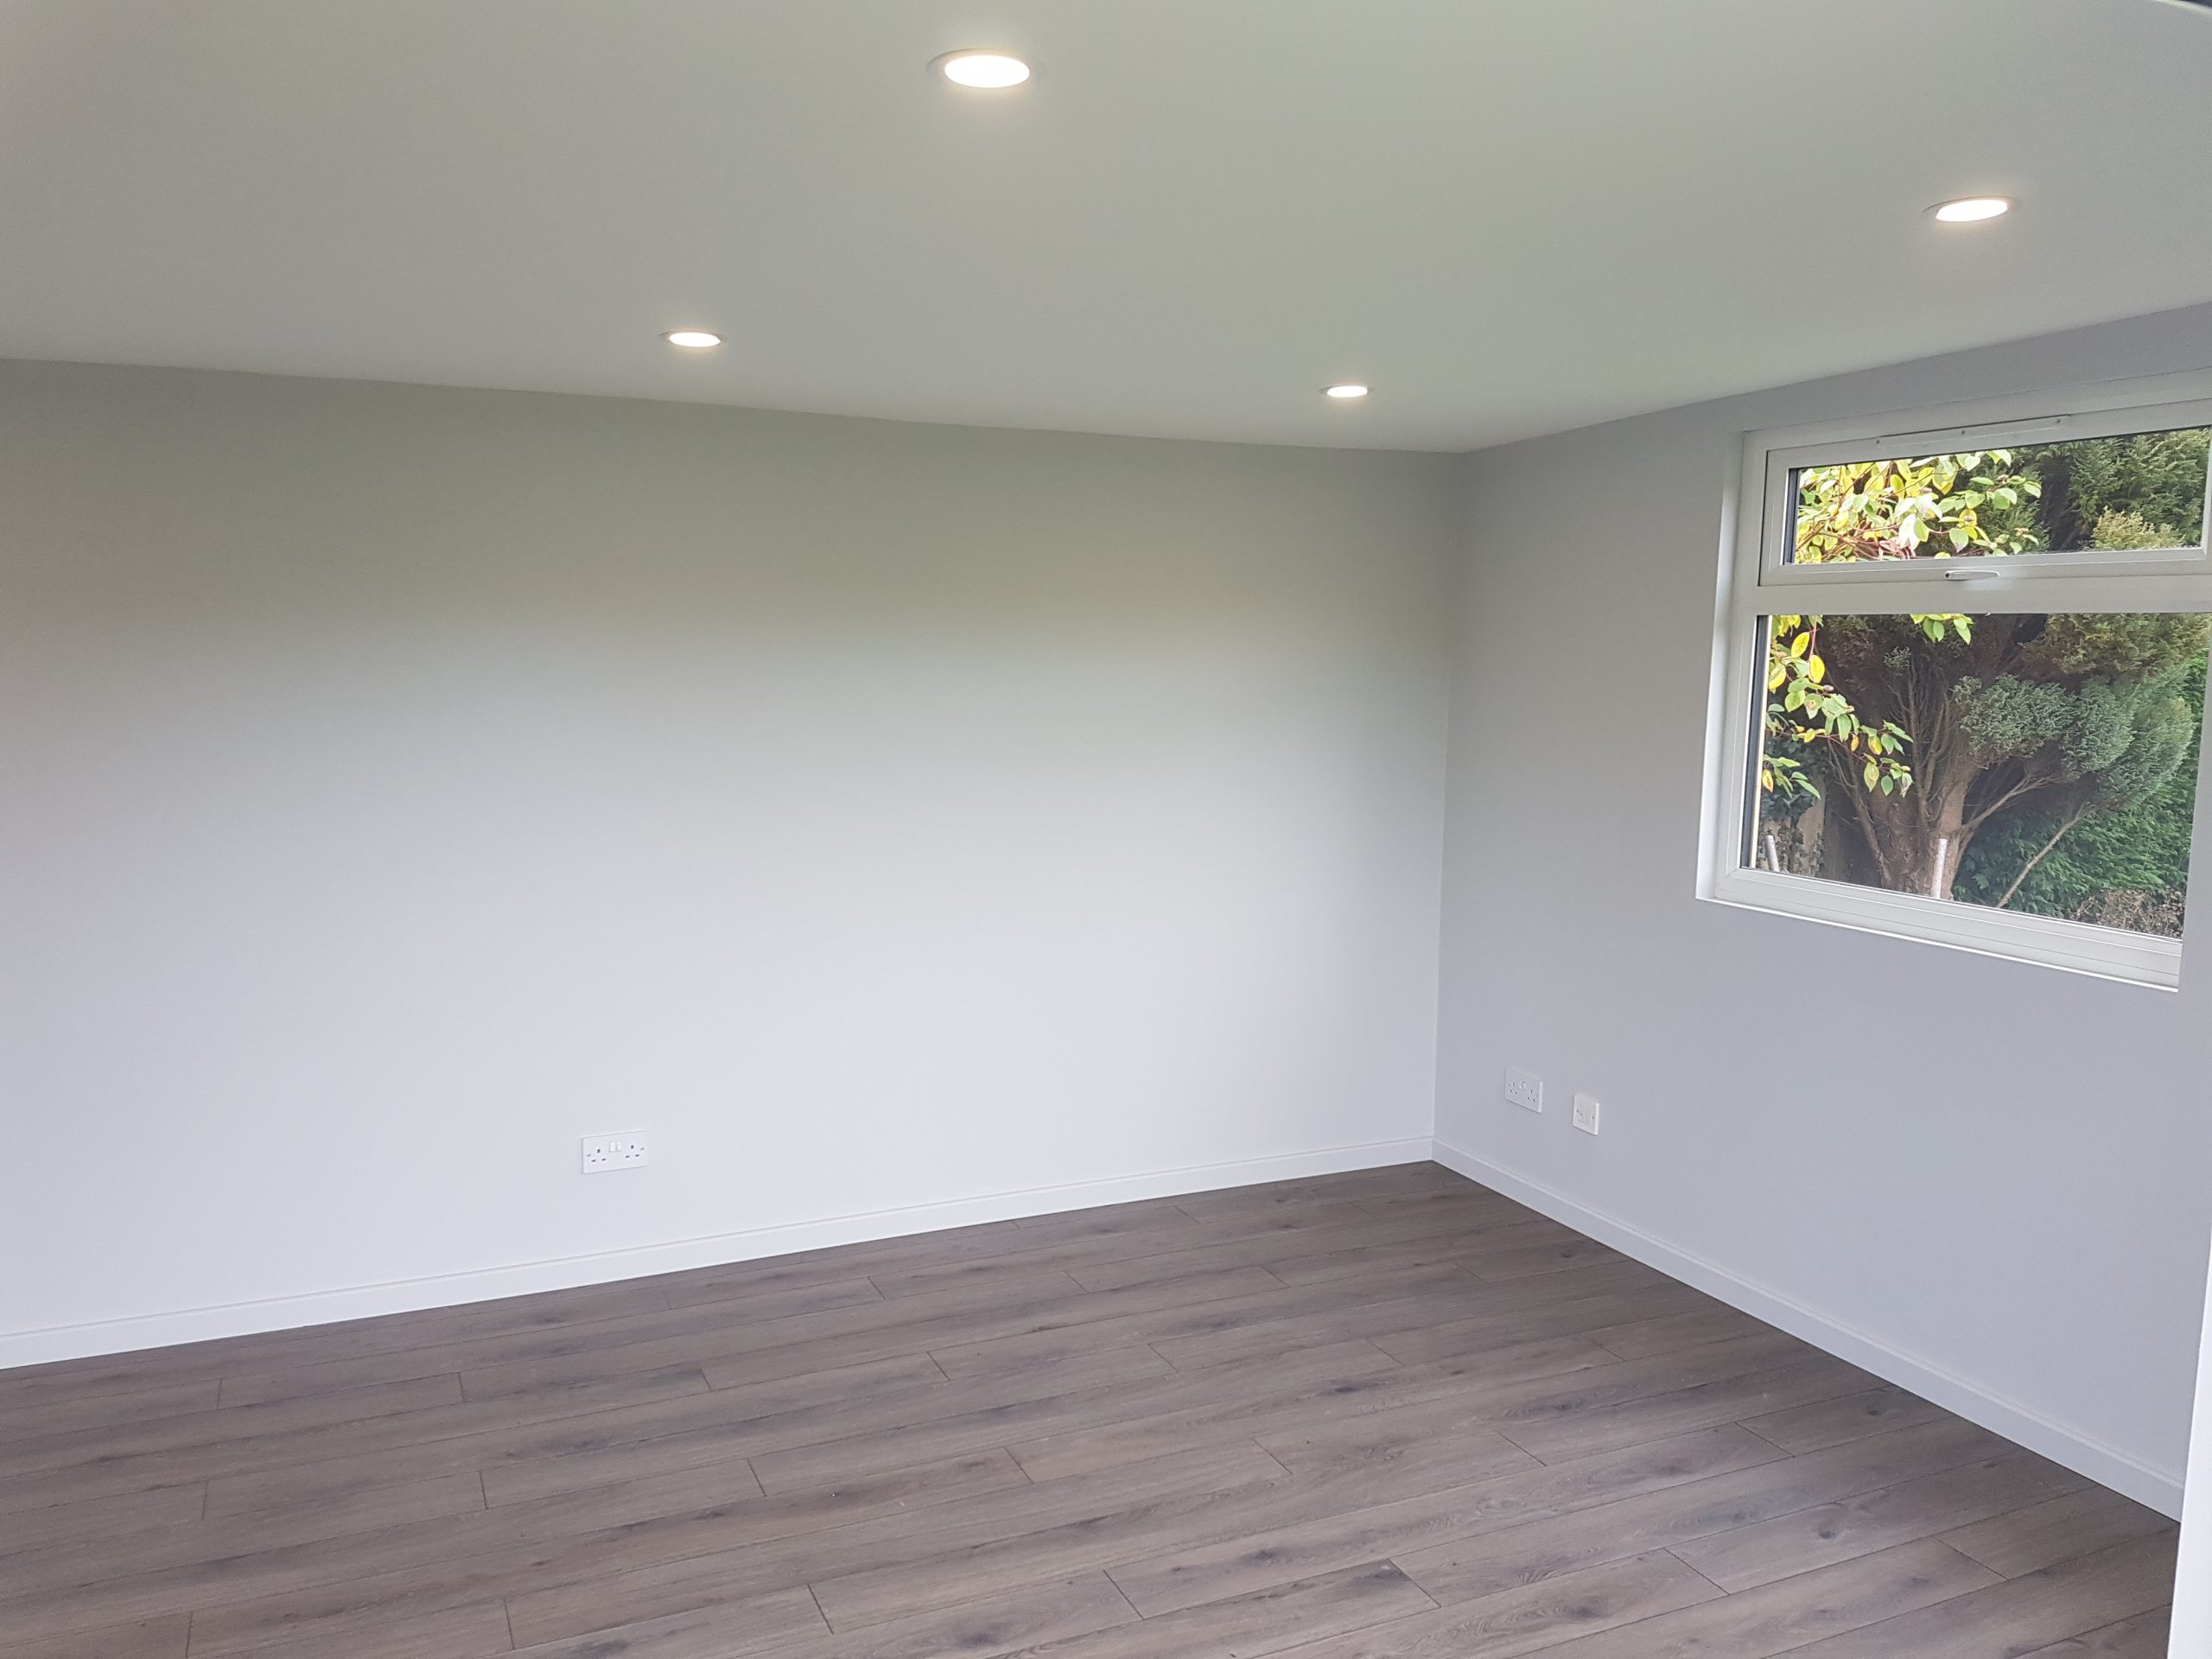
Firstly, paint the Interior walls and ceiling with a 50/50 mix of white paint and water for a mist coat to help the paint adhere to the fresh plaster, then 100% white emulsion to create a base coat. Then finish the walls with a light shade of grey emulsion
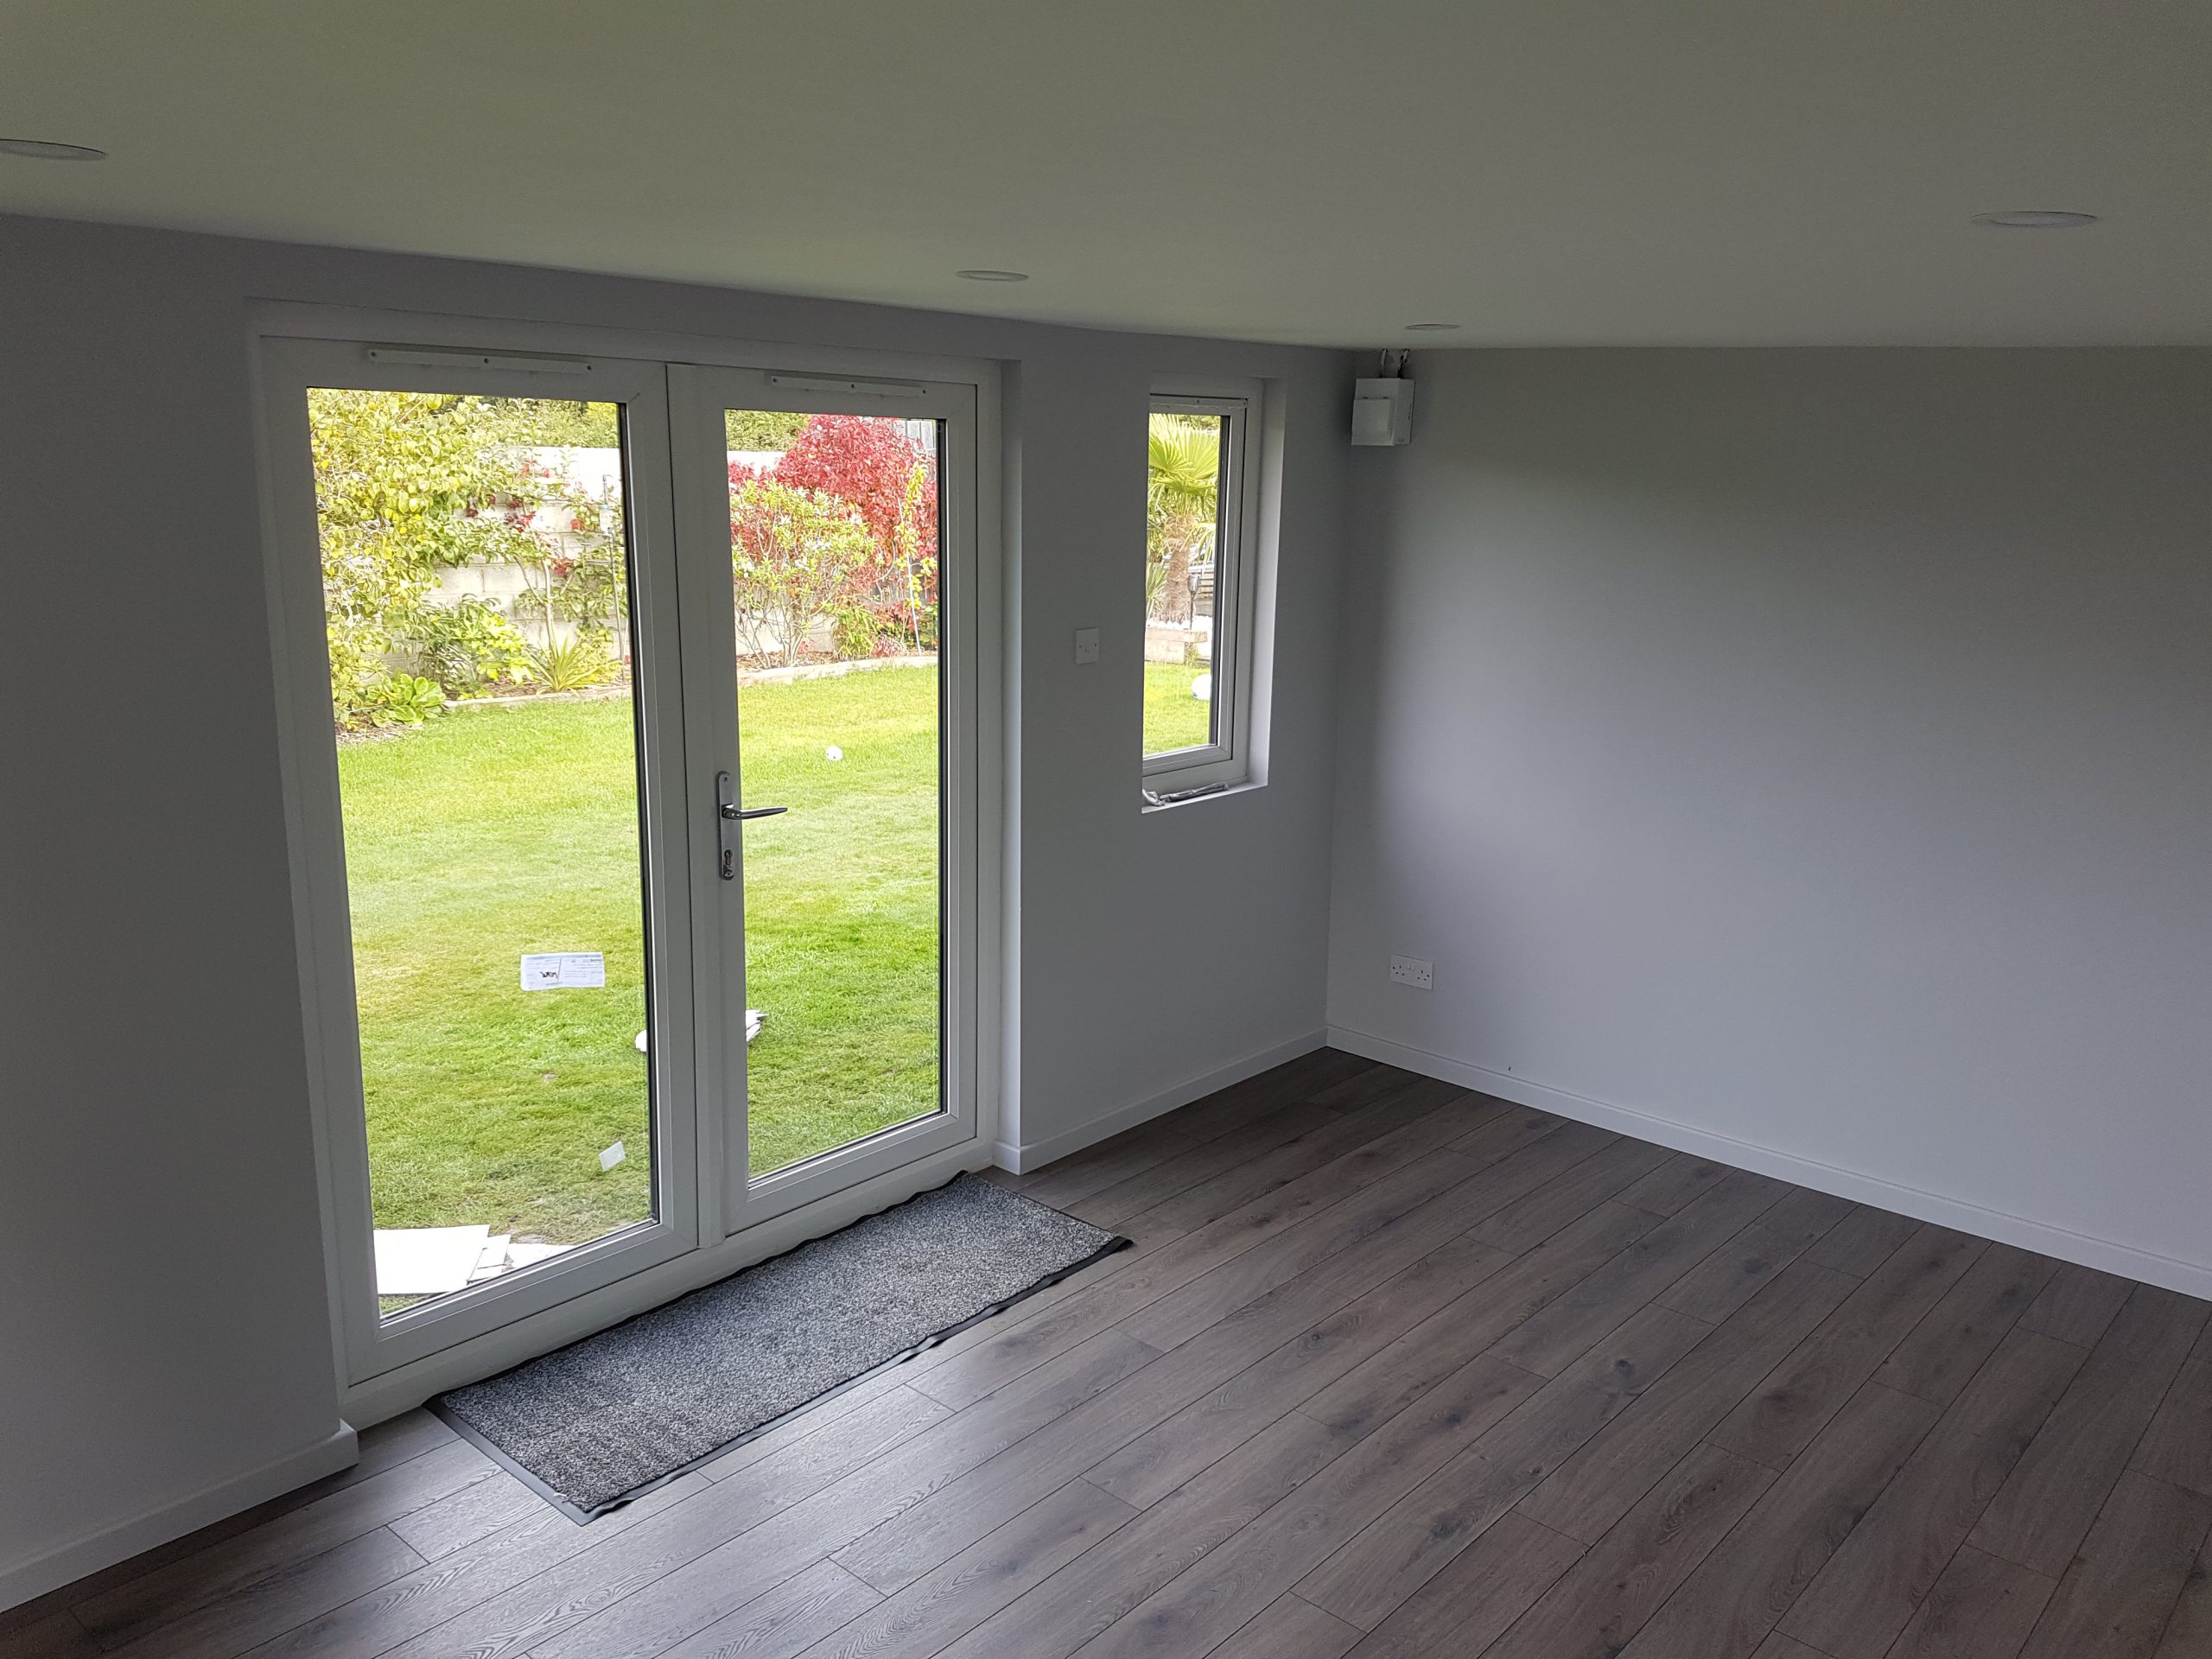
Flooring
Standard laminate flooring is suitable for use in a garden room.

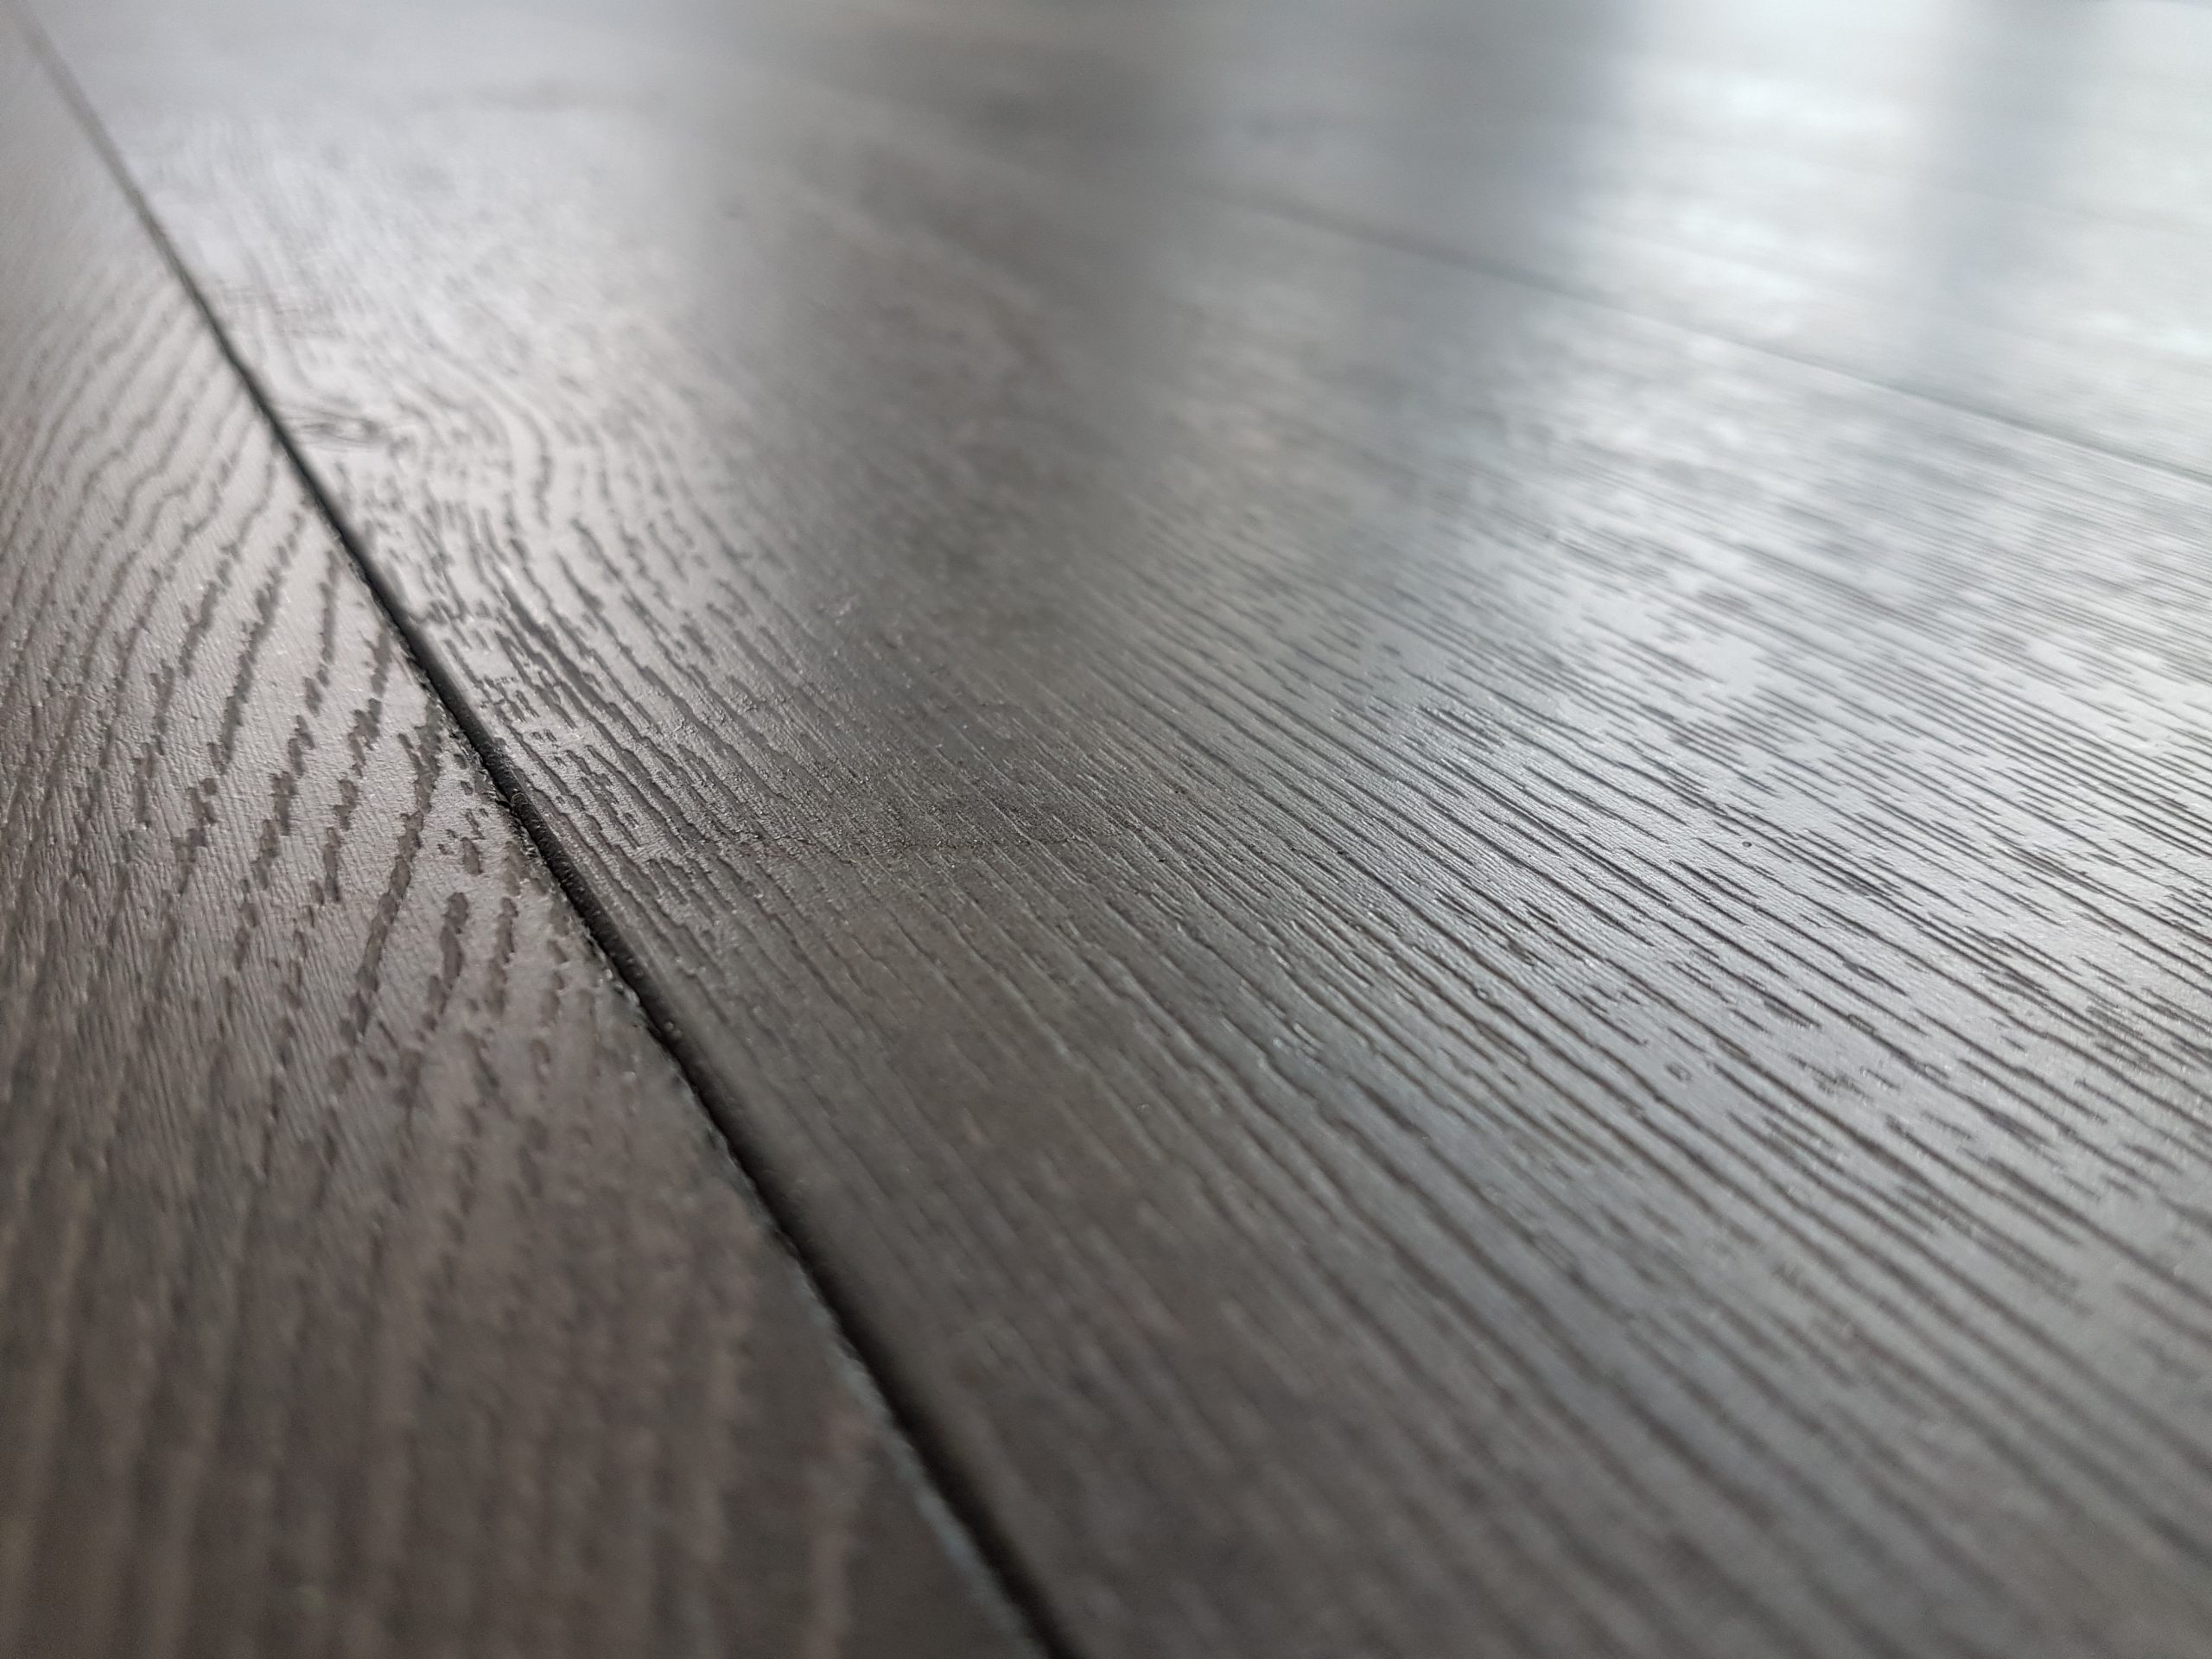
Firstly, lay a DPM and foam underlay, this can then be covered with a Dark grey Oak, V-groove, laminate flooring. staggered at 1/3 of the plank length.
The Laminate flooring should be left in the Garden room for at least 24 hours before fitting, This allows the flooring to acclimatize and reduce shrinkage and expansion once fitted. Leave an 8mm gap around the perimeter to allow the flooring to expand and contract.
Interior finish
The finish looks great, really fresh and bright! The light walls help to bounce all of the natural daylight around the room. Paint the skirting boards the same colour as the walls.
Back to…