Once you have completed your Garden Room Foundations, it’s time to start on the Frame.
How to Build a Timber Frame Garden Room
Base, Walls, and Roof
Your Garden Room frame consists of a base, 4 walls, and a roof. Each is constructed using a different thickness of timber, Which provides the required support.
The frame and roof are covered with OSB board to improve the rigidity of the frame.
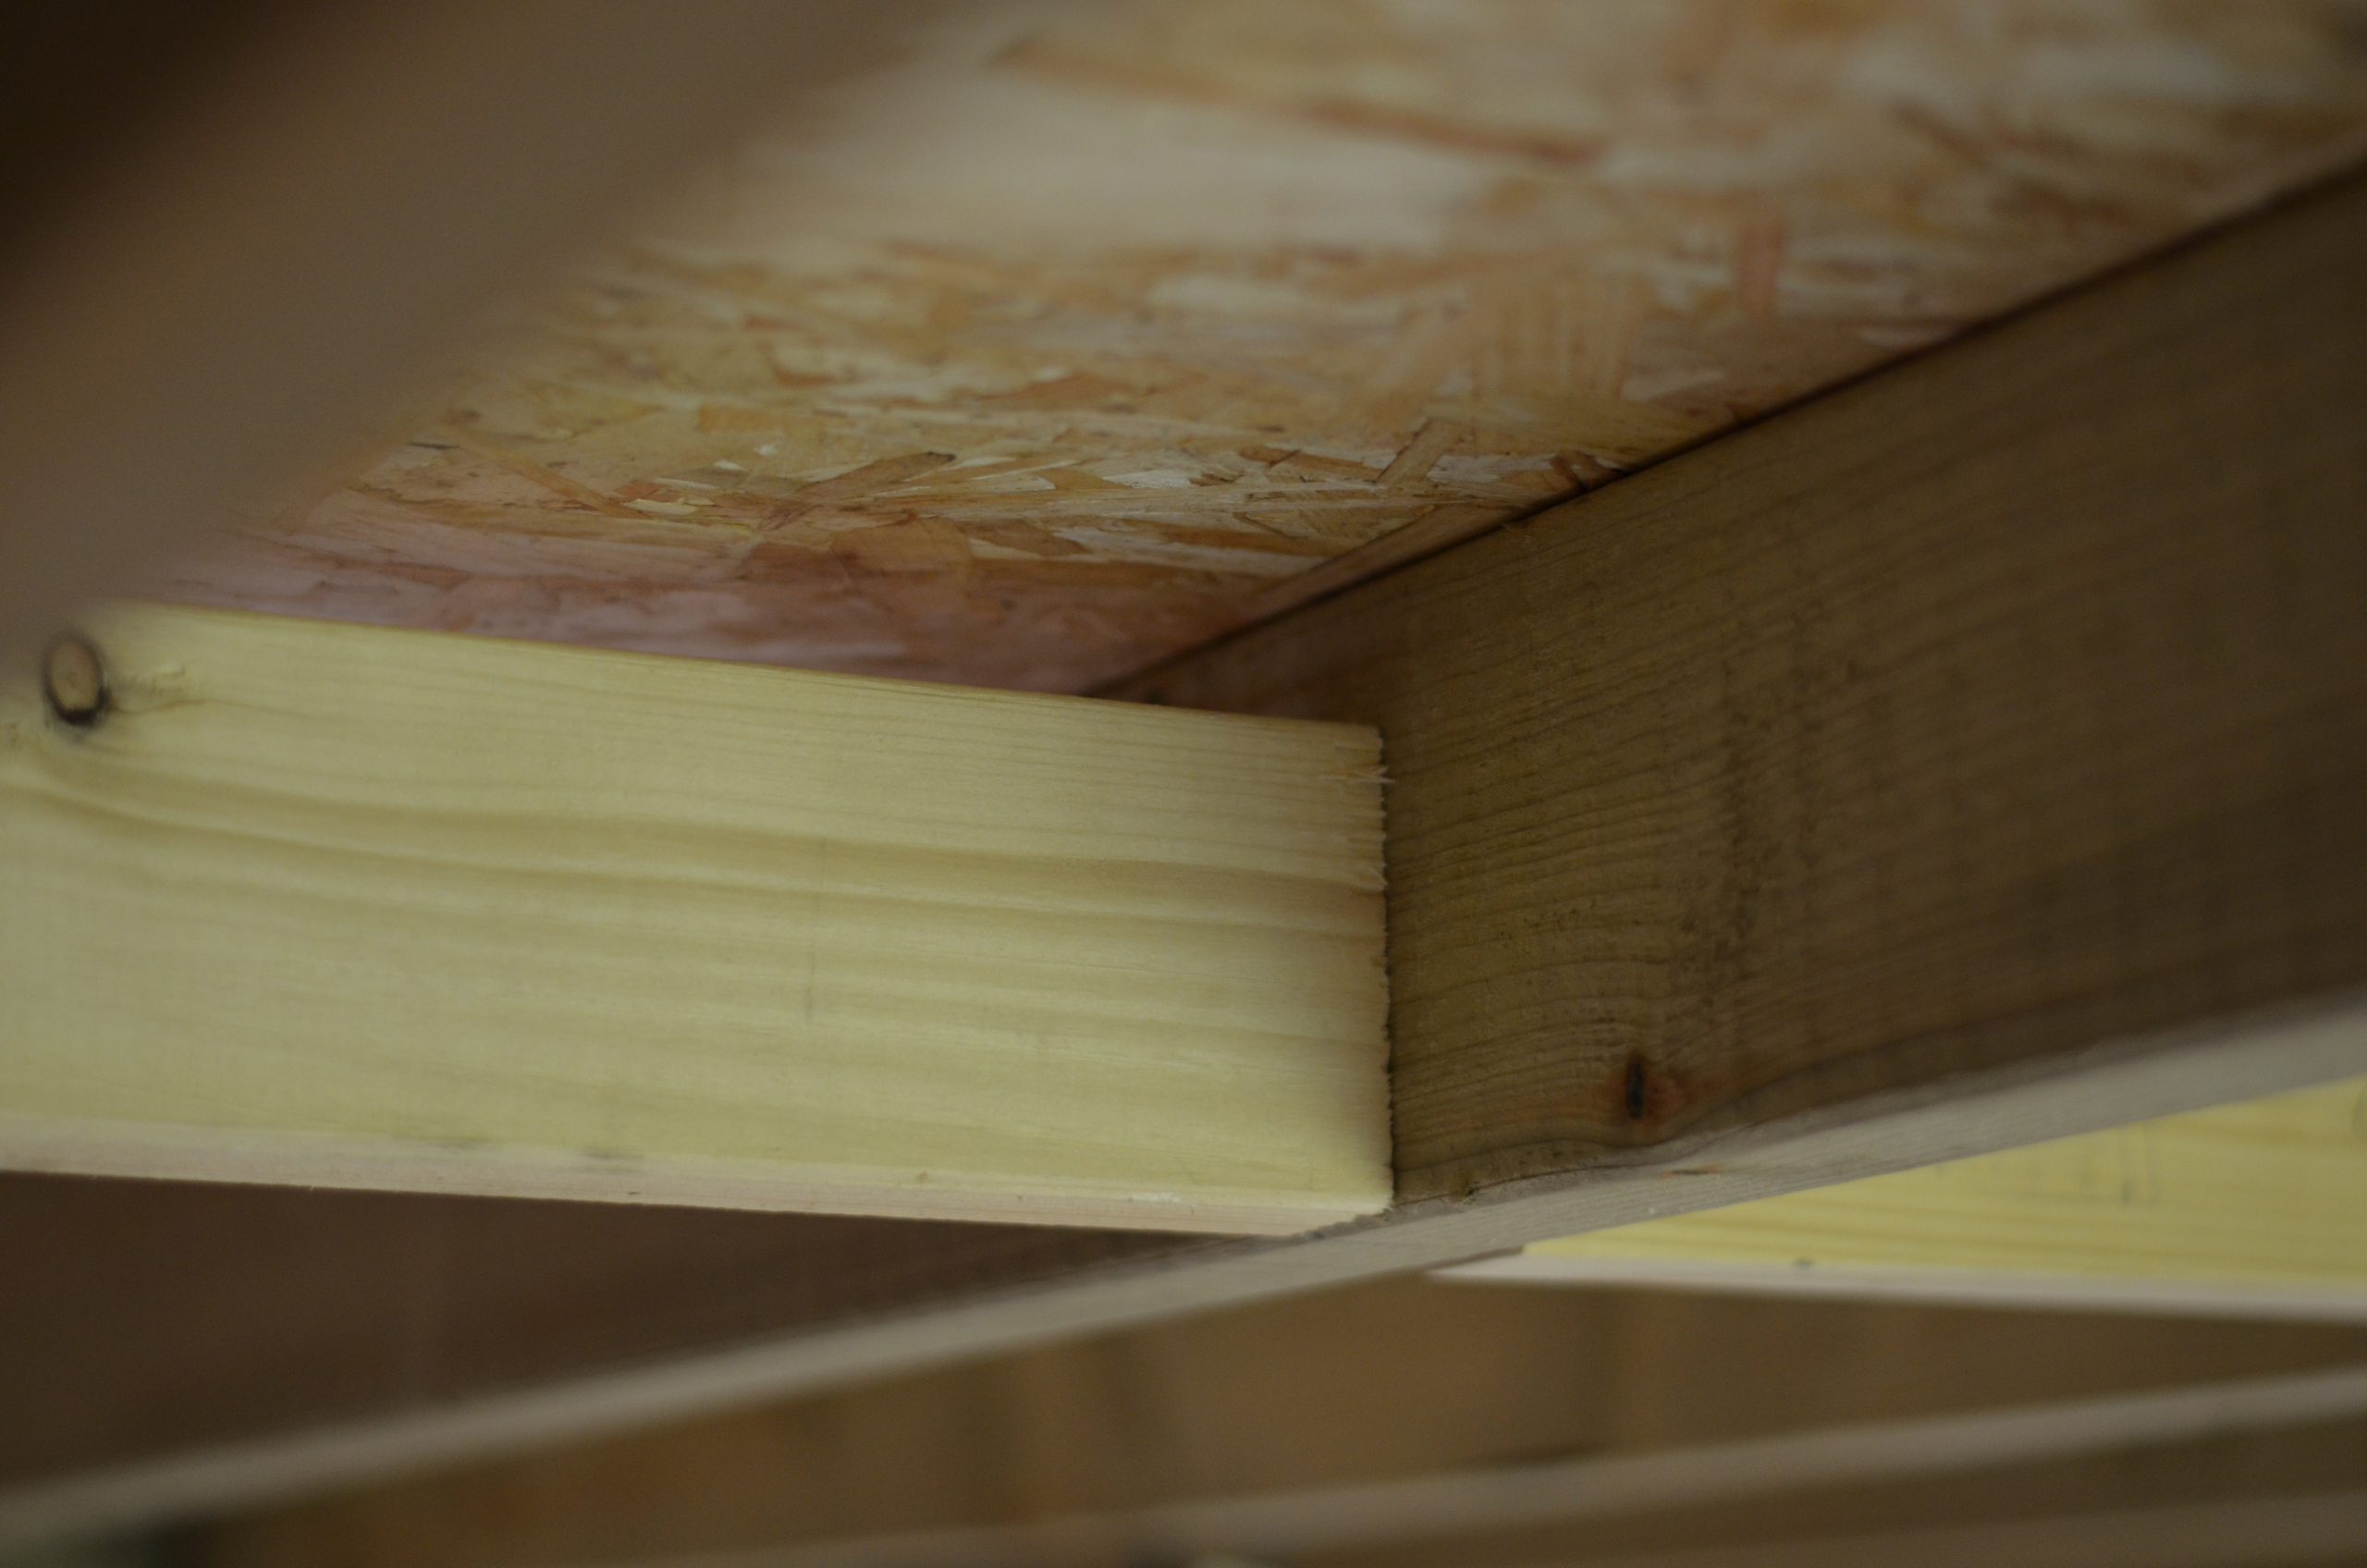
Base
The Garden Room base is constructed using 4×3″ timber and the inner frame is constructed from 4×2″ timber fixed with 250mm timber screws, and 125mm nails.
PIR Insulation is added inside the base.
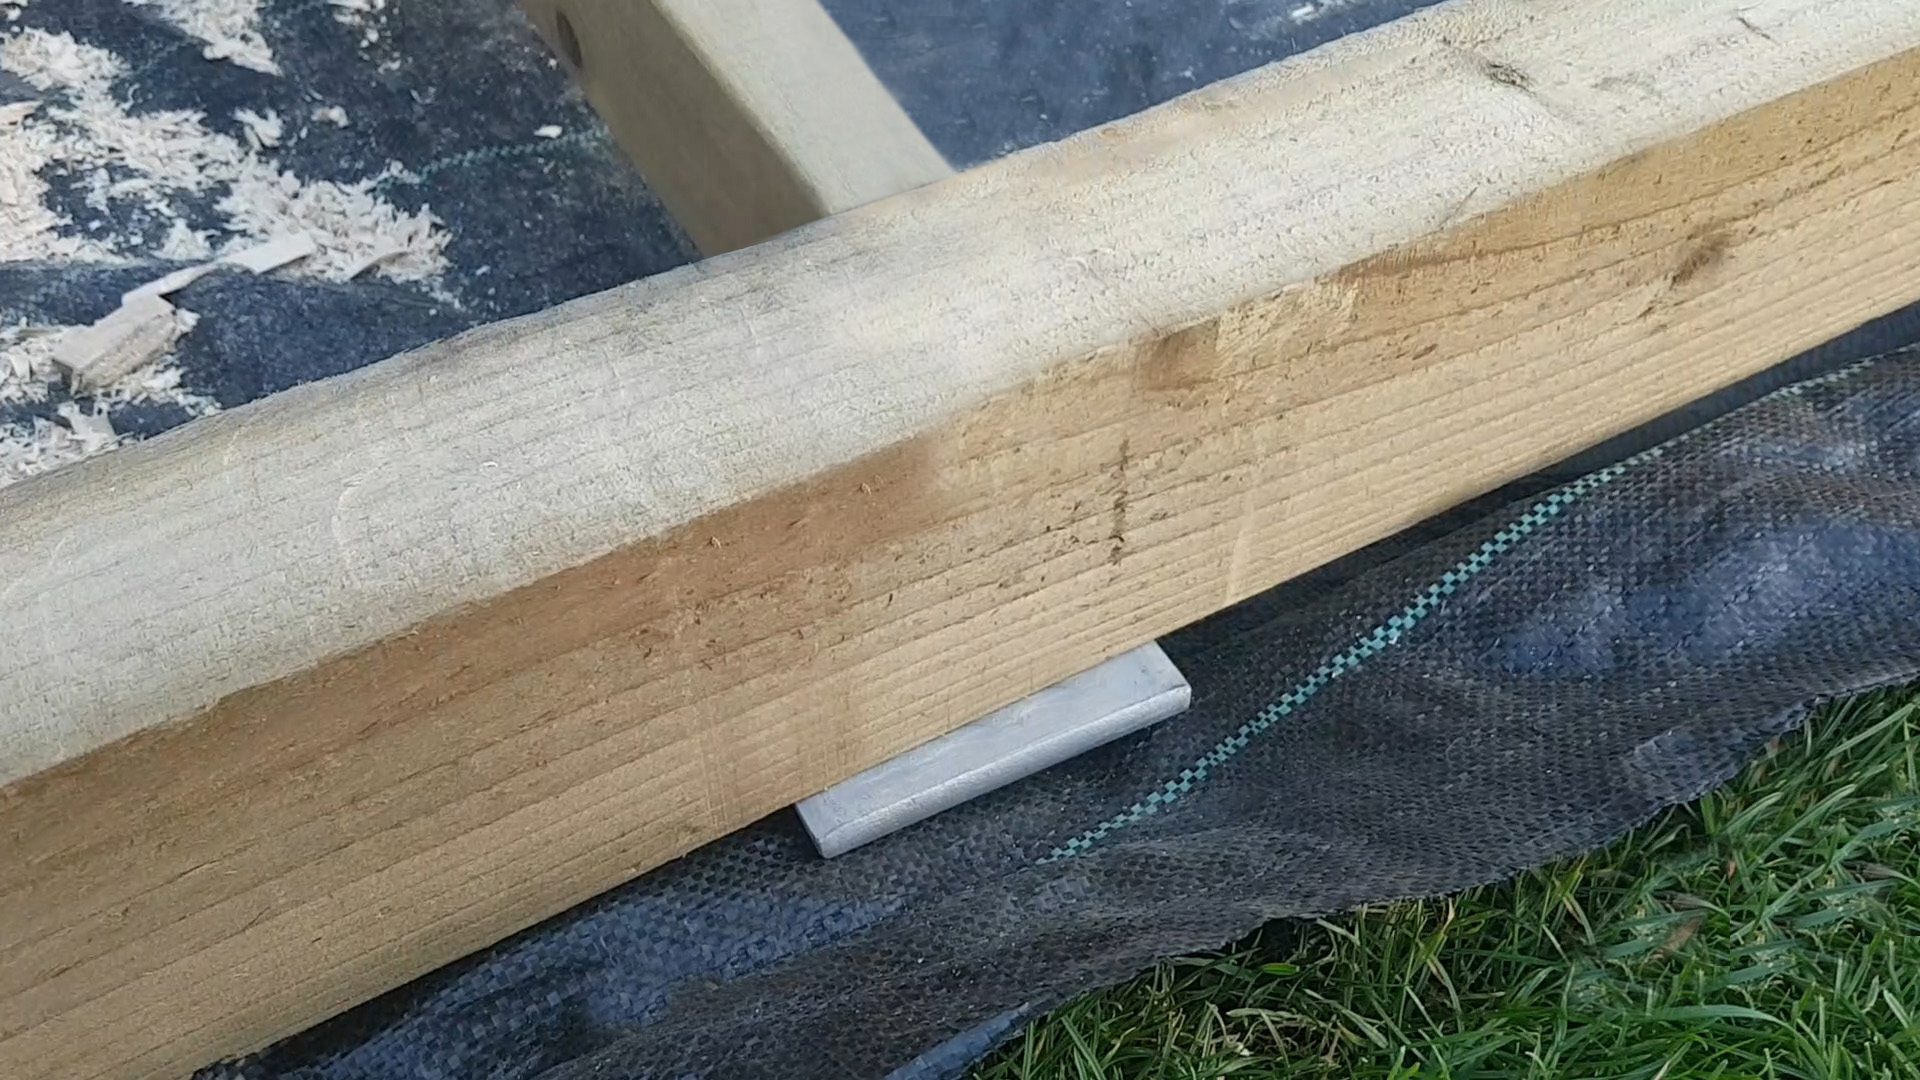
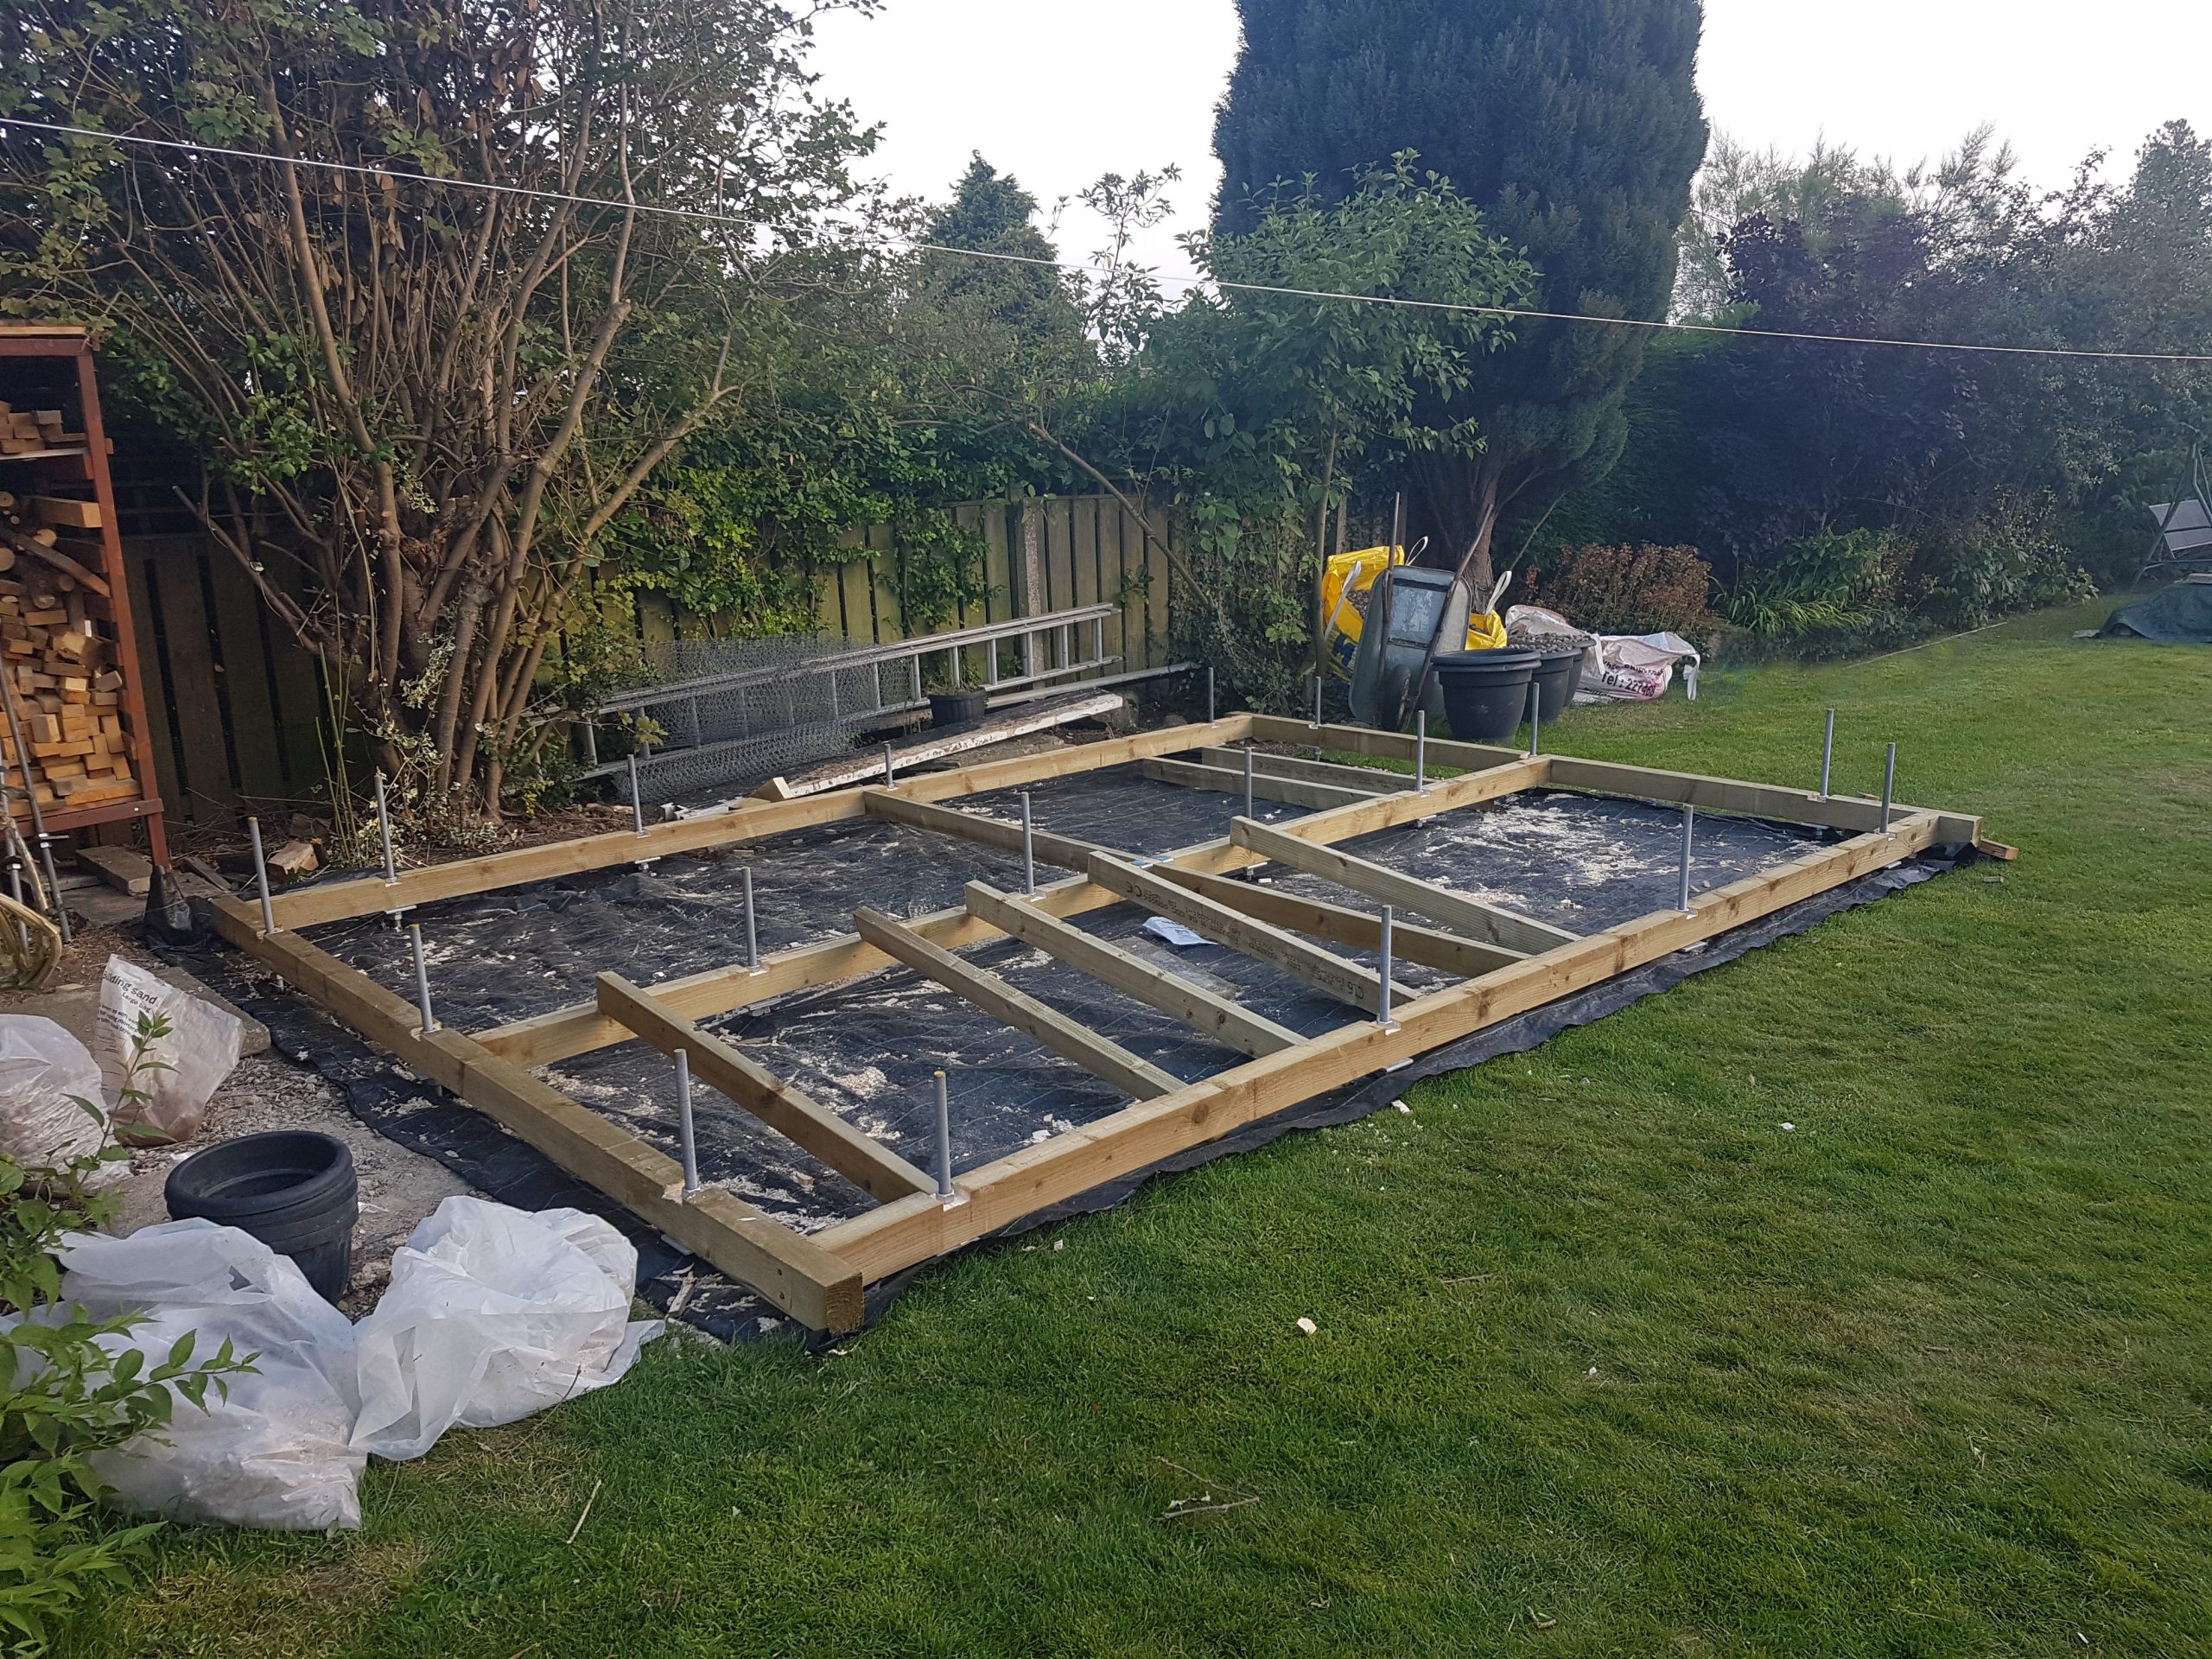
Firstly, Construct the outer base frame and central beam using 4×3″ timber and 250mm timber screws to secure each length, then, construct the inner frame from 4×2″ timber at 400mm centres and nail with 125mm nails. This gives you a very strong base with no movement or sagging.
Add 100mm Rigid PIR Insulation inside the Garden room base and fix it in place with lengths of 2×1″ timbre running under the base. Ensure the insulation is a snug fit and fill any gaps with expanding foam. Using a foam gun gives you much more control and less mess. Don’t forget your foam gun cleaner.
Lay the Floorboards using 22mm tongue and groove waterproof chipboard flooring. Glue each joint with wood glue and remove the excess once dry.
Walls
The back and sides of the Garden Room Frame are made from 4×2″ timber and the front is made from 5×2″ timber.
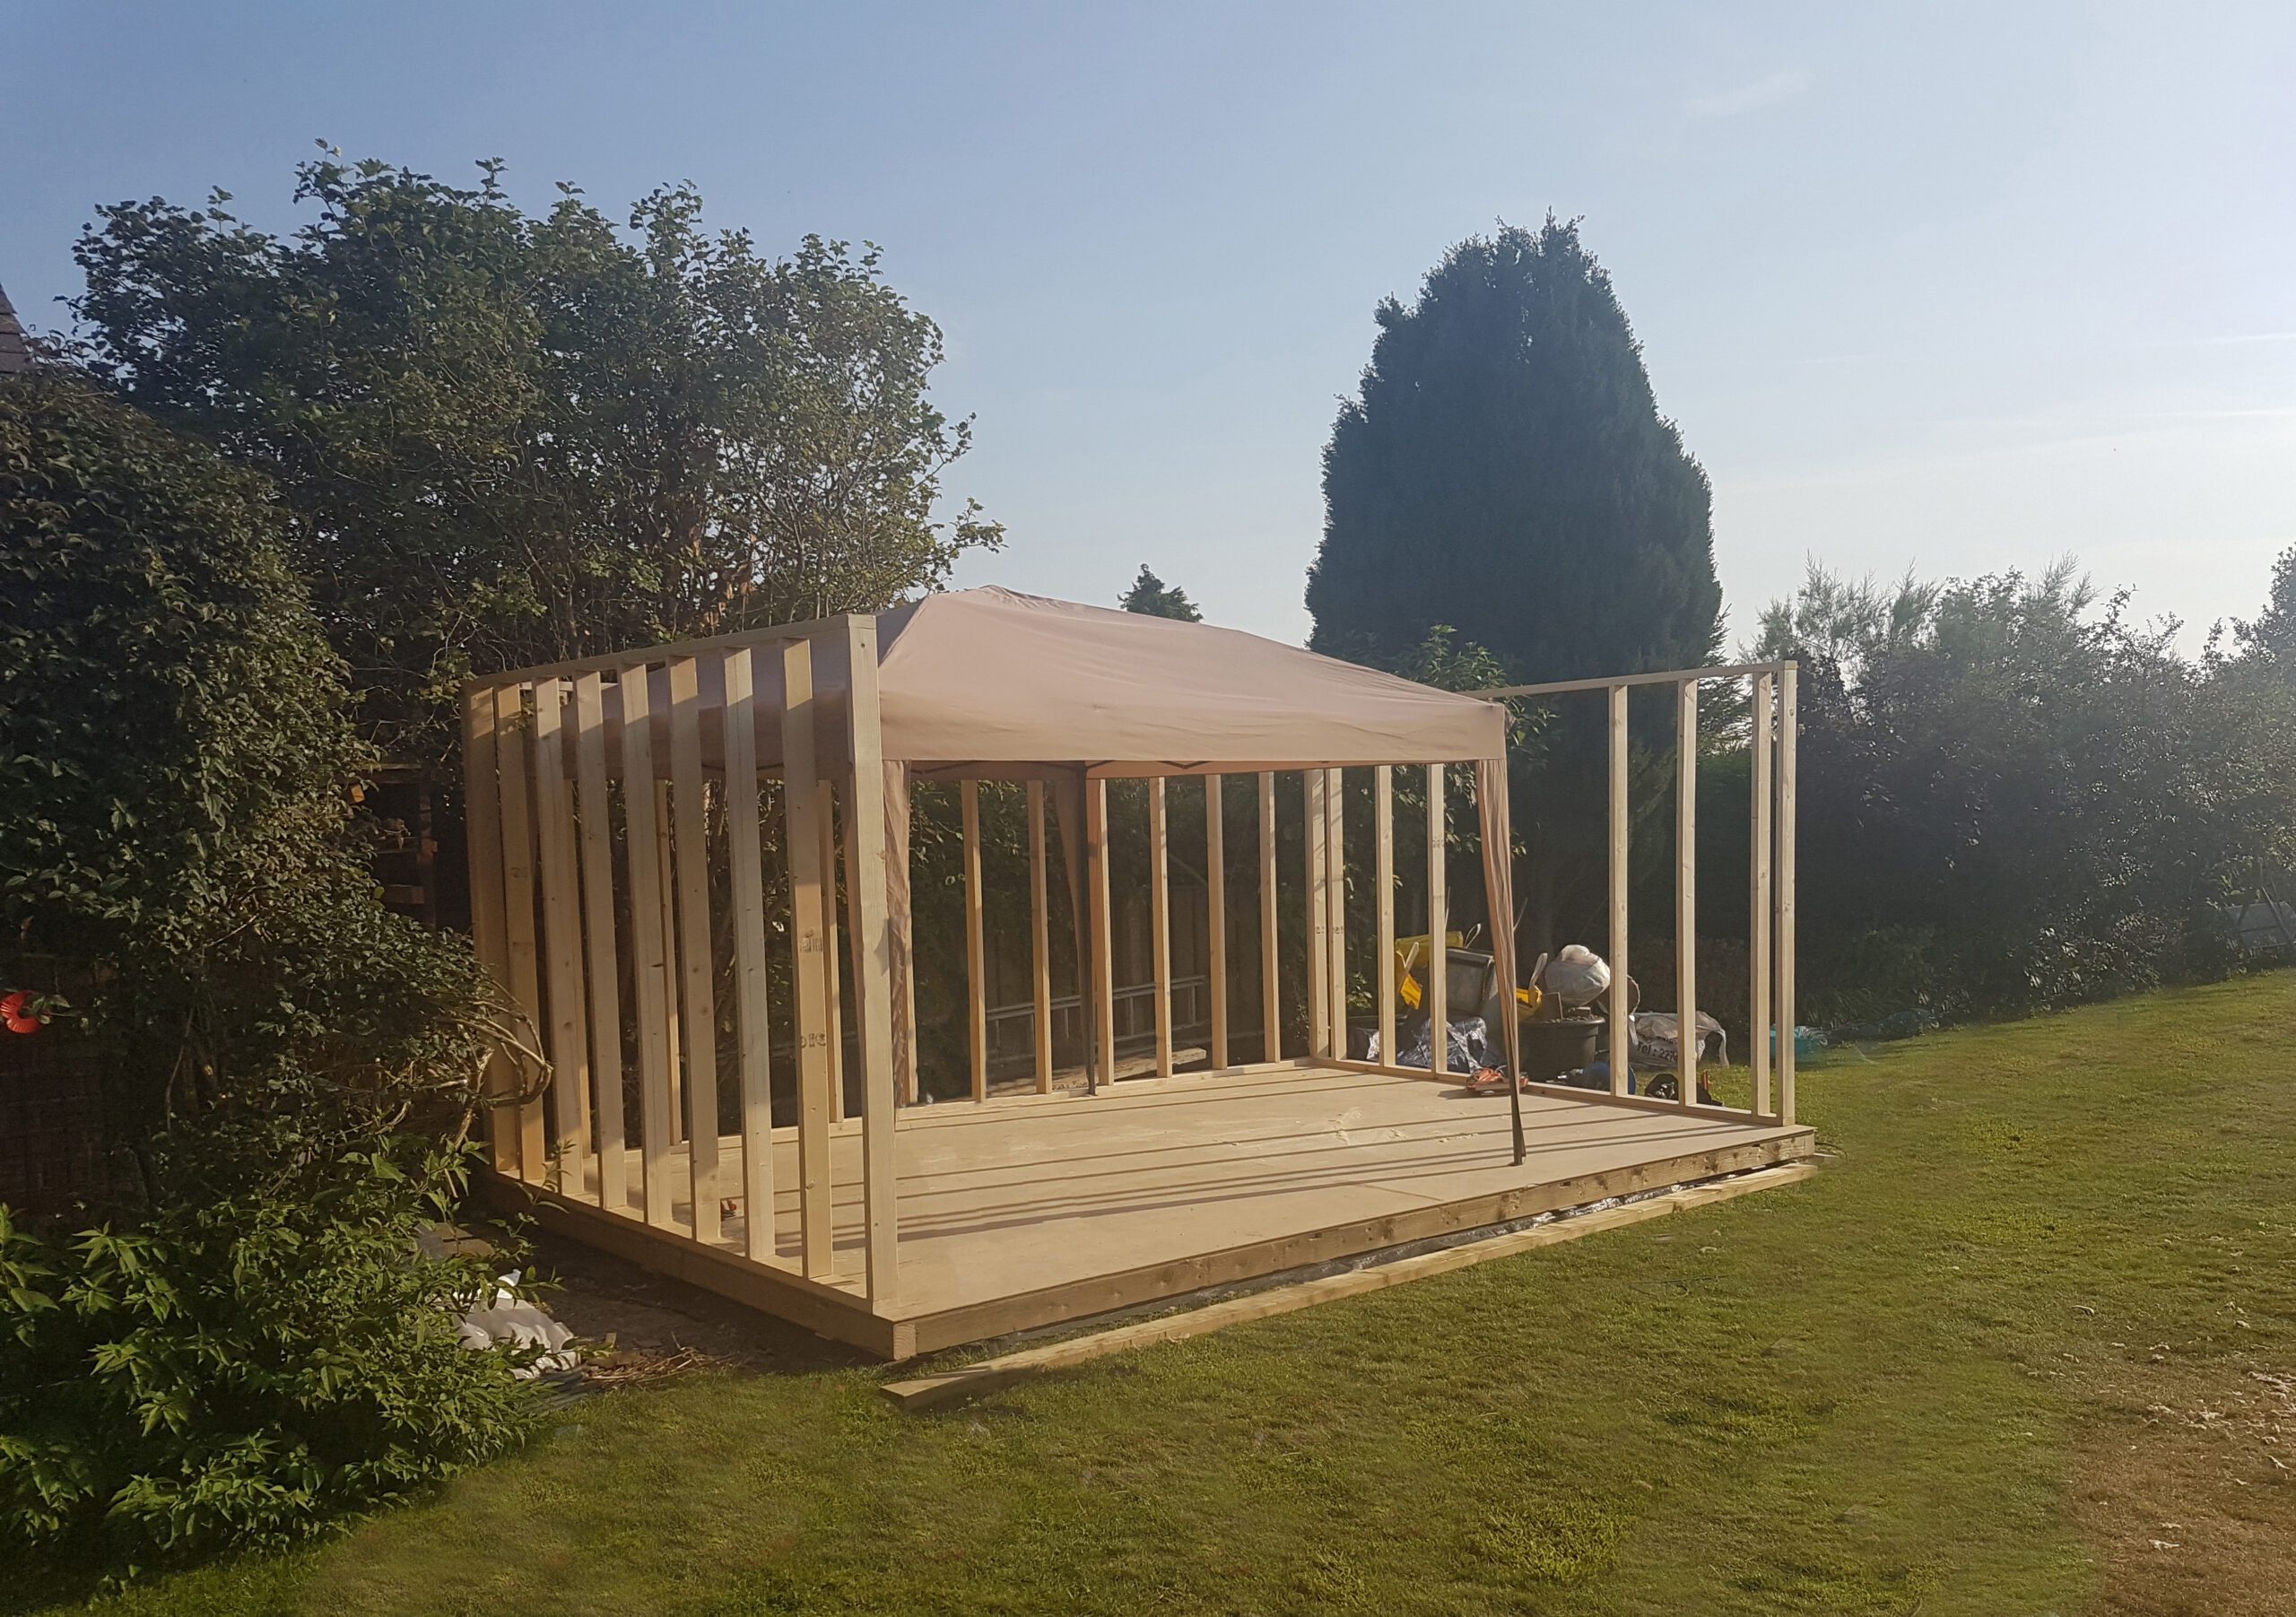

Make the back and sides of the wall structure from 4×2″ timber and make the front wall structure from 5×2″ timber. The 5×2″ gives extra strength for the weight of the roof and the door and window openings. This also gives a wider cavity for the door frame. all spaced at 400mm centres.
Nail the structure together using 63mm and 90mm nails and a nail gun.
It is vital at this point to get everything square and rigid before bracing the frame in all directions. Rushing this step will only cause issues further into the build.
Roof
5×2″ timber is used for the main Garden Room roof structure and the roof is fastened down at the front using upside-down joist hangers.
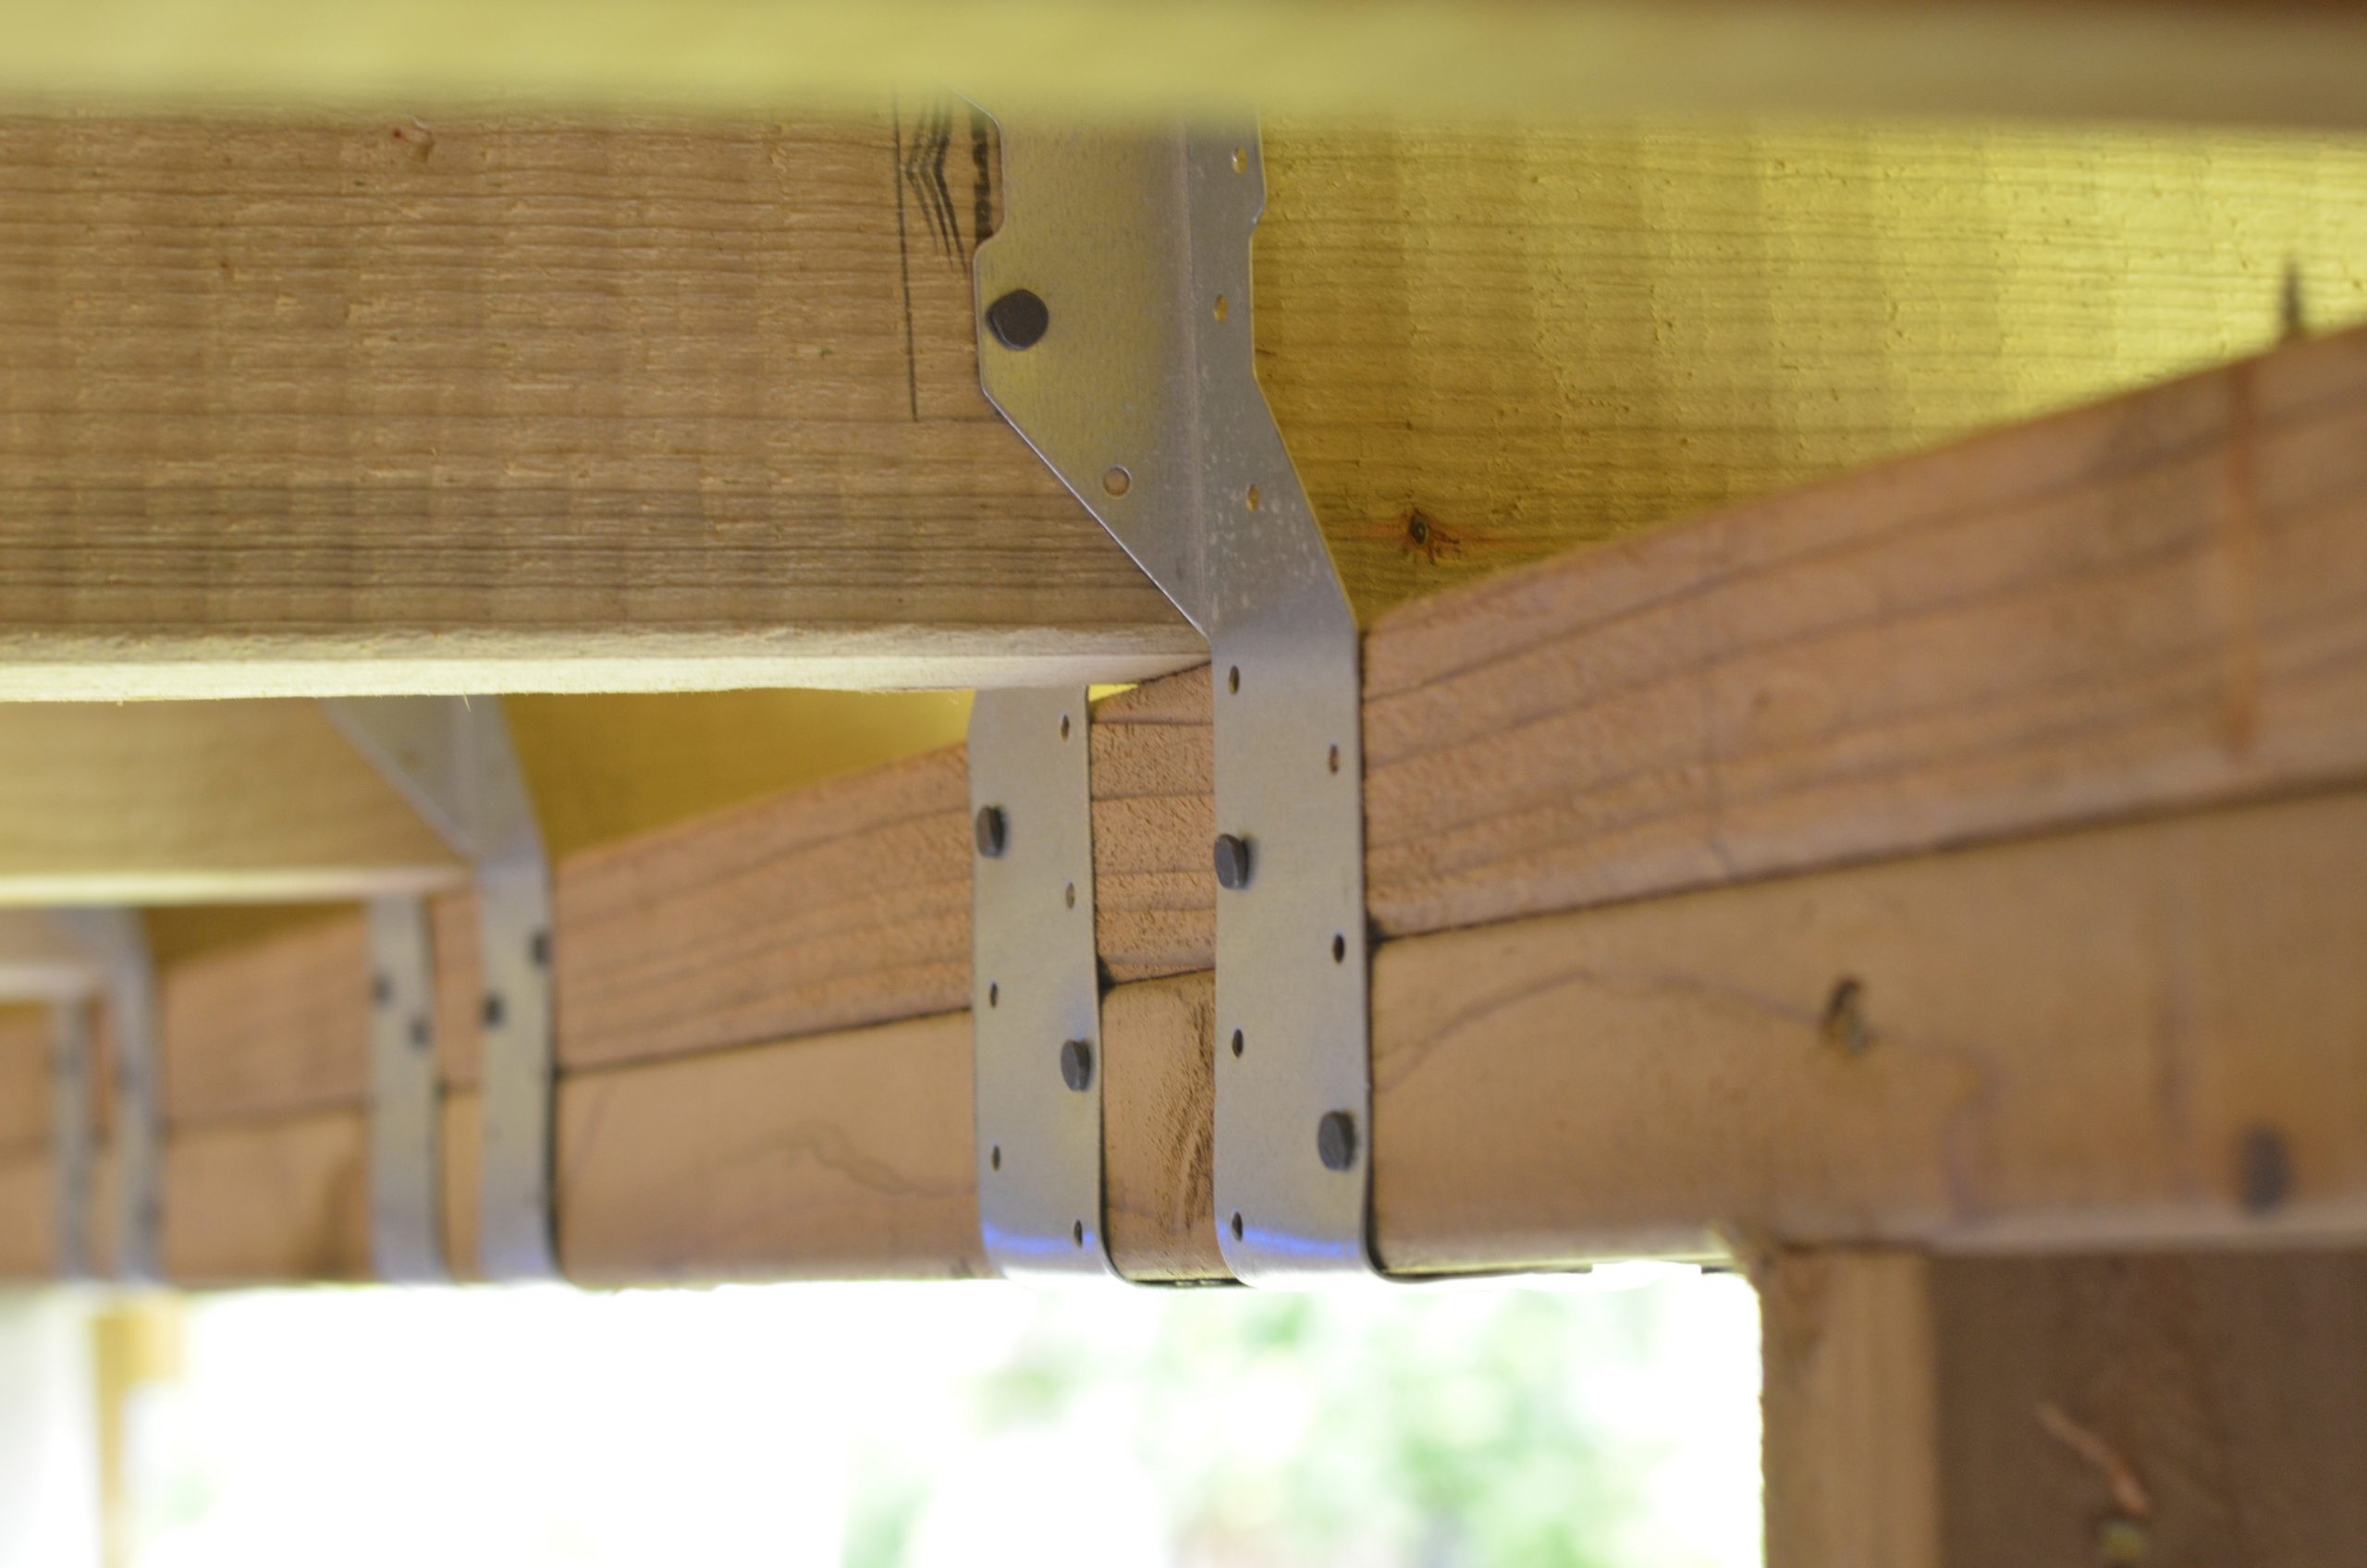
Use 5×2″ timber for the main roof structure and 4×2″ timber for the noggins. This allows airflow through the roof and over the noggins. The roof is fastened down at the front using joist hangers mounted upside down. This prevents any movement if the wind gets under the overhanging canopy.
The rear of the roof can be vented at this point by adding a series of holes or soffit vents, the front will be vented through the canopy.
OSB
Wrap the outer framework of the Garden Room in OSB boards and the roof in Tongue and groove roofing board.


Wrap the outside of the Garden Room Frame in OSB boards using 63mm nails to attach the OSB to the Frame. The OSB greatly increases the rigidity of the garden room and can help to square up the frame. Most boards are 2400mm high so ideal for using full height with minimum wastage.
Tongue and groove roofing boards are used for the roof. Fixed in place using 63mm nails and glued along the tongue using wood glue for a seamless finish.
Next…