

Breathable Membrane and Cladding
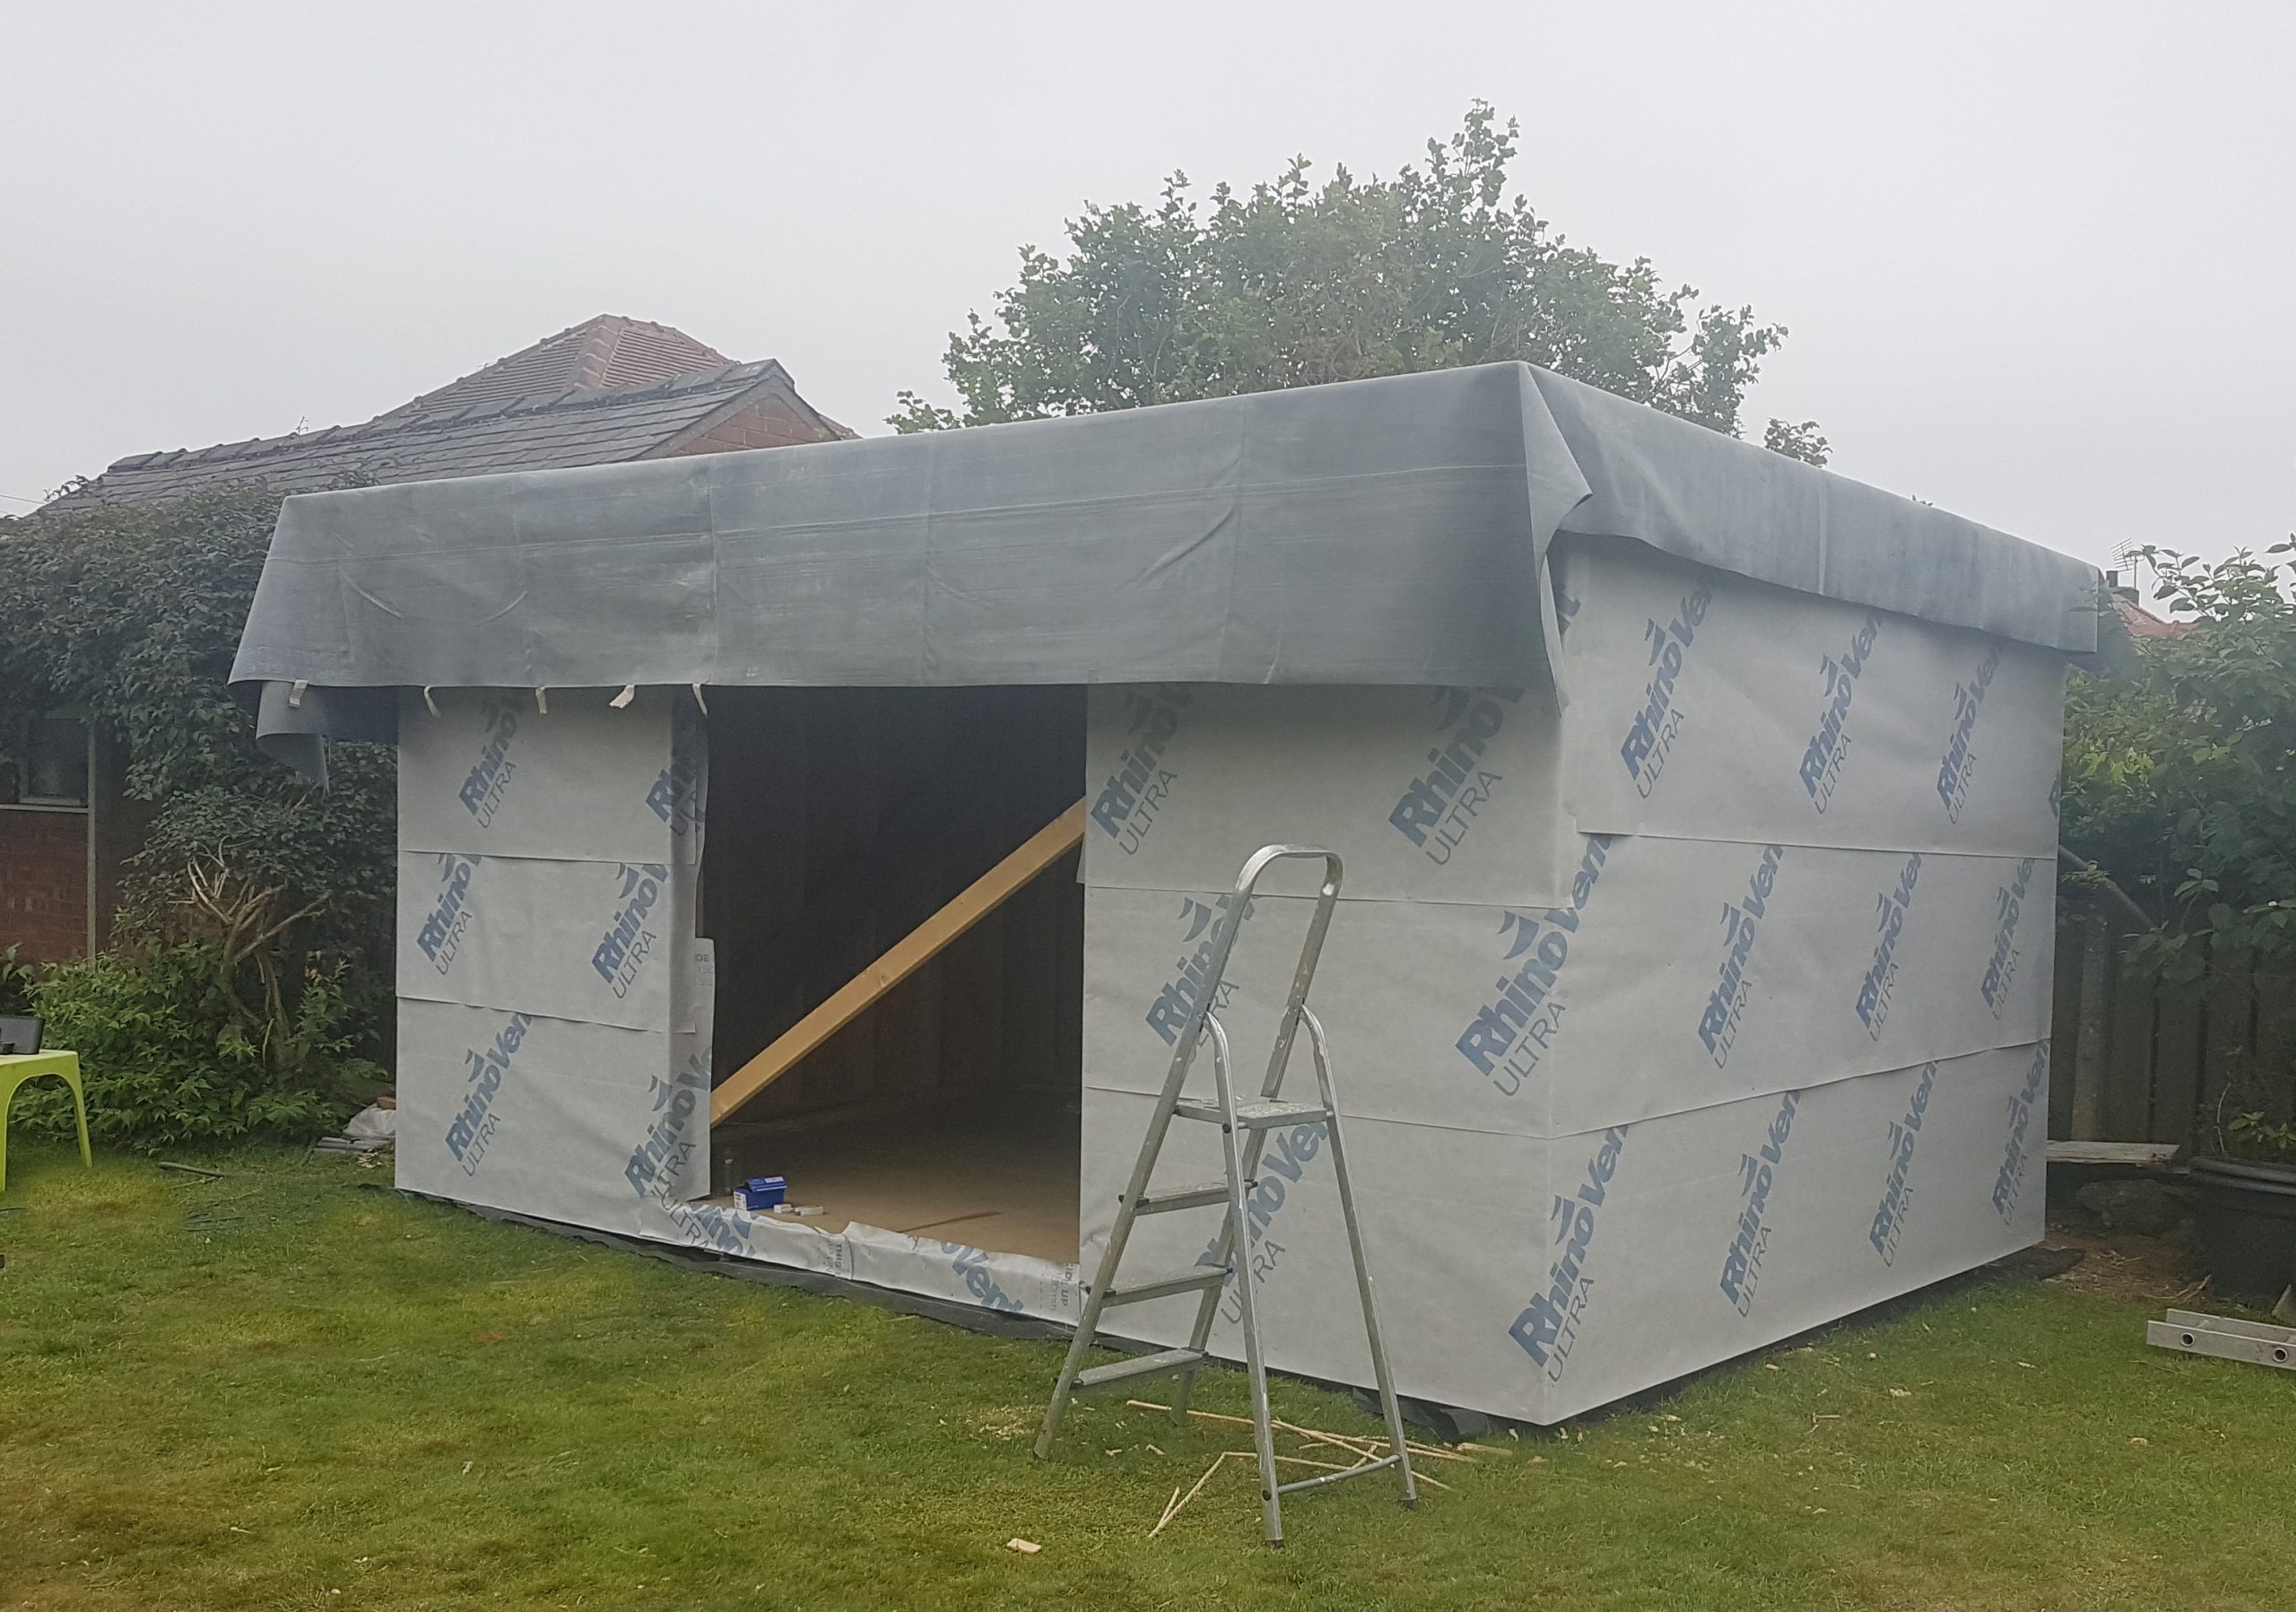
The Garden Room Exterior is wrapped in a Breathable membrane to keep it weatherproof.
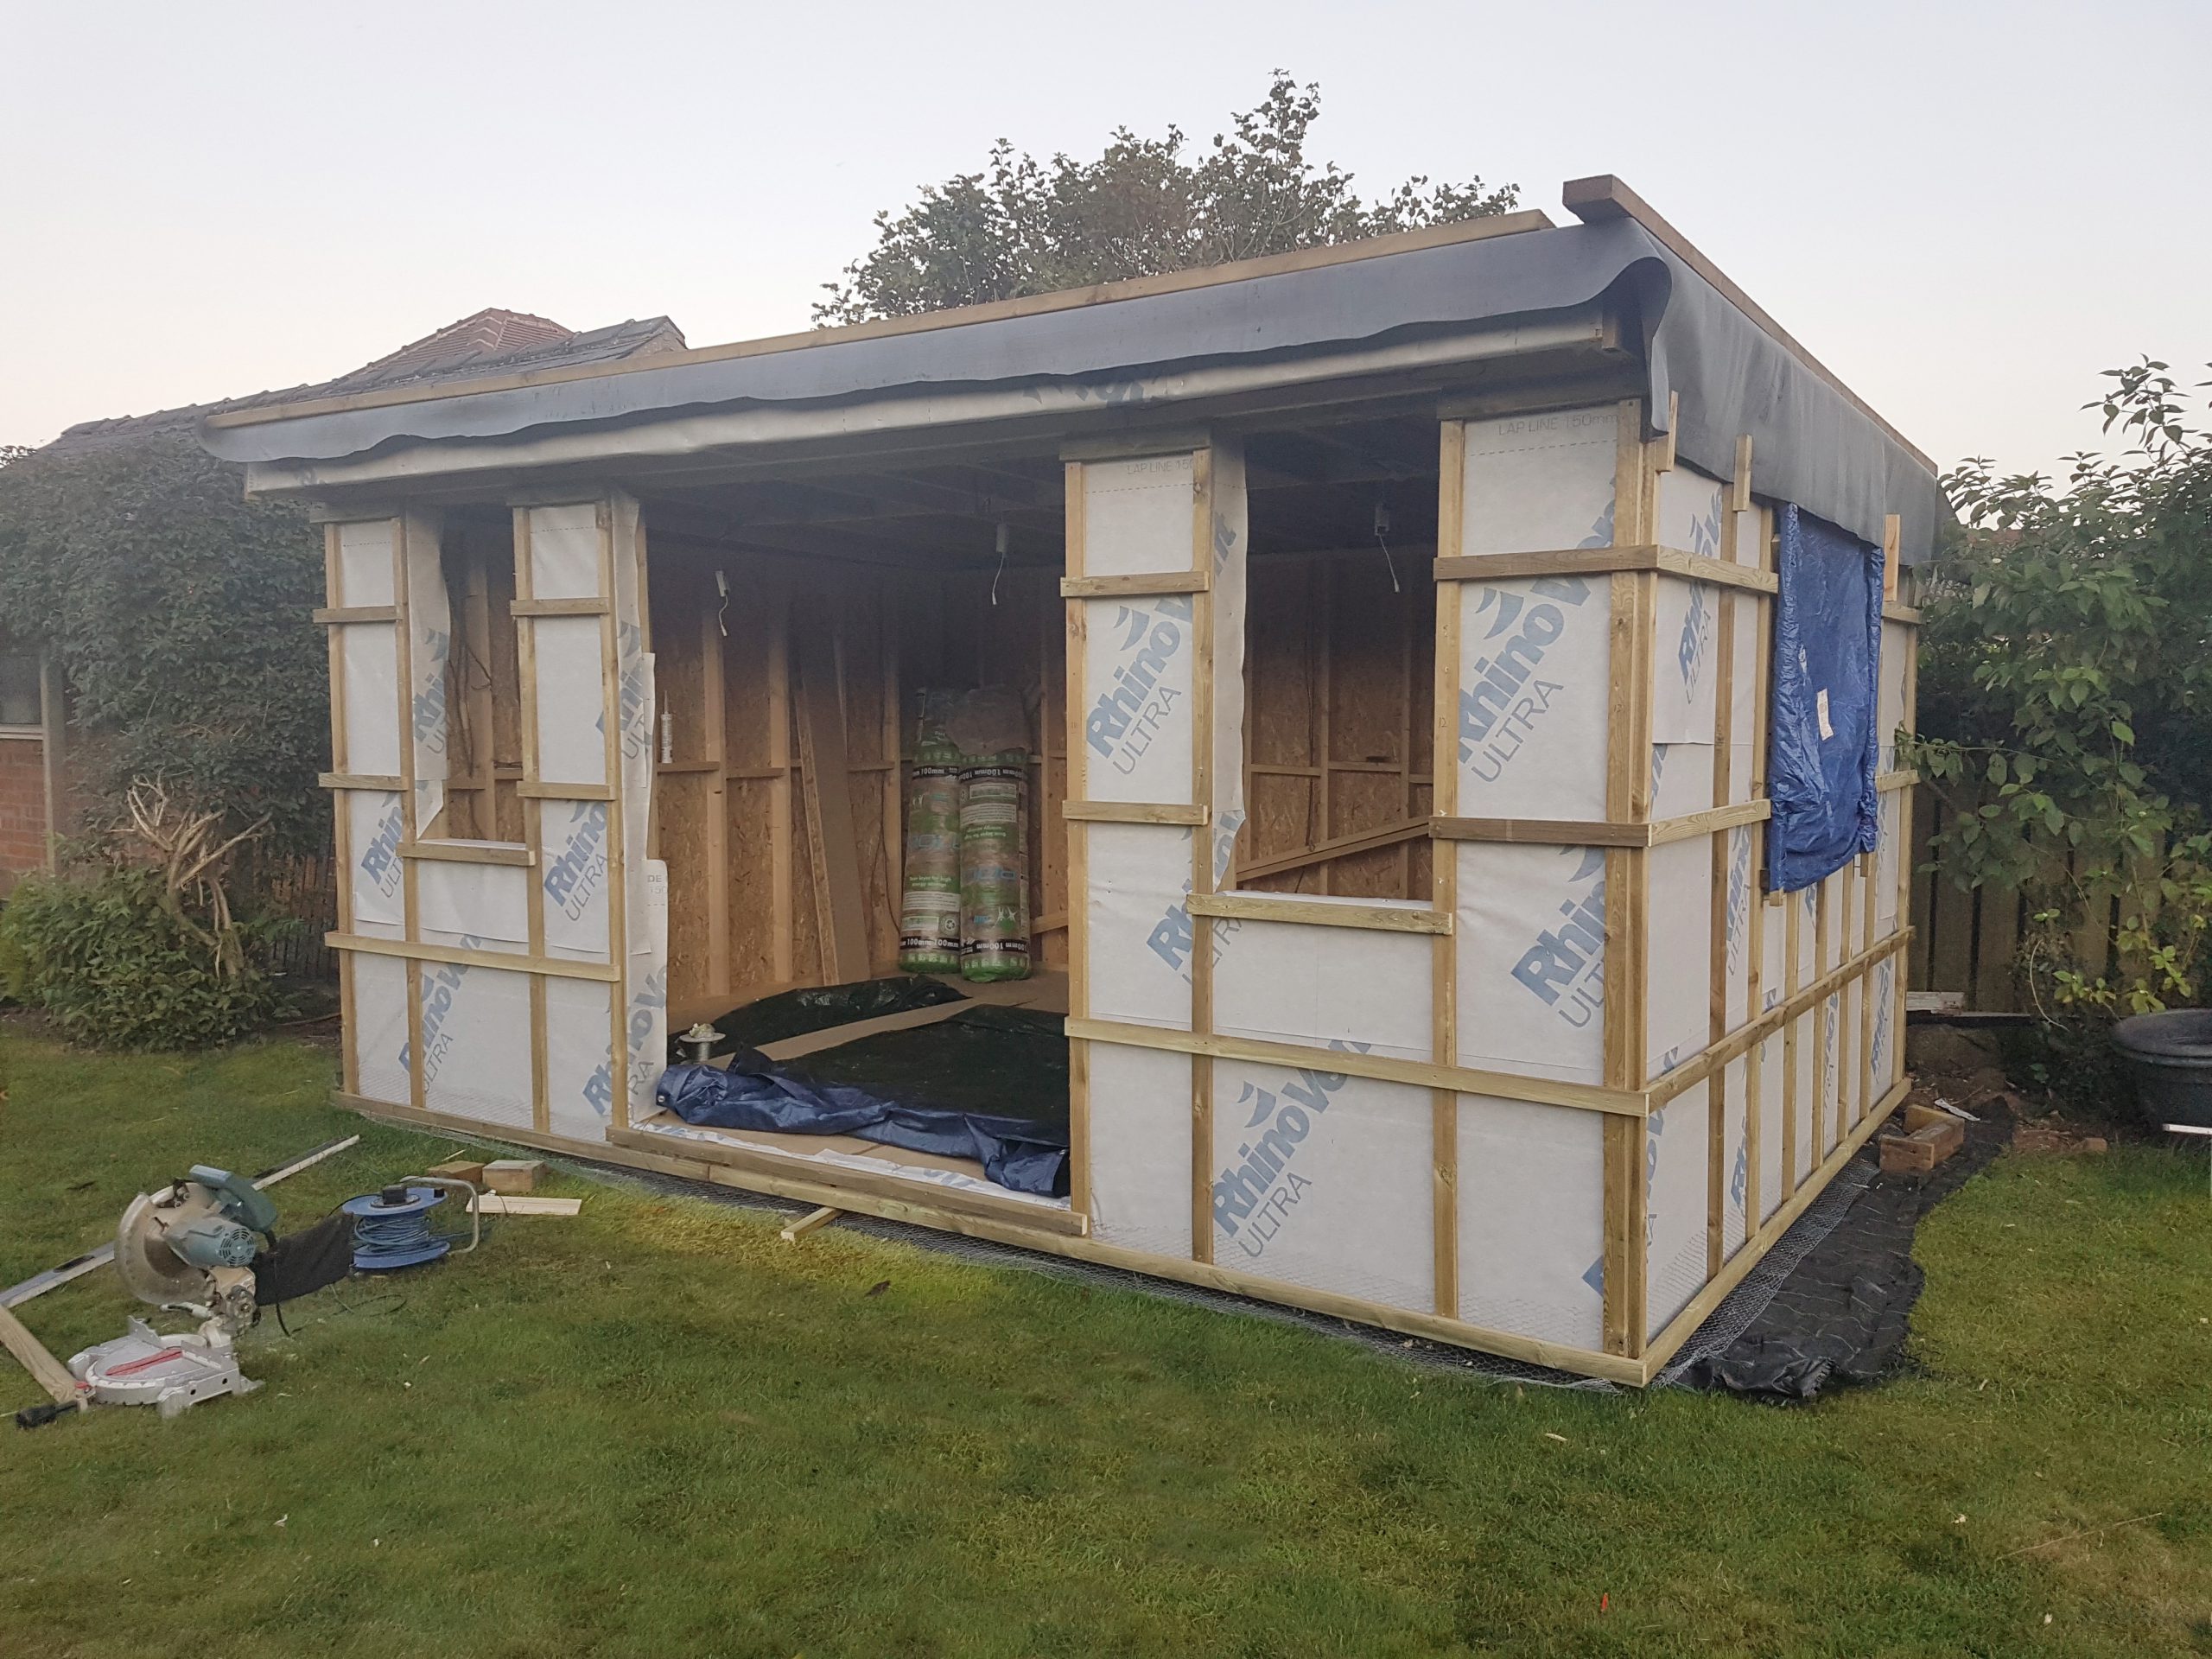
2 layers of 2×1″ battens create a frame for the cladding to attach to, whilst also allowing air flow between the cladding and the Garden room structure.
Breathable Membrane
The garden room exterior is wrapped in a breathable membrane to make it water-tight whilst allowing the wood to breathe.

What is a Breathable Membrane for
A breathable membrane (roofing membrane) wraps the Garden Room exterior and allows the structure to breathe, whilst stopping moisture from the exterior getting back into the building.
How to Install a Breathable Membrane
- Start from the bottom of the frame, wrap the perimeter of the Garden room with the breathable membrane
- Staple into position with a staple gun.
- Repeat for the next layer. Overlap each layer by the amount shown on the breathable membrane (usually a minimum of 150mm).
- Ensure the membrane folds into the window and door openings.
Breathable Membrane in a Garden Room: Installation Guide
A breathable membrane is essential for your Garden Room. this is because….
Battens
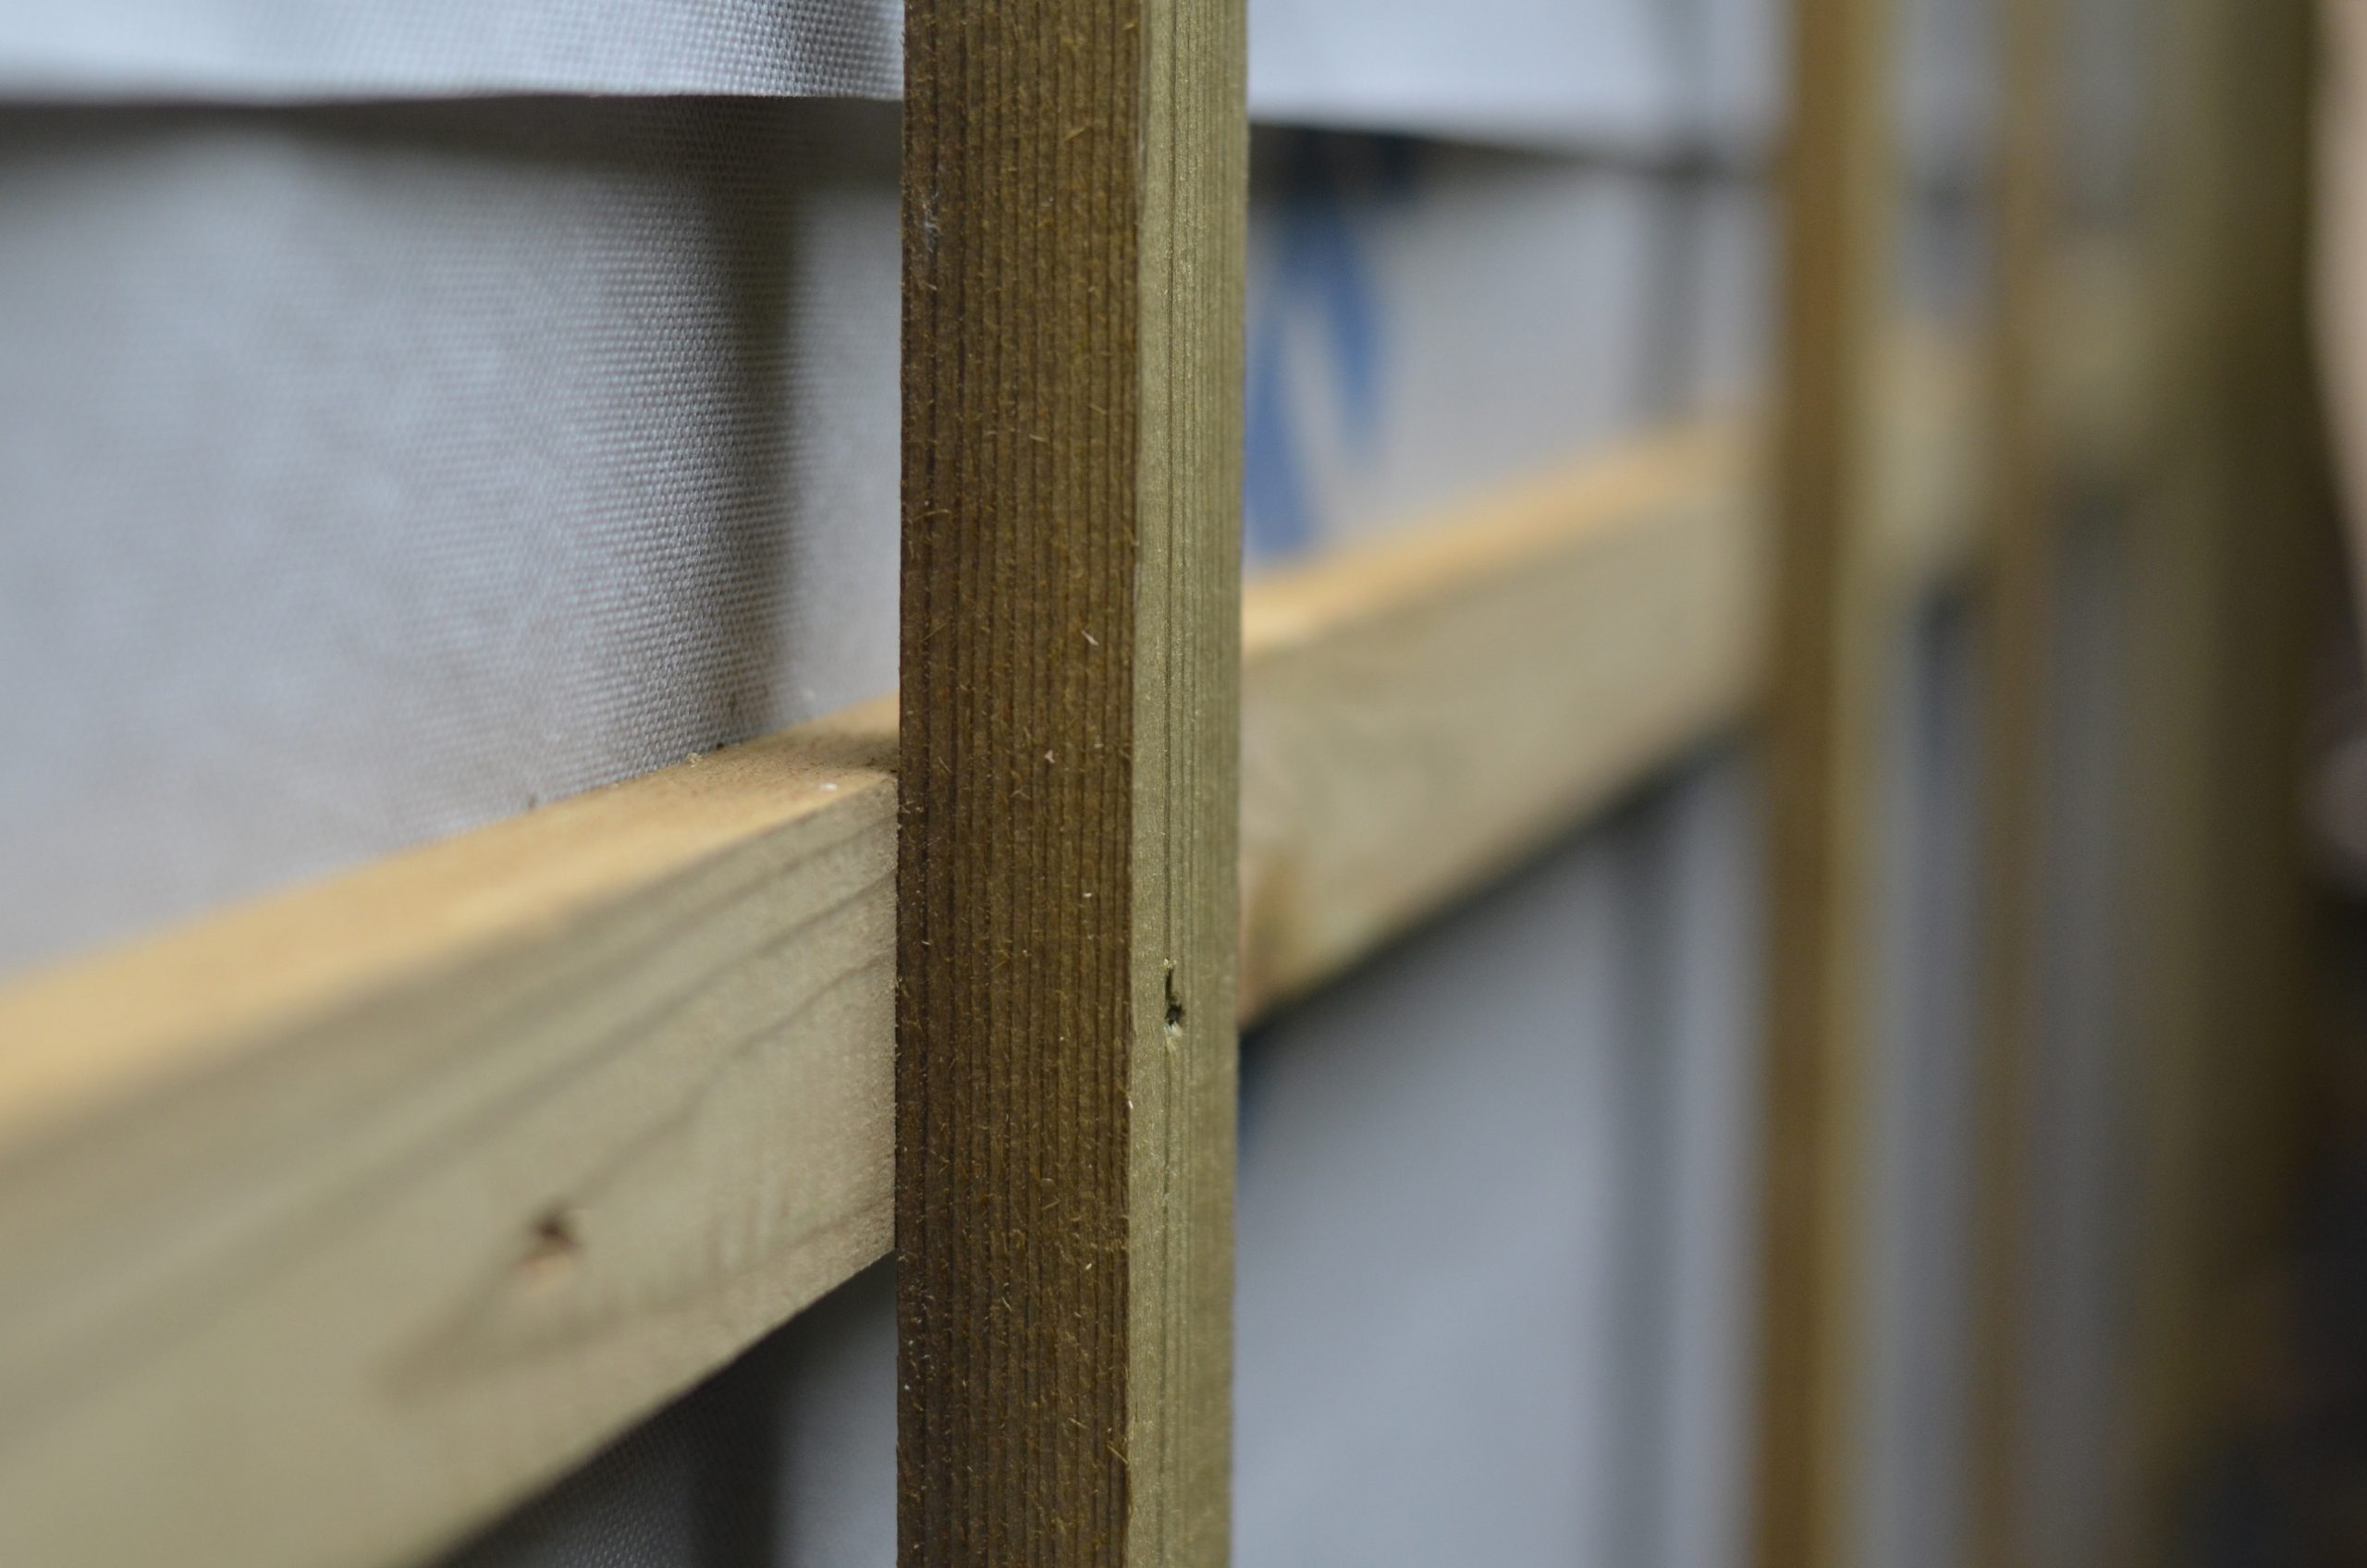
2×1″ pressure treated Laths provide a framework to attach the exterior cladding to.
Why install battens behind the Cladding
The battens allow air to flow behind the cladding, removing excess moisture and preventing the growth of mould and rotting the timbers
With Vertical cladding, you will need to double batten the building using 2×1″ pressure-treated Lats for better airflow.
Horizontal cladding requires only 1 layer of vertical battens as the air can still flow up from the base and under the cladding.
How to Install Battens
- Install vertical battens, lined up with the internal framework
- Nail through to the internal framework for a secure fixing
- Install horizontal battens on top, spaced evenly
- Nail the horizontal battens to the vertical cladding
- This will allow good airflow behind the cladding.
Exterior Cladding
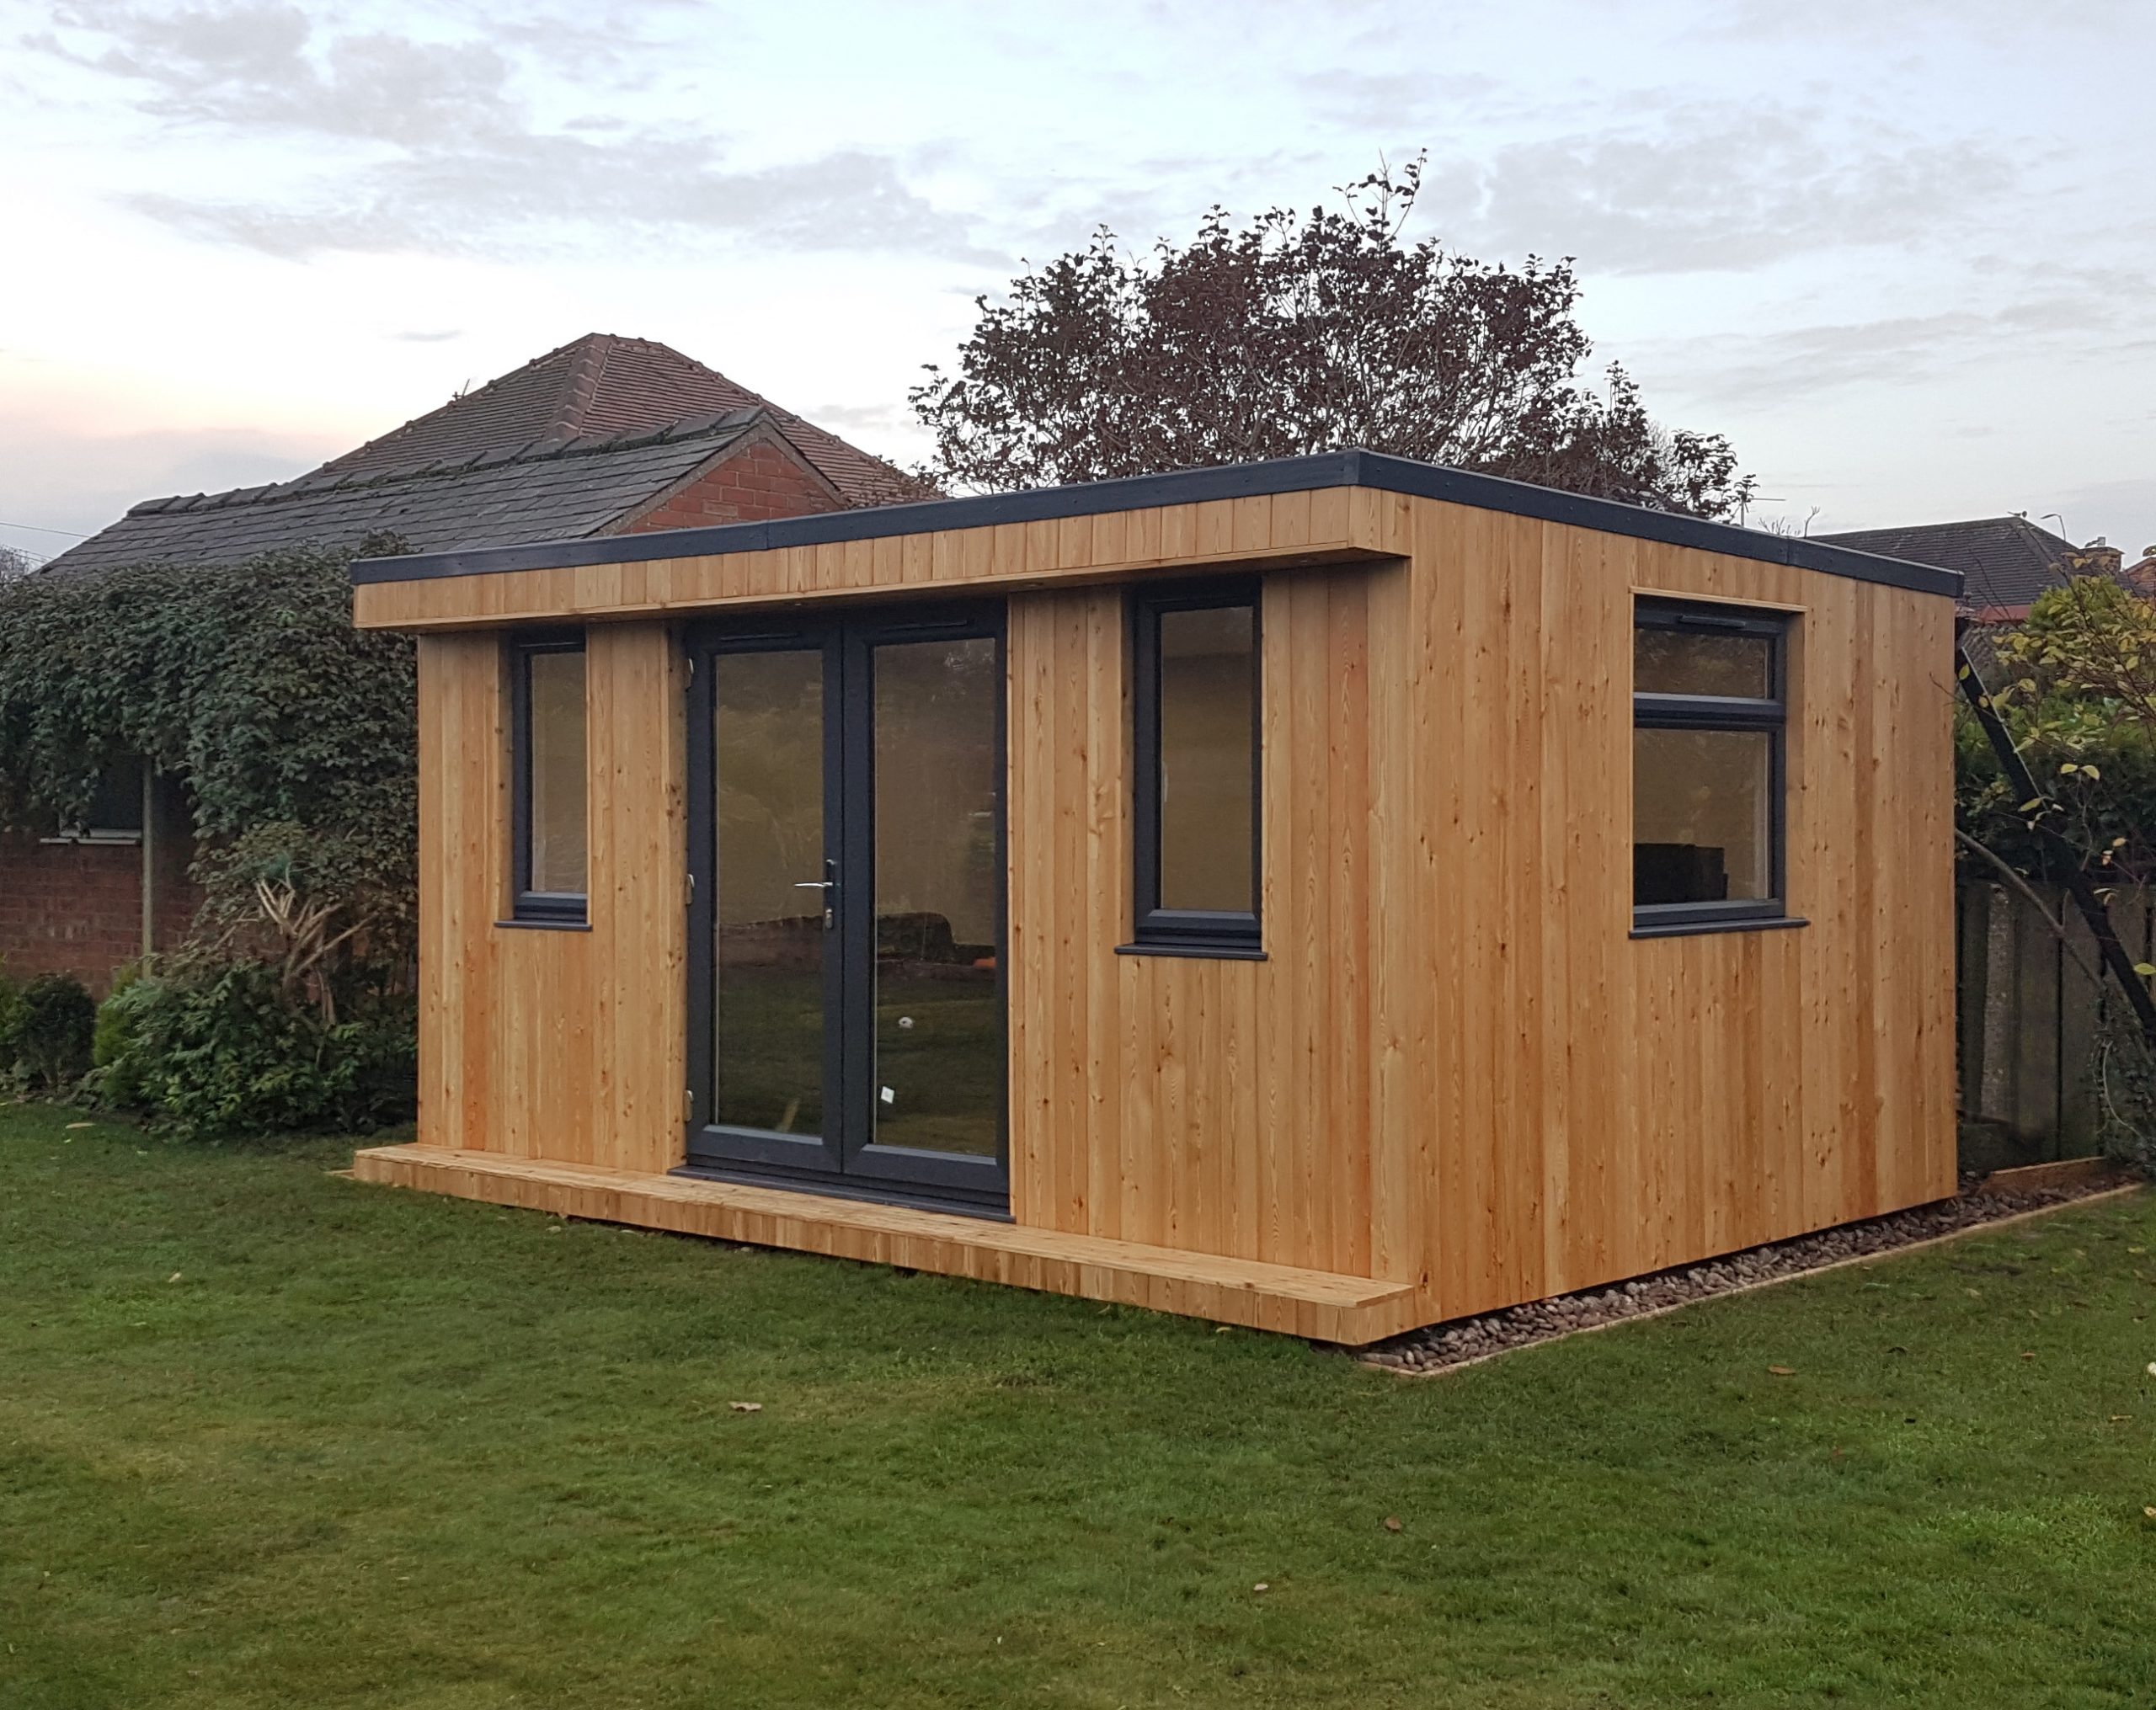
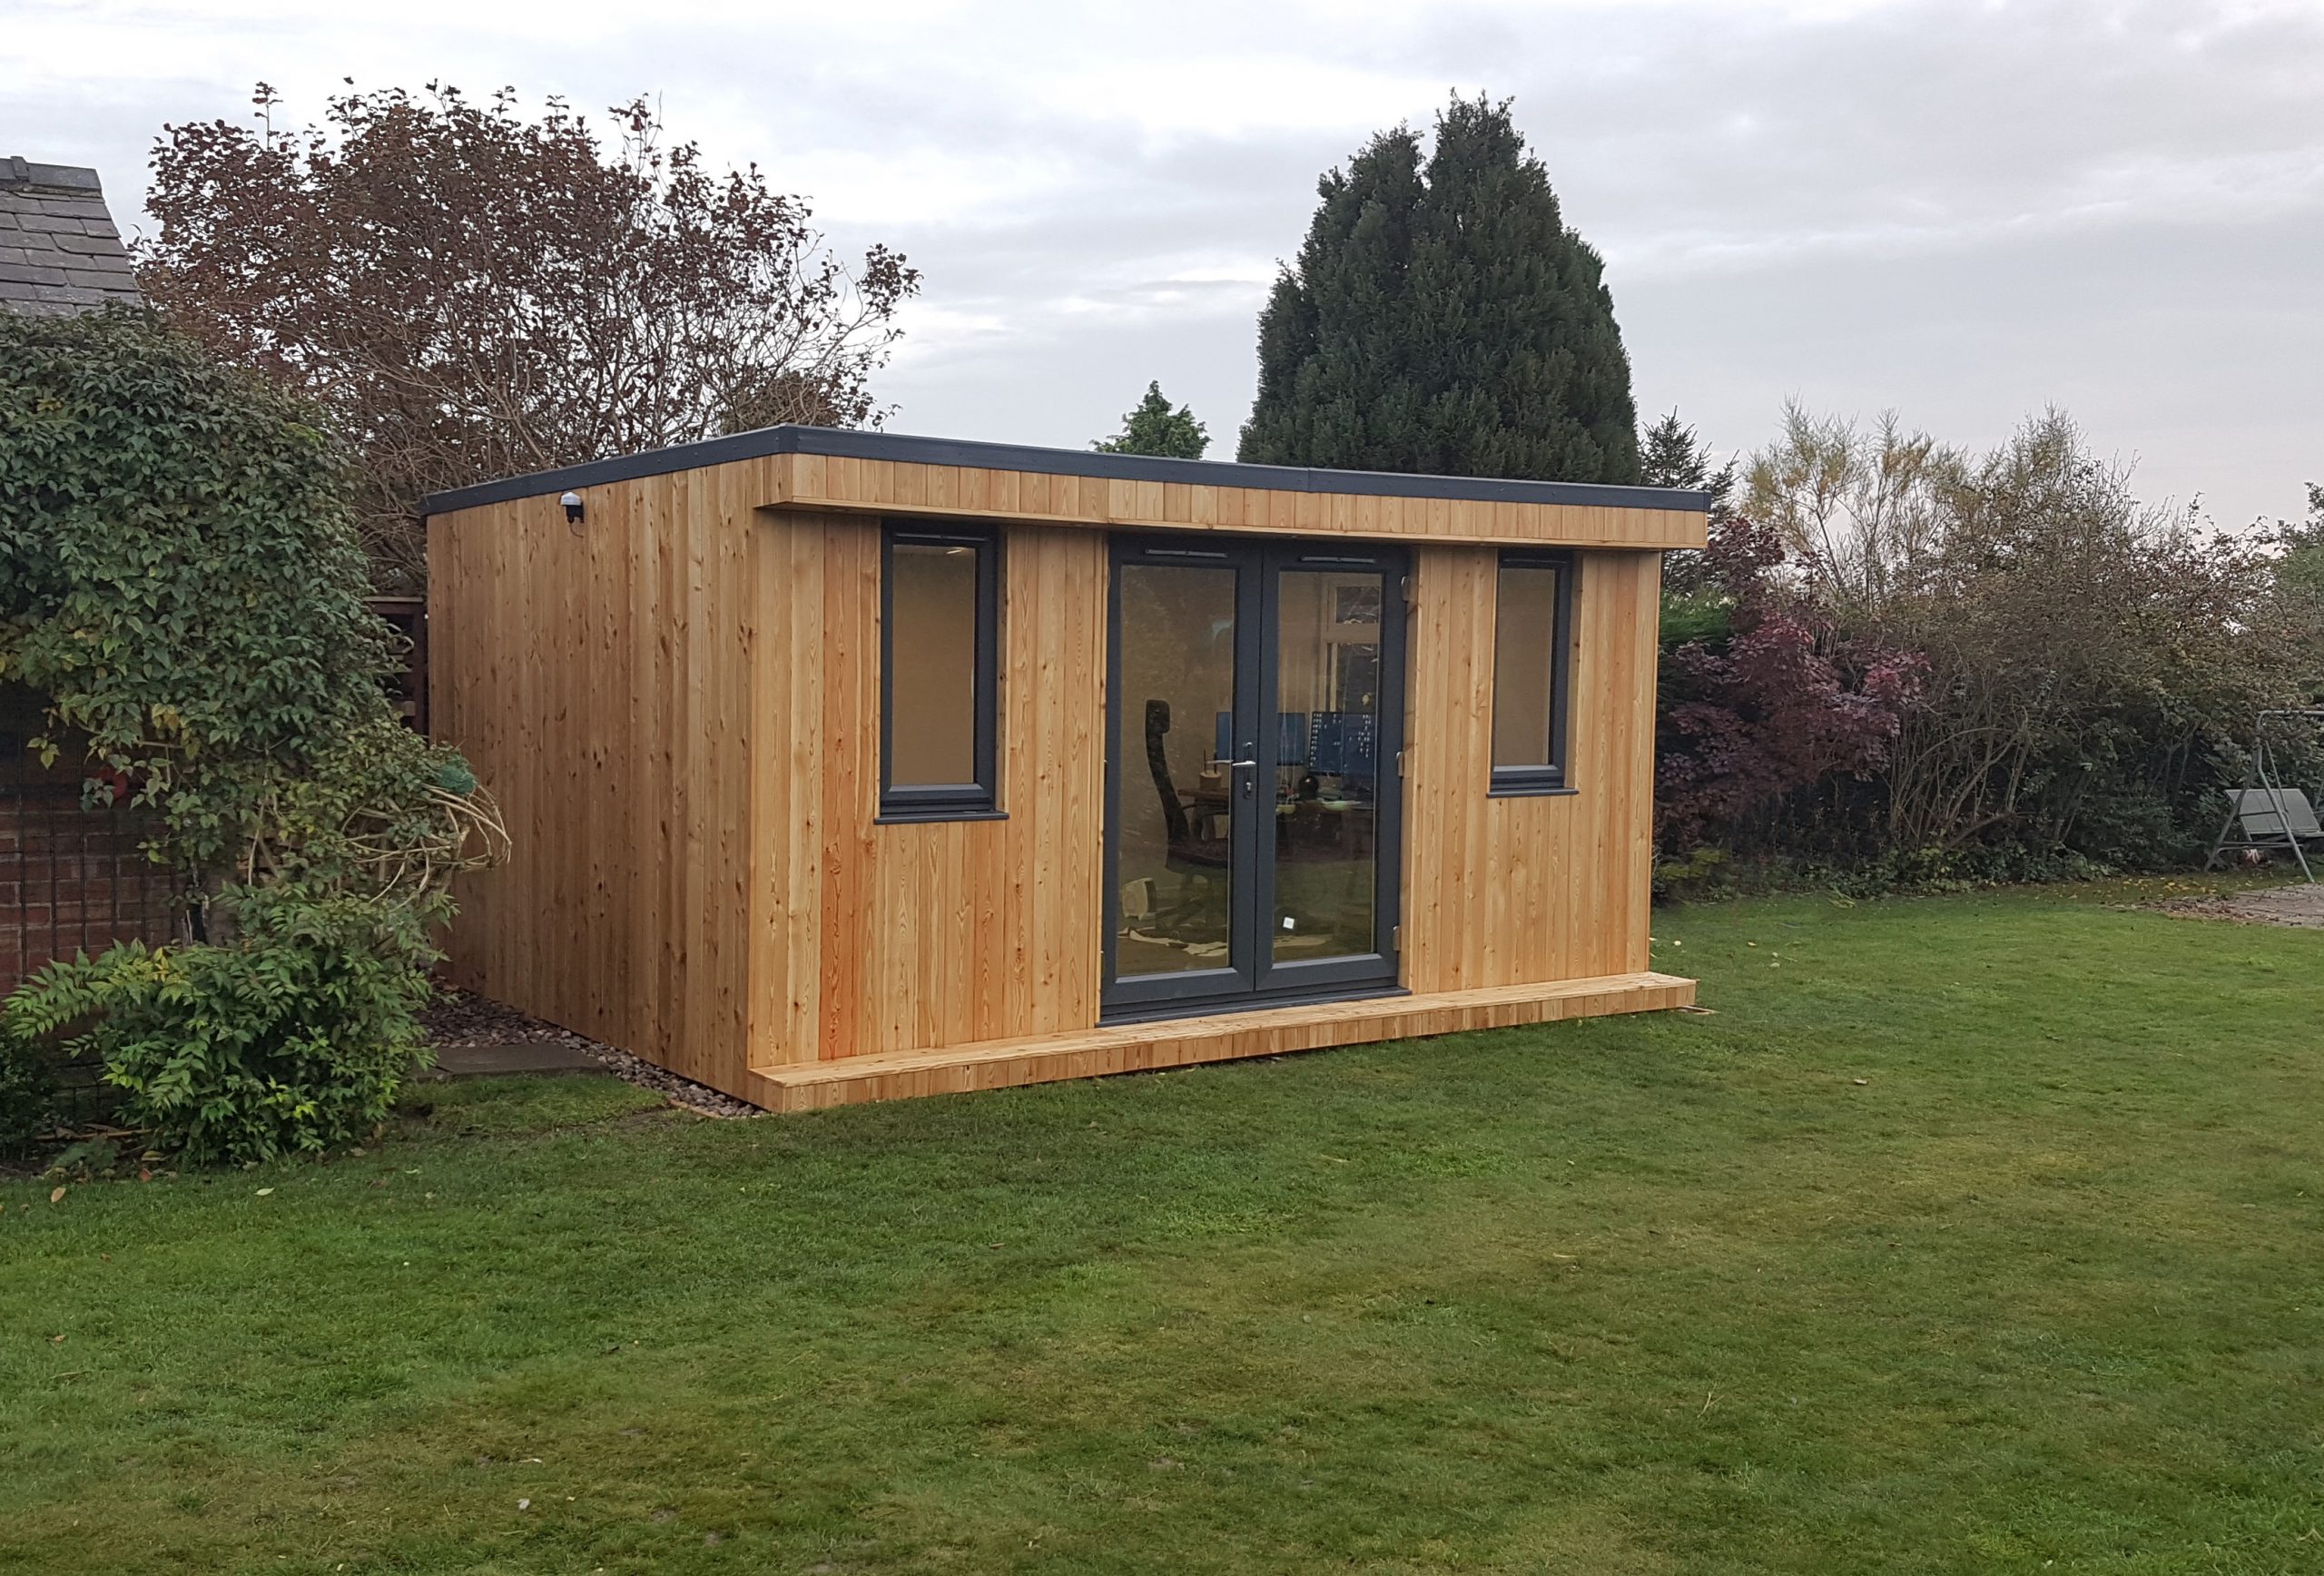
Vertical Tongue and groove larch cladding wraps the whole Garden room exterior.
What is a Cladding for
Larch cladding wraps the whole building and is treated with 2 coats of Osmo UV protection oil. This keeps the colourful appearance of the timber and limits the greying of the timber caused by UV exposure.
Use our cladding calculator to work out how much cladding you need.
How to Install Cladding
- Start at one side and install your first length of cladding vertically with the tongue facing towards the building
- Nail the cladding diagonally through the tongue for a concealed fixing.
- Cladding over 100mm in width will require 2 fixings across the width of the cladding.
- Stainless steel fixings MUST be used because even galvanised nails will eventually react with the timber and leave black stains down the wood.
- Install the next length of cladding over the tongue of the first piece, leaving a few millimetres of room to expand and contract along the tongue (don’t butt it tight to the first piece)
- Repeat along the full wall
- The Larch Cladding can also be used to make the reveals on the windows and doors.
Roof Ventilation
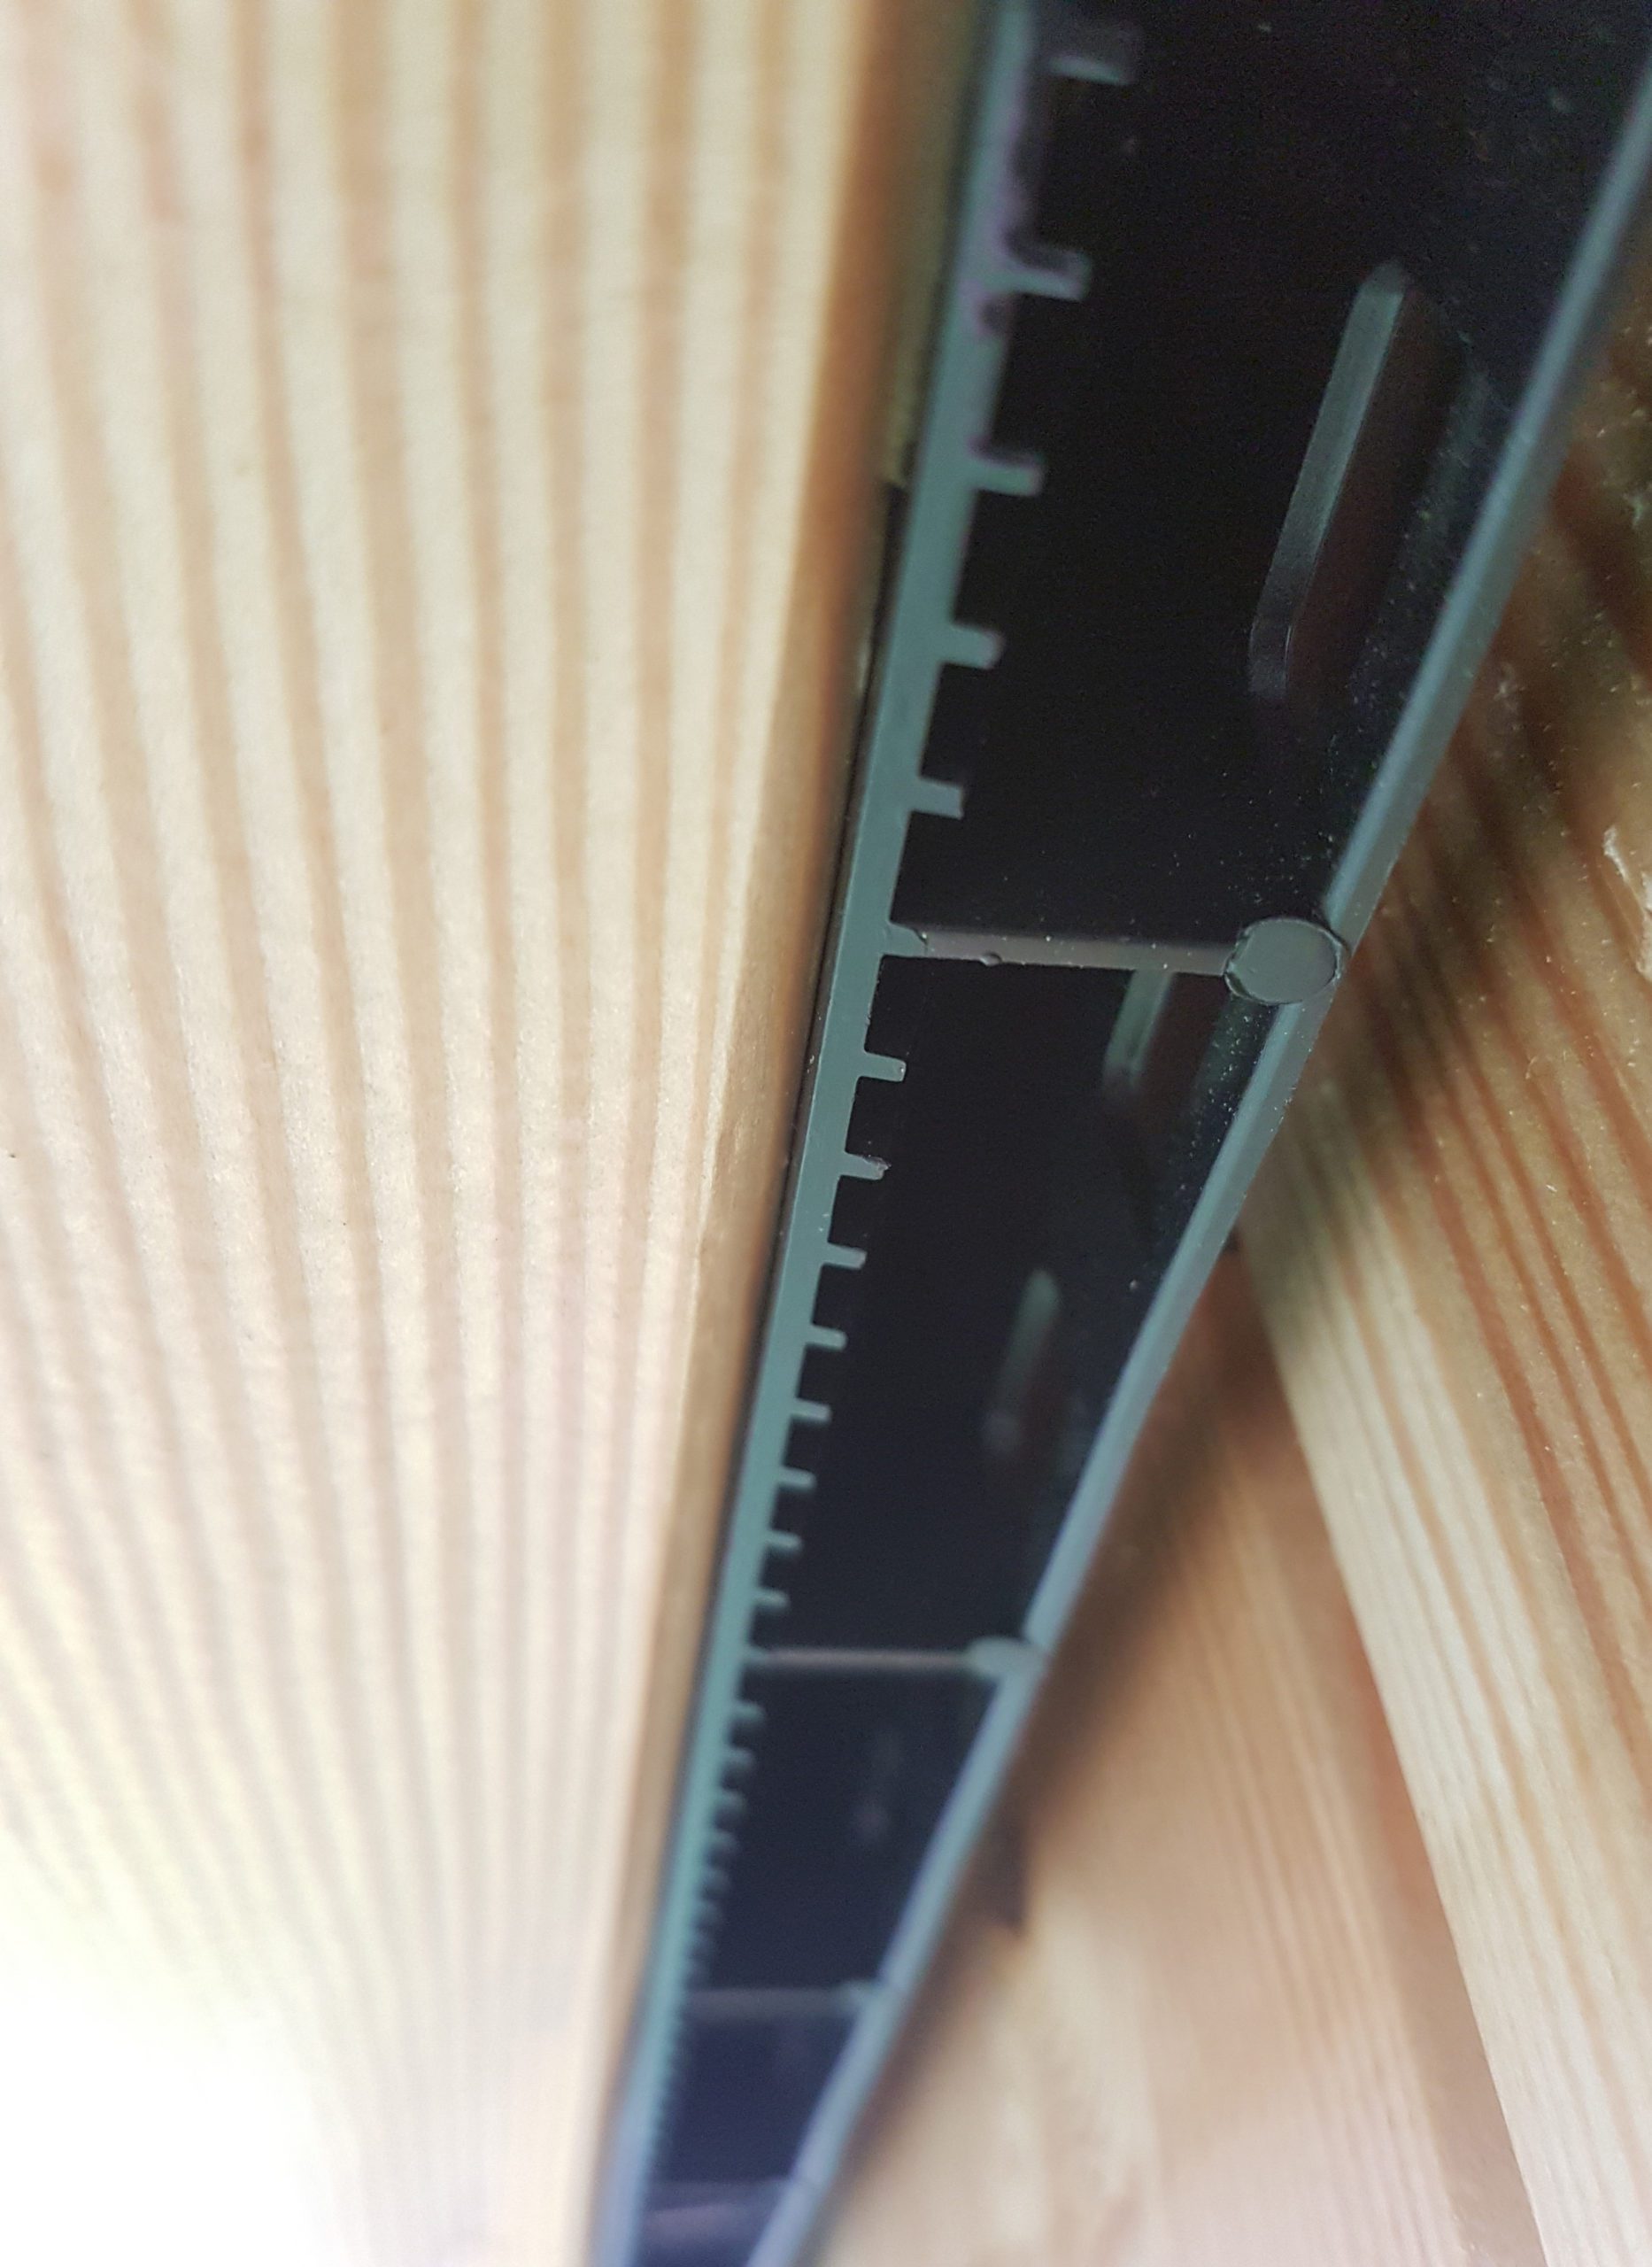
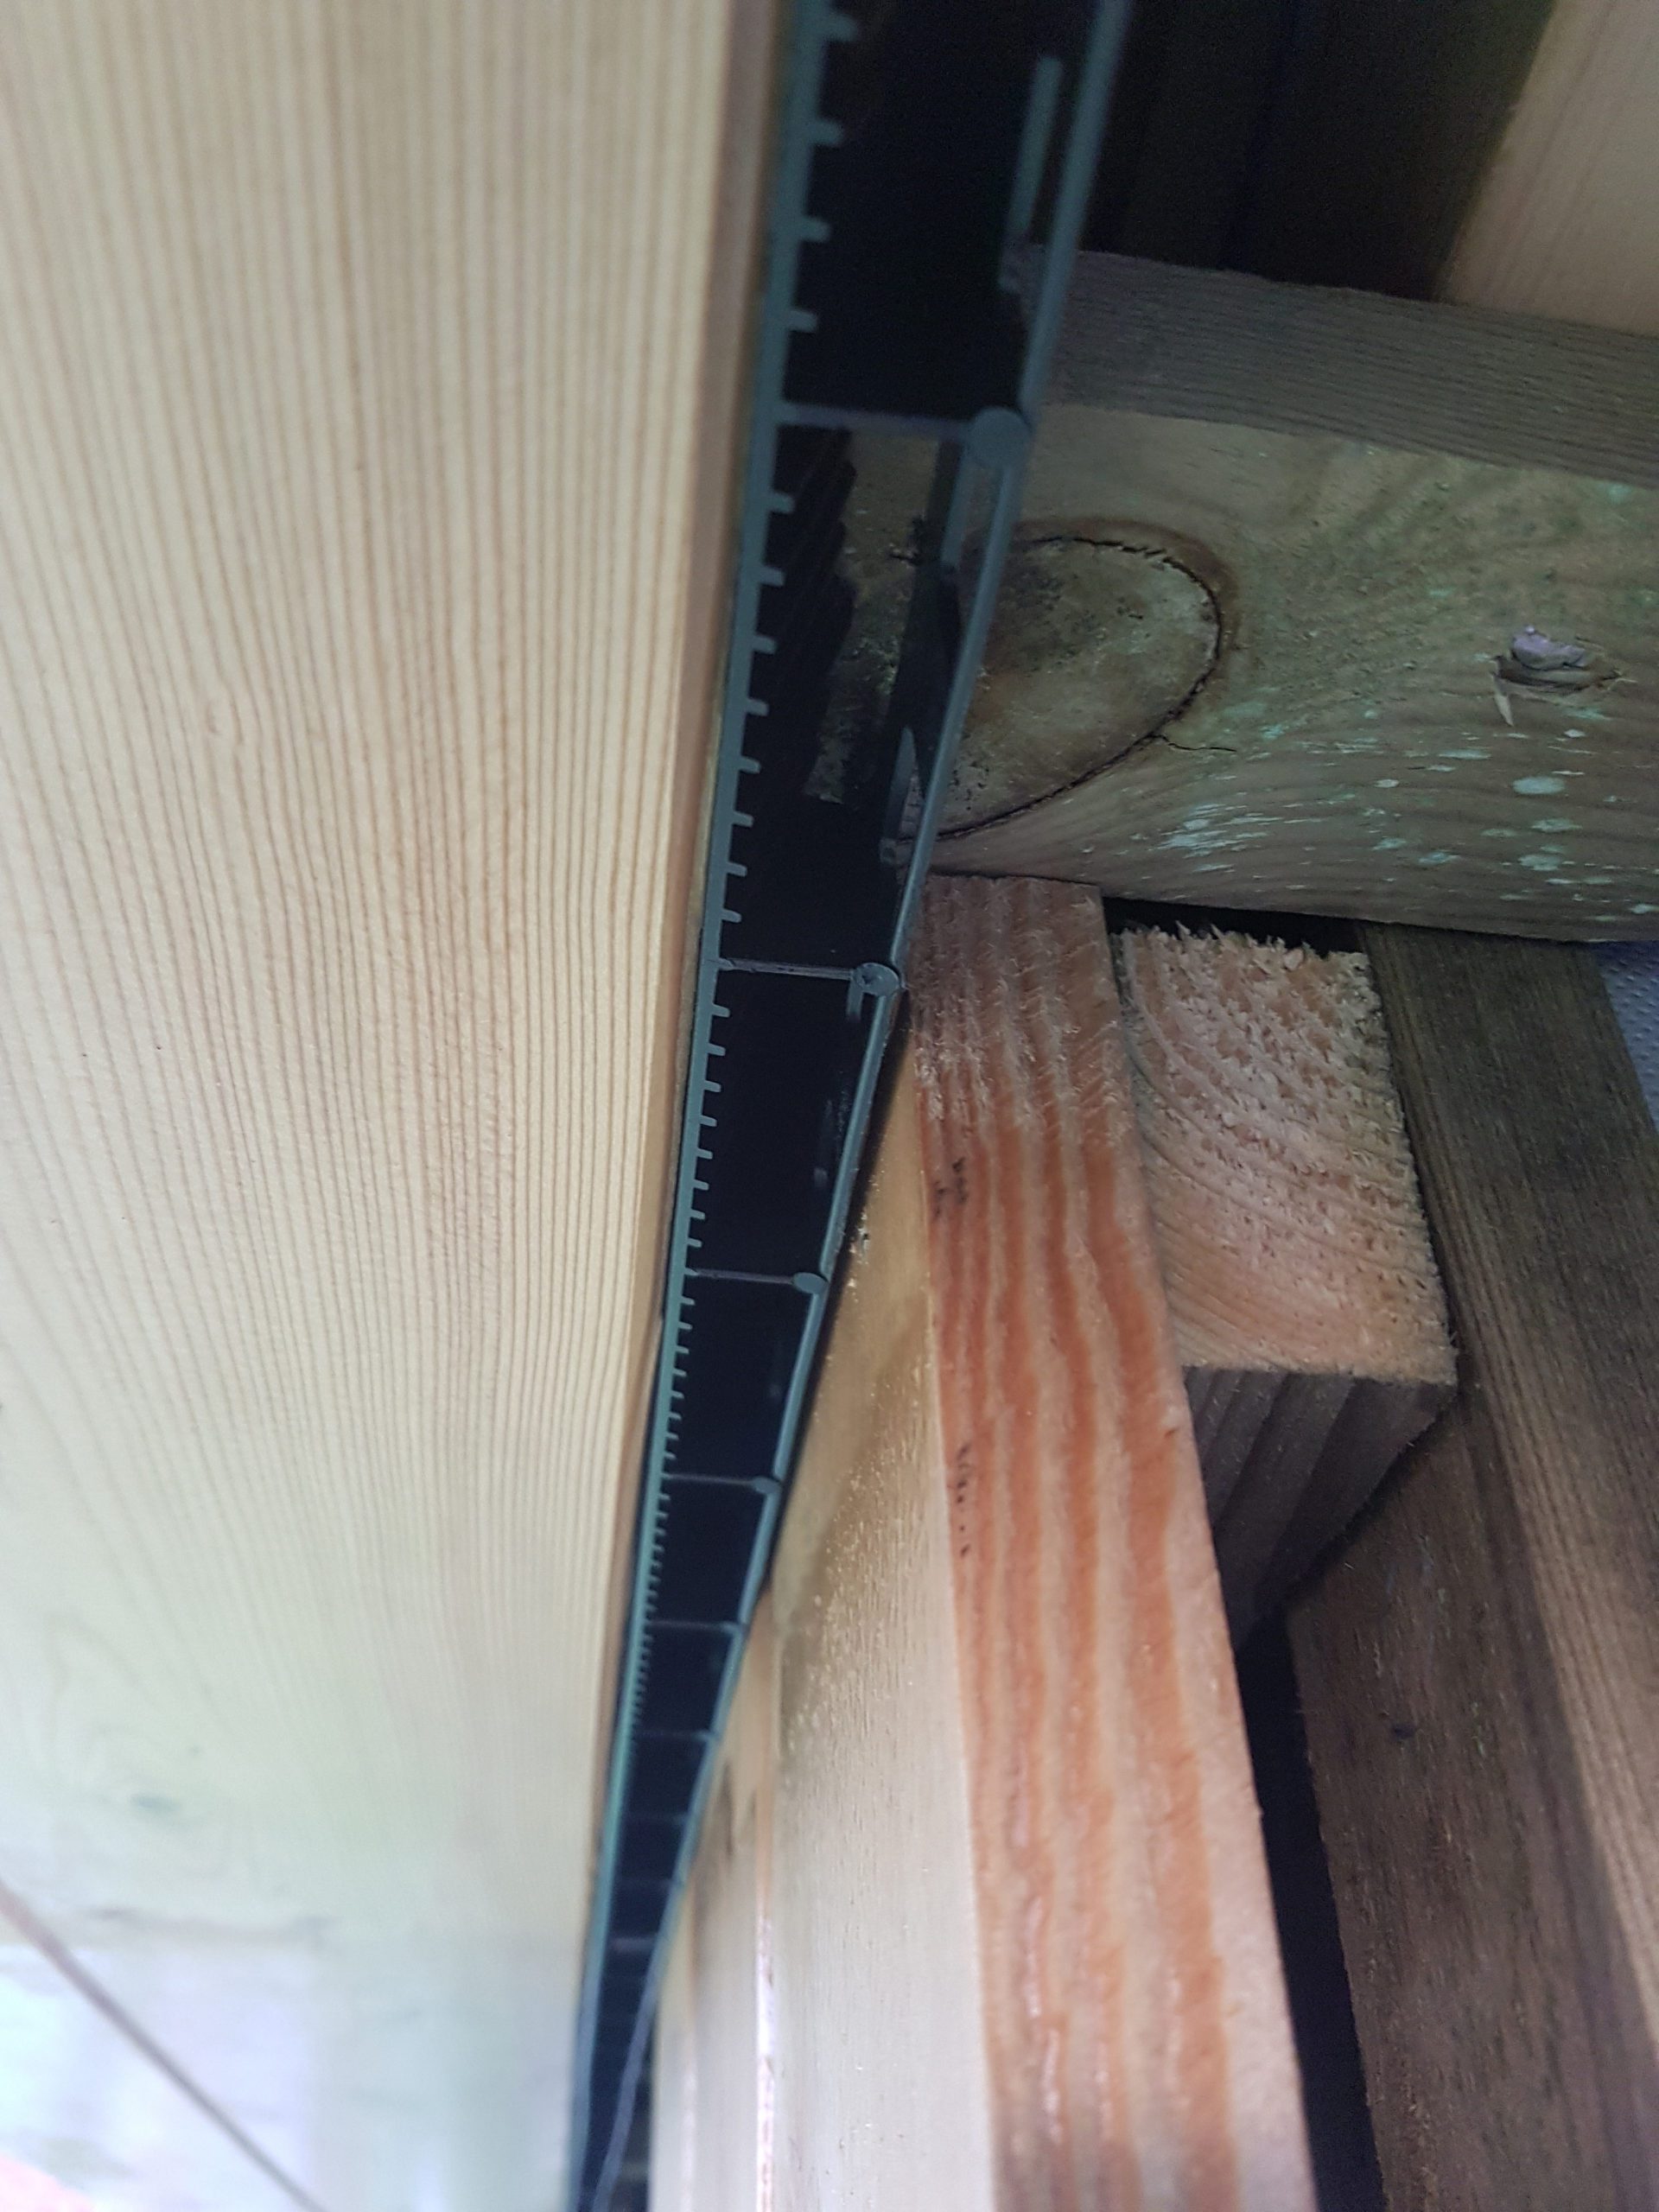
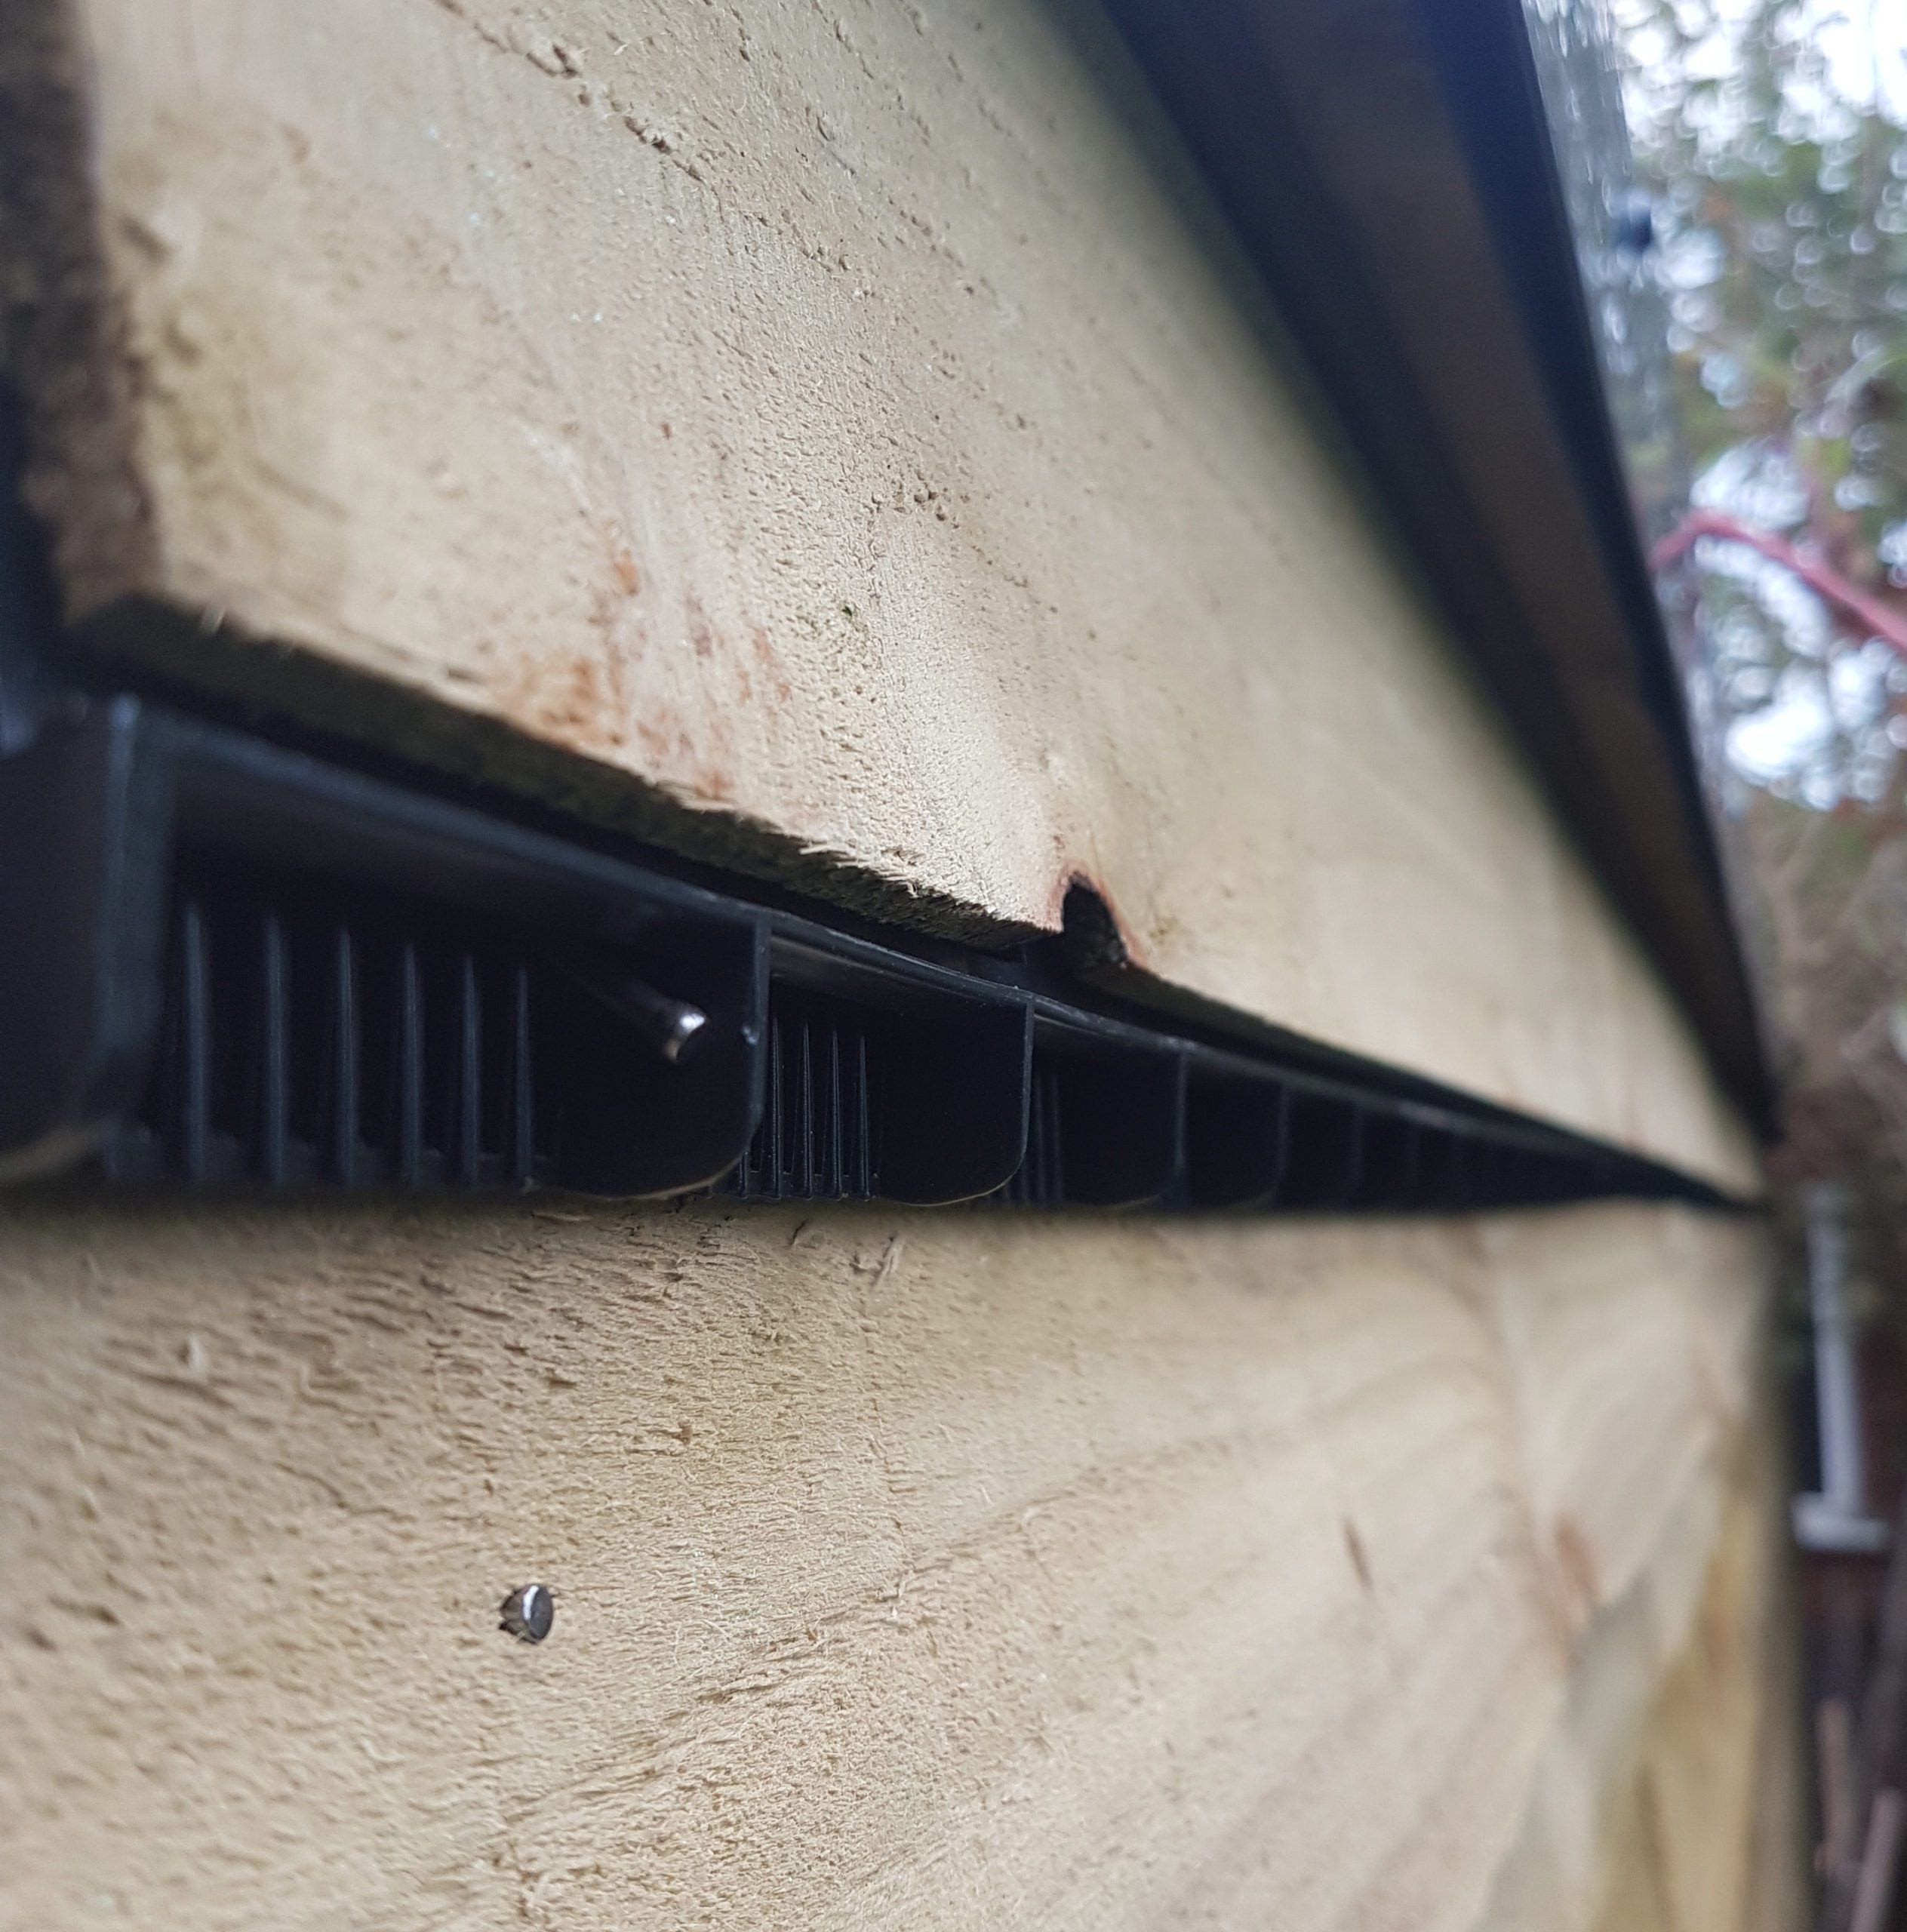
The Roof Needs to be ventilated at the front and the back to allow a continuous airflow.
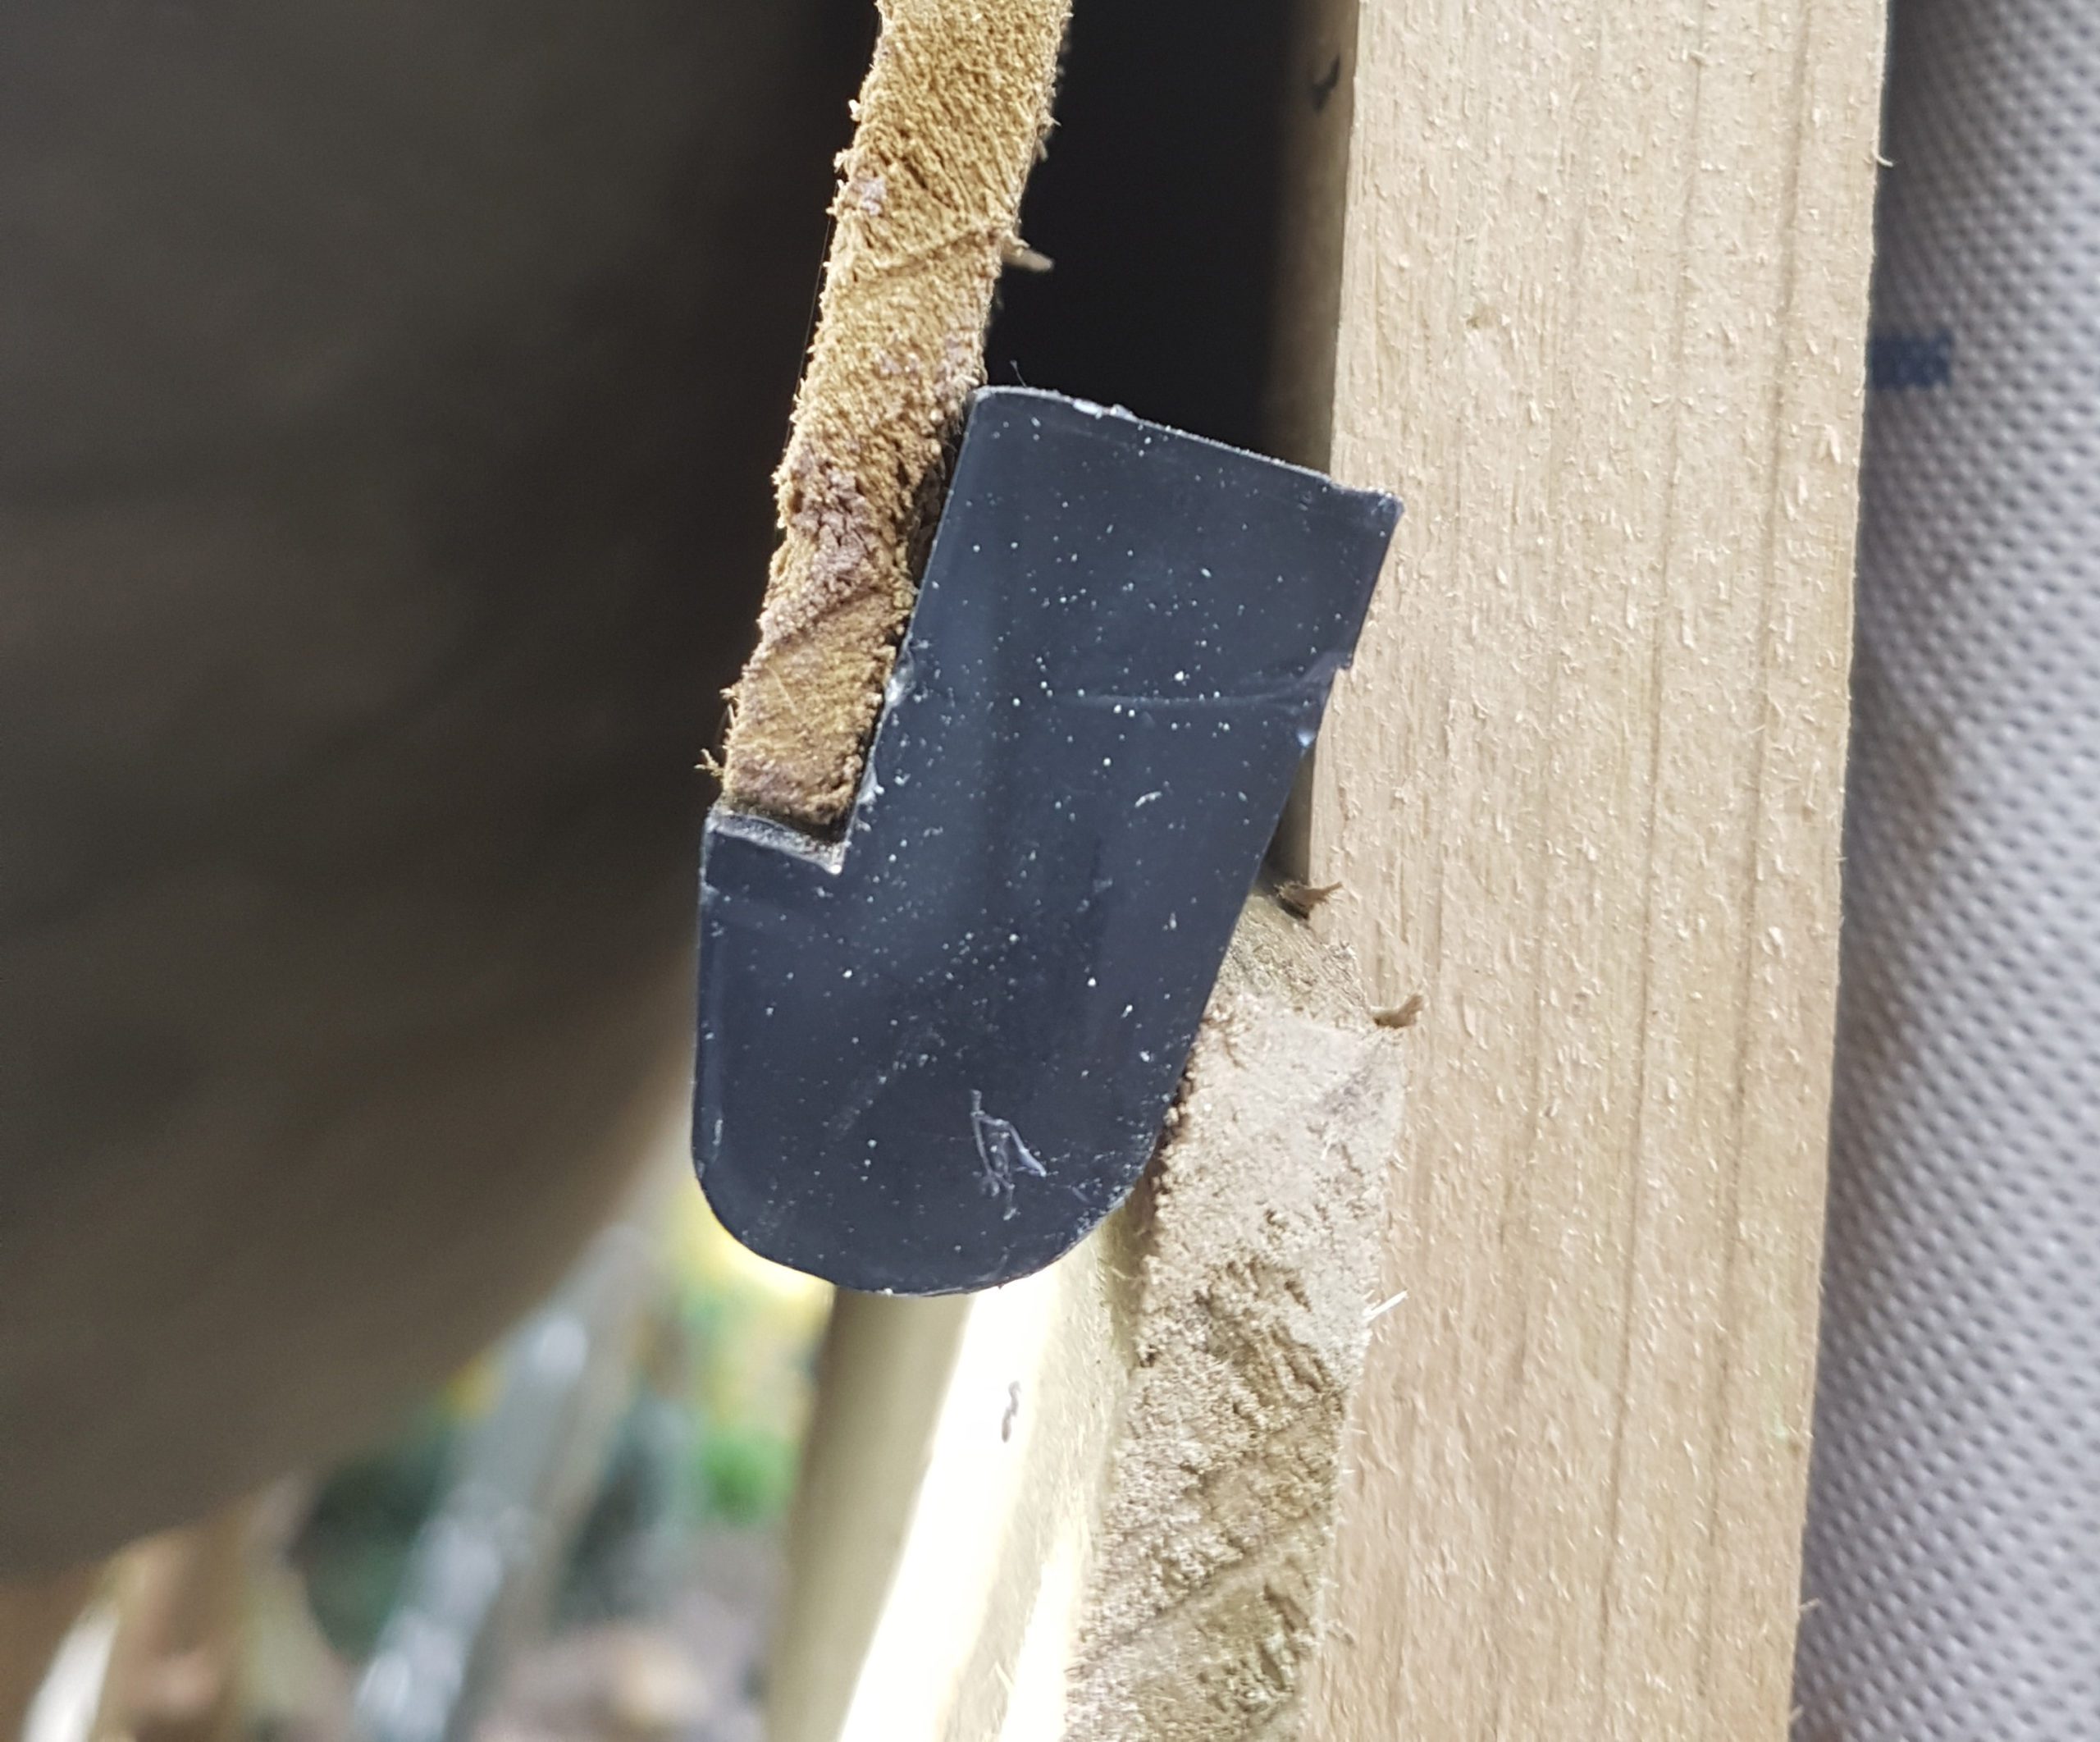
What is Ventilation for
Ventilation creates a constant airflow across the roof of the Garden room to stop the build-up of condensation, which would eventually rot the timber
How to Install Ventilation
Ventilation strips can be inserted between the cladding on the front overhang and between the feather-edge cladding at the rear.
The rear of the roof frame must contain holes to allow continuous ventilation from front to back
Rubber Roof
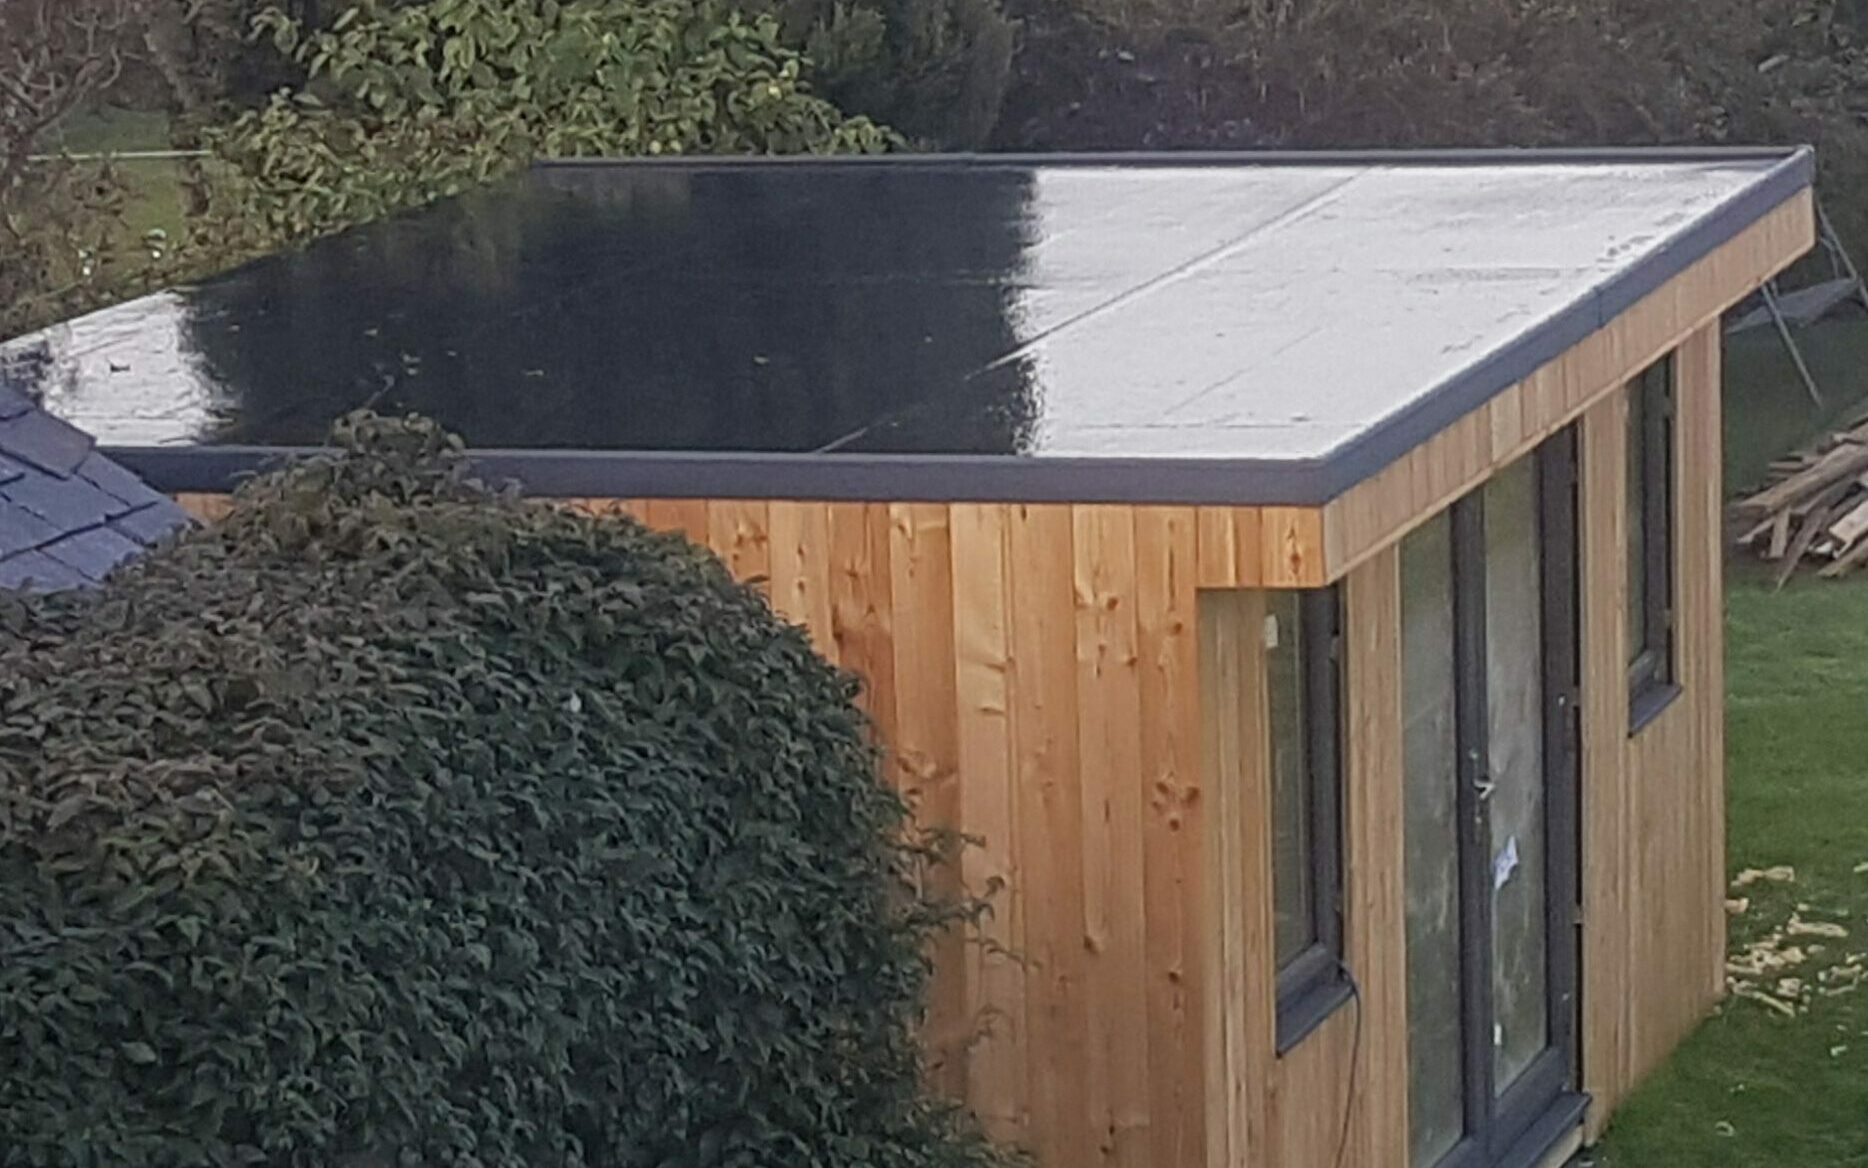
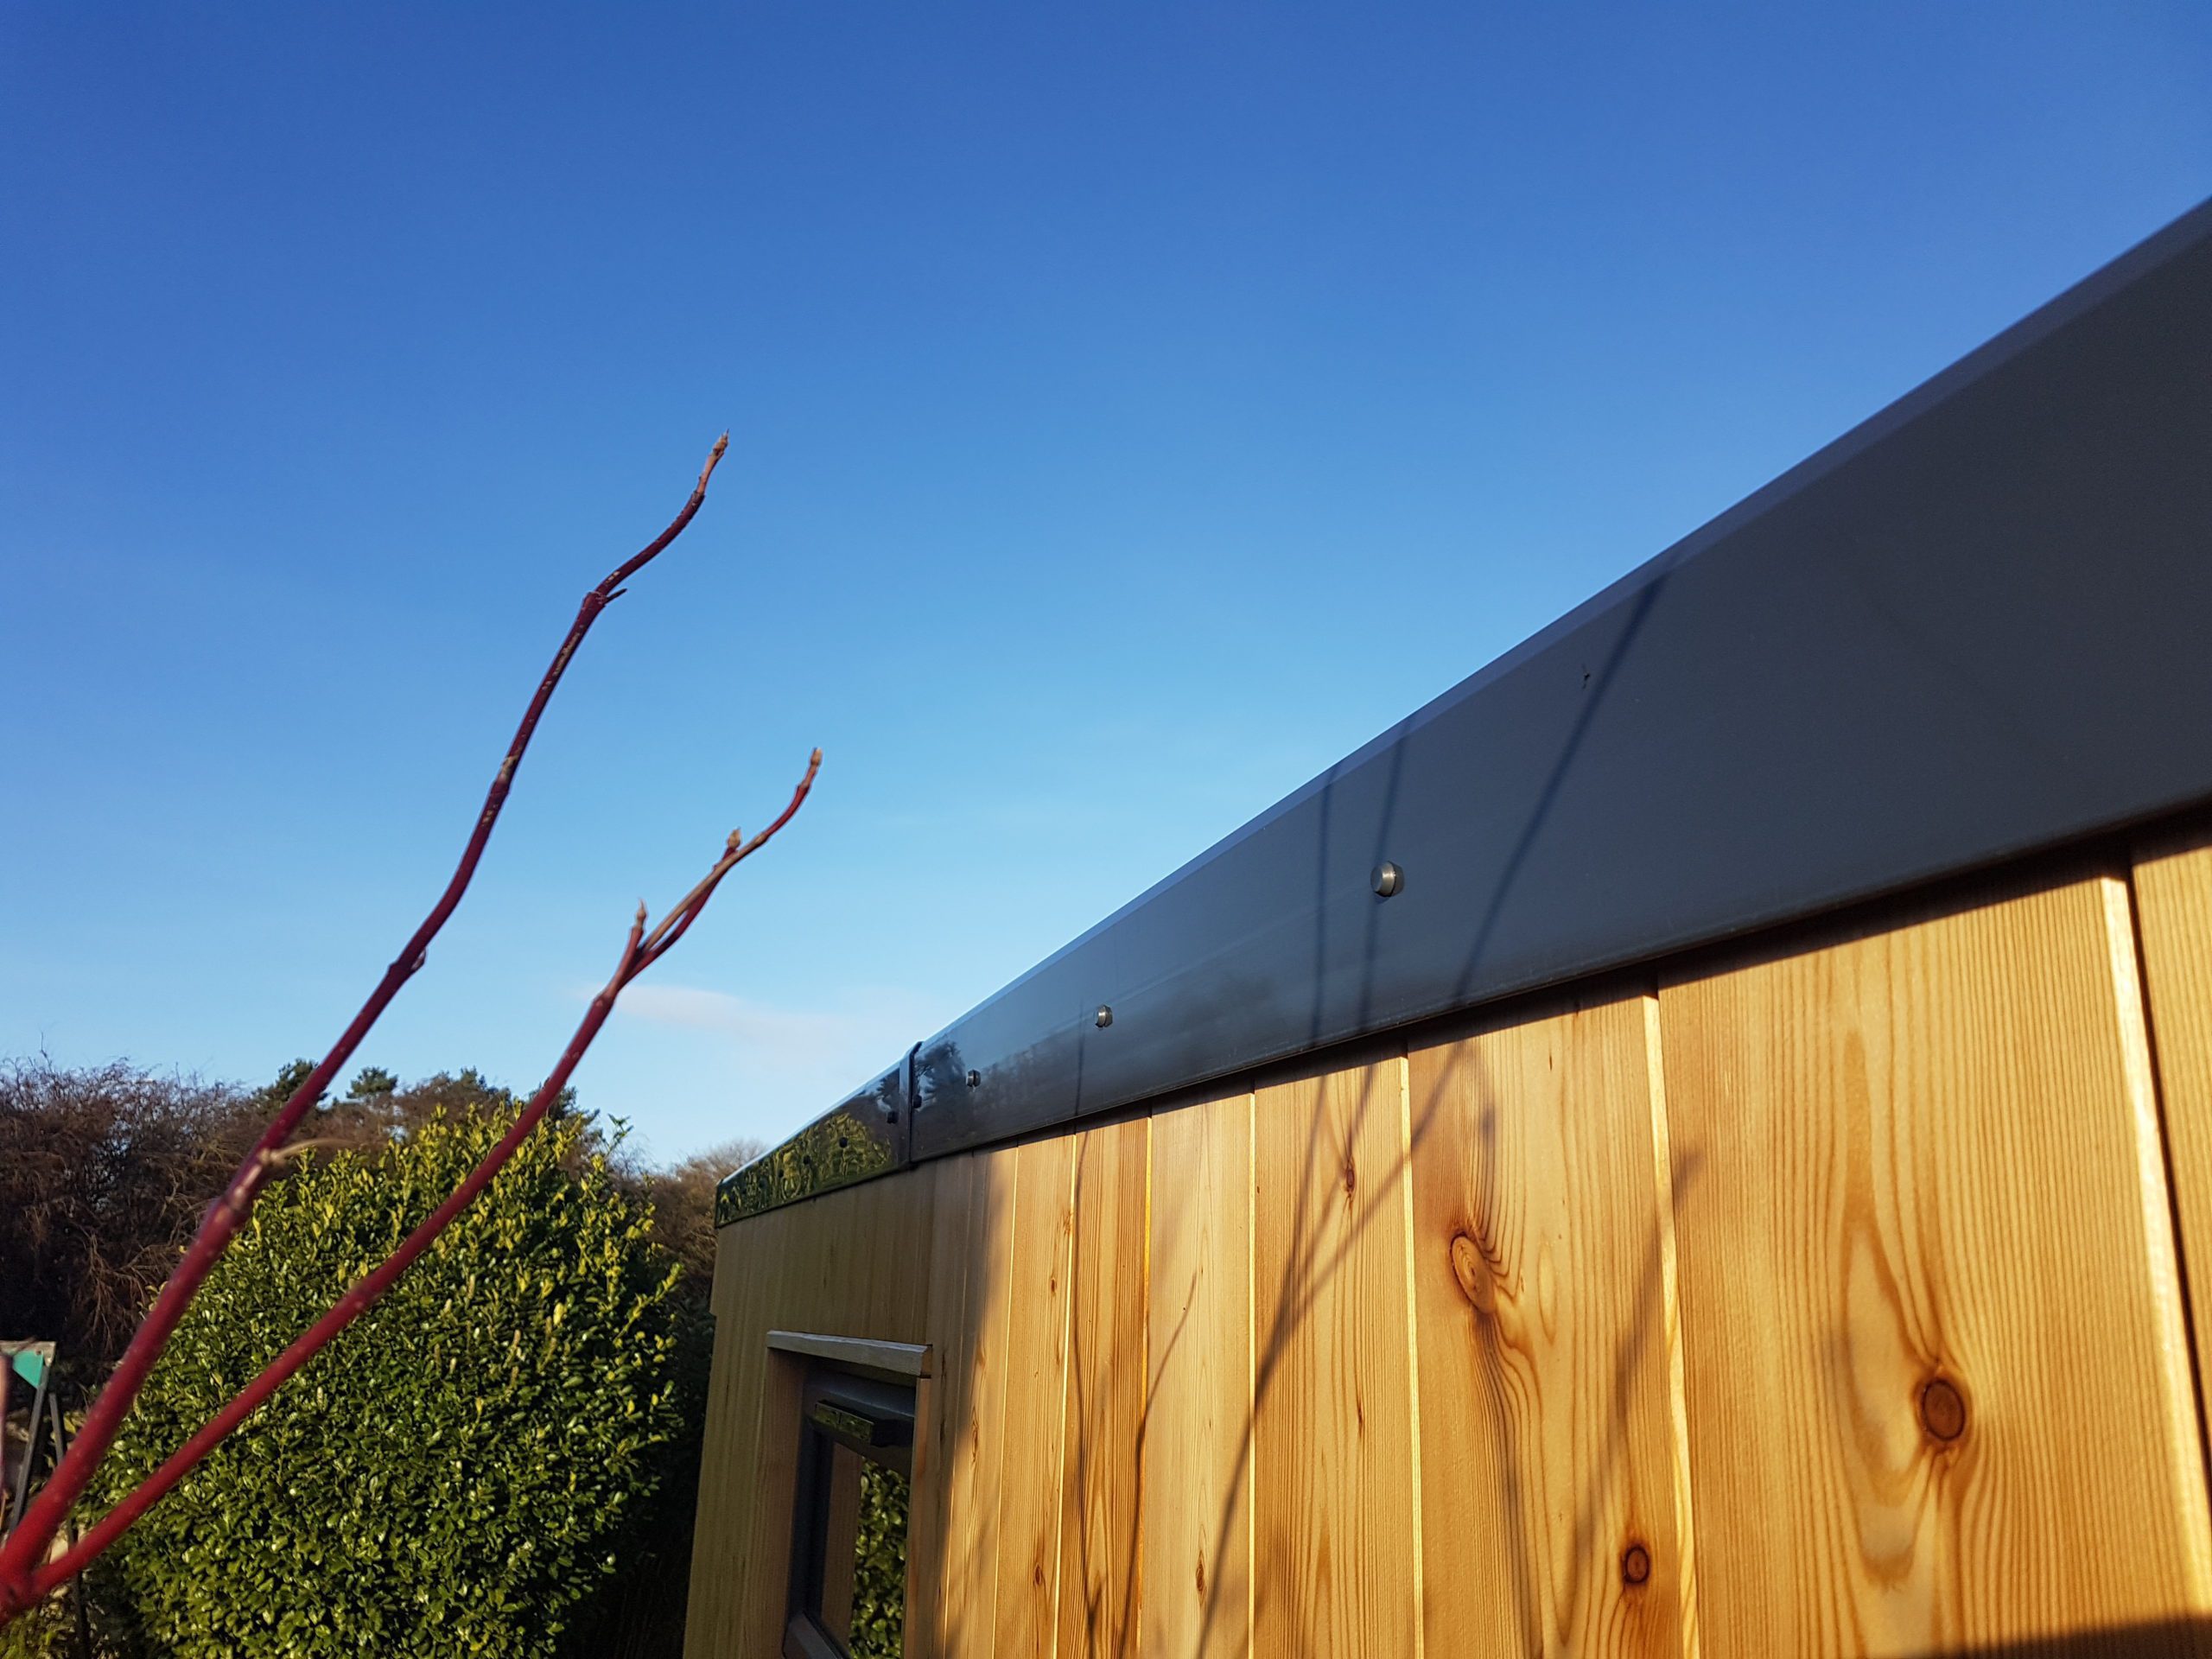
A one-piece rubber roof is used with matching edge strips.
How to Install a Rubber Roof
The rubber roof is laid out flat and glued into place by covering the whole roof area with the adhesive. Then the outer perimeter is secured with a strong bond adhesive.
The roof is finished with UPVC edging strips on the front and sides, a smaller strip fits on the rear to allow the rainwater to drain away into a UPVC gutter, which takes the water away from the Garden room structure.
UK Building Regs for Garden Room Frames
Garden room frames must comply with Permitted Development rules: <2.5m eaves height, <50% garden area, no front positioning. For structural integrity, follow BS 5268 (Timber Structures) or Eurocode 5.
Common Exterior Mistakes & Fixes
| Mistake | Problem | Fix |
|---|---|---|
| Poor Membrane Overlaps | Water ingress | Ensure 150mm; tape seams. |
| No Battens | Cladding rot | Double-layer for airflow. |
| Wrong Fixings | Stains on cladding | Use stainless steel only. |
| Inadequate Venting | Mold buildup | Add air flow from front to back. |
Next…


Vijay