

When it comes to creating the perfect garden room, you want it to last. One often overlooked element in constructing a garden room is the use of a breathable membrane.
What Are Breathable Membranes?

A Breathable Membrane, also known as breathable felt or roofing underlay, are thin sheet of material that is installed between the outer cladding of your garden room and its structural framework.
They act as a shield, offering several benefits that can make a significant difference in your garden room’s performance.
Why Breathable Membranes Matter
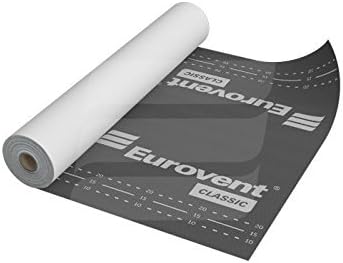
- Moisture Management: Garden rooms are subjected to ever-changing weather conditions. Rain, snow, and humidity can all take their toll on the structure. A breathable membrane allows moisture vapor to escape while preventing water ingress. Protecting the interior from dampness and mold growth.
- Condensation Control: Condensation can be a nightmare for any garden room owner. Breathable membranes play a vital role in minimizing condensation buildup by allowing the structure to breathe. reducing the risk of moisture-related issues.
- Longevity: Your garden room is an investment, and you want it to stand the test of time. Breathable membranes can extend the lifespan of your structure by providing an additional layer of protection against the elements.
Choosing the Right Breathable Membrane
Not all breathable membranes are created equal, so it’s essential to select the right one for your garden room project. Consider factors such as:
- Breathability: Ensure the membrane has the necessary breathability to handle your local climate conditions.
- Durability: Look for membranes with strong tear resistance and UV stability.
- Waterproofness: Opt for a membrane that provides excellent waterproofing capabilities.

Breathable Roof Membrane/Felt
1.5m x 50m (75 SQ/M)
120 G/SM
Installation Process
Now that we understand why breathable membranes are crucial, let’s discuss how to use them effectively in your garden room construction:
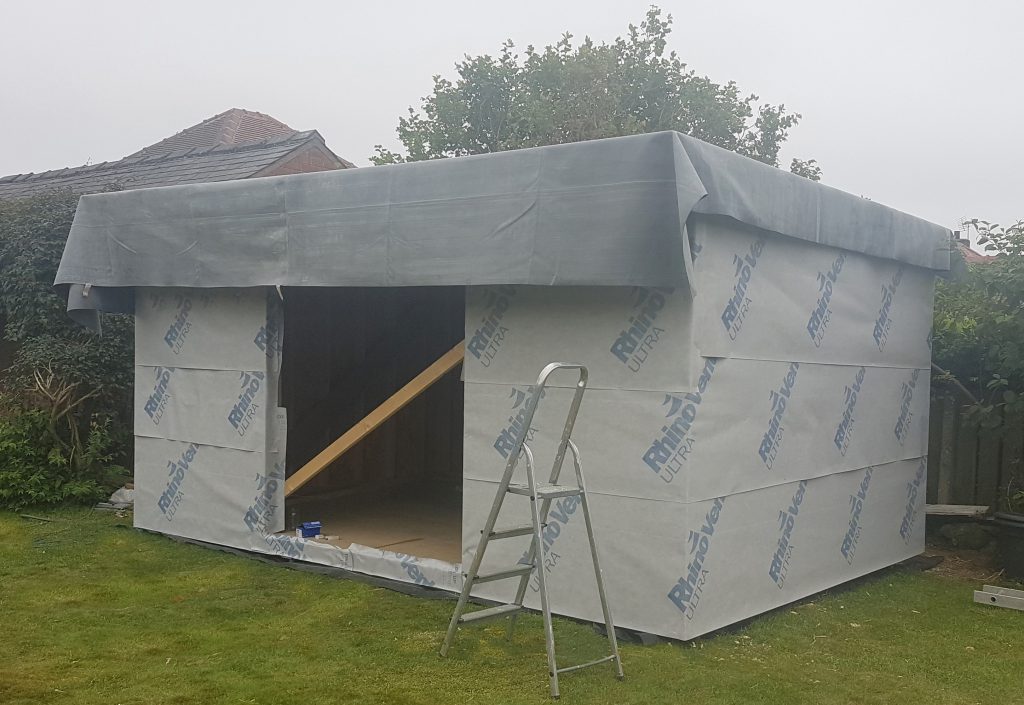
Prepare the Framework
Before installing the membrane, ensure that the structural framework of your garden room is in place and properly sealed. Any gaps or vulnerabilities should be addressed.
Lay the Membrane
Roll out the breathable membrane over the exterior framework of your garden room. Ensure that it is stretched taut and covers the entire surface, with overlaps to prevent any potential gaps.
Secure in Place
Use appropriate fixings to secure the membrane in place. It’s crucial to follow the manufacturer’s guidelines for spacing and placement to ensure optimal performance.
What is the difference between a vapour barrier and a breathable membrane?
A vapour barrier and a breathable membrane are both used in the walls of a garden room, but, they have different roles:
- A vapour barrier is used on the inner side of the insulation and is designed to stop moist air from passing through it and into the building structure.
- A breathable membrane is used on the outer side of the building, under the cladding. Breathable membranes must repel water from the outside while allowing moisture from the inside to escape.
UK Building Regs for External Wall Wrap
Even under permitted development, Part C (Moisture) and BS 5250:2021 apply. A breathable wrap is recommended for all external timber walls.
Compliance Requirements
- BS EN 13859-2: Wall membranes must be Class W1 (water-resistant)
- NHBC 6.2.18: Minimum 100 mm vertical laps, 150 mm at corners, taped
- TRADA: Use a counter-batten over wrap before cladding for drainage
- Fire: Euroclass B-s1, d0 if within 1 m of boundary
Step-by-Step Breathable Membrane Installation (DIY)
Tools: Hammer, 10 mm clout nails or staples, utility knife, 25×38 mm battens.
- Start at Base – Unroll horizontally; fix at 300 mm centres
- Overlap Upwards – Upper sheet over lower by 150 mm
- Wrap Openings – Cut flaps at windows; fold in and secure
- Counter-Batten – Fix battens over wrap (creates 25 mm rain screen).
- Cladding – Install timber, composite, or render board.
(Time: 3–5 hrs for a 4×3 m Garden room. Pro tip: Wrap in dry weather >5°C.)
Common Breathable Membrane Mistakes & Fixes
| Mistake | Problem | Fix |
|---|---|---|
| Downward laps | Water ingress | Re-lay the upper over the lower |
| No counter-batten | Cladding presses membrane | Add 25 mm treated battens |
| Tearing at corners | Wind damage | Pre-fold + double fix |
| Wrapping after insulation | Compresses batts | Cladding presses the membrane |
Conclusion
In the world of garden room construction, the importance of a breathable membrane cannot be overstated. It contributes to the overall longevity of your garden room.
When planning your garden room project, don’t overlook this critical component. With the right breathable membrane in place, your garden room will stand strong against the elements for years to come.
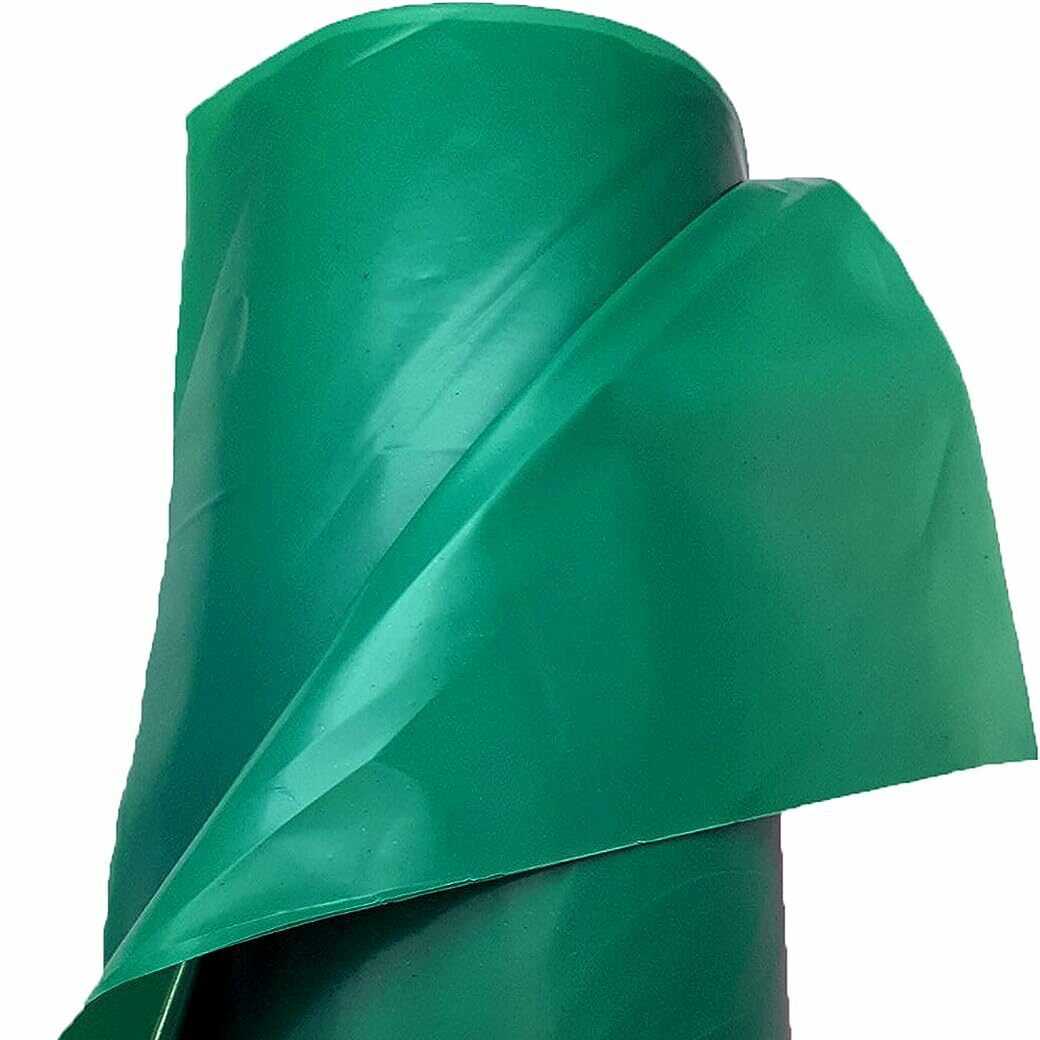
Vapour Barrier in a Garden Room | Installation Guide & Types
A Vapour Barrier is essential for your garden room to control moisture damaging the structure
Frequently asked questions
Is a breathable membrane necessary for all types of garden room designs?
Yes
What is the purpose of a breathable membrane in a garden room?
A breathable membrane serves as a protective layer that allows moisture vapor to escape while preventing the entry of liquid water. This helps protect the garden room.
Can I use a breathable membrane in all weather conditions?
Yes, breathable membranes are beneficial in various climates. They effectively manage moisture levels, making them suitable for both rainy and humid environments.
Construction
LATEST CONSTRUCTION NEWS

How Much Does A Garden Room Cost?
Planning a garden room? One of the most overlooked—but crucial—decisions you’ll make is where to position it in your garden.

Condensation in your Garden Room: Causes, and How to Beat It
Condensation in your garden room is one of the most common niggles new garden room owners face.

How to Choose the Perfect Garden Room Position
Planning a garden room? One of the most overlooked—but crucial—decisions you’ll make is where to position it in your garden.


